
Drain to give without investment
Drainage is a structure necessary for the removal of water, which protects the walls from getting wet in case of rain and thaw. Manufacturers offer a large assortment of gutters for the waste system, but many gardeners prefer to make them themselves from scrap materials.
Required materials and tools
To independently build a drainage system for the house, you need to prepare such material and tools:
- 1.5- or 2-liter bottles, the amount depends on the length of the drain and its shape;
- furniture stapler with brackets;
- steel wire;
- drill and scissors.
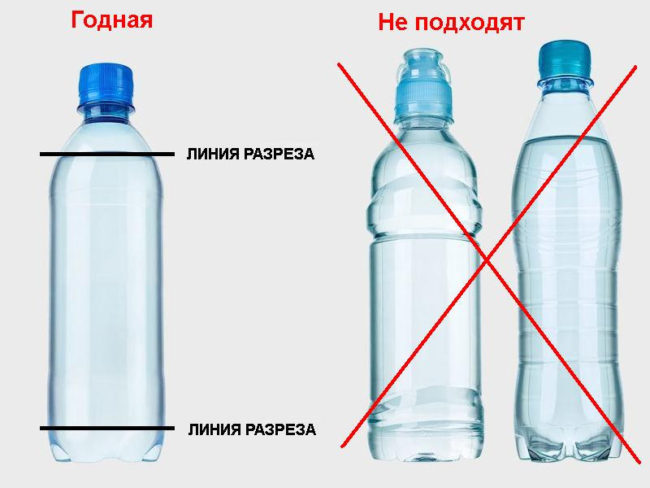
In order for the spillway during operation not to create problems, it is necessary to select bottles according to this principle:
- The whole container should have the same size - this allows you to quickly assemble the system and make it more tight.
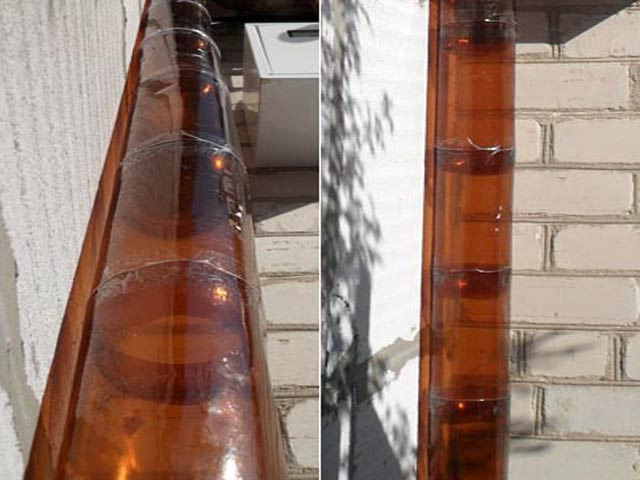
- It is necessary to choose flat cylinders, there should be no recesses, projections and relief patterns. In case of uneven containers, the weir will quickly become clogged with fallen leaves and dirt flowing from the roofs.
- It is necessary to remove the labels from the container - soak the bottles for a day and they will quickly come off.
Step-by-step drain construction algorithm
For the installation of the weir we need to do all the work in stages:
- Measure the length of the future drain and make a design drawing. Based on the drawing, you can count the approximate number of bottles. You also need to calculate the angle of inclination of the gutter. If the distance is too long, then due to the large difference between the upper and lower points, the horizontal chute may not work, or it is necessary to change the design of the weir.
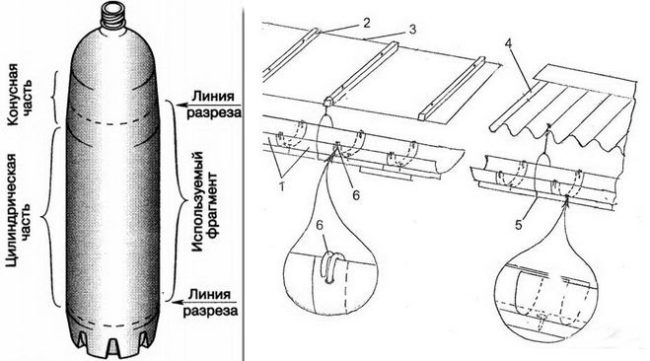
- After all the details are thought out, you can start cutting the container - remove the bottom and neck and cut the middle part in half.
- Rectangular parts must be overlapped with each other. The distance of the connection strip is 1-1.5 cm. The elements are fastened together with a stapler.
In the absence of a stapler, both connections can be pierced with an awl and fastened with a thin wire.
- If the master thinks that water will seep through the connecting strips, then you can cover the holes with clay, and later they will become fixed with dirt and become airtight.
- The assembled chute is attached with a stapler to a thin wooden lath, which will not allow it to deform (or thin iron sheets can be inserted inside).
- The gutter bottle is assembled in 2-3 hours, and then the structure can be mounted to the roof.

Mounting and secure fit
After the bottle construction is assembled, it must be attached to the roof. For installation it is better to use steel wire:
- With the help of a drill in the roof covering you need to drill holes and wire the chute. It is also possible to drive nails into the eaves strip and to carry out the installation from it.
- During installation, it is important to observe the angle of inclination - water should flow down the gutter to the drain pipe, and through the pipe into the tank. It is necessary to calculate the angle of inclination - 2 mm per 1 meter of the gutter. If there is dirt or leaves with drains, then the angle should be increased to 4-5 mm.
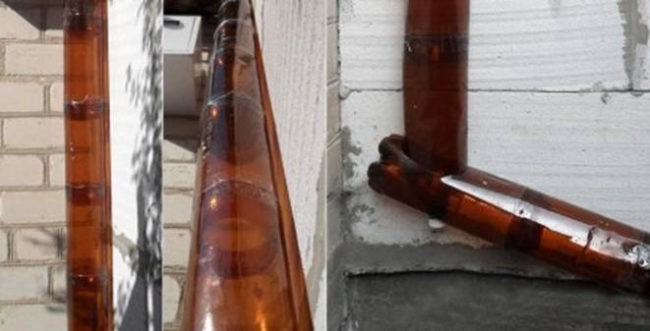
- After mounting the horizontal drain it is necessary to mount the pipe so that water does not flow down the wall - cut the bottom from 1 bottle and fix it to the edge of the gutter with a stapler. Attach the collected waste pipe to the second edge of the bottle.

Results, Pros and Cons
Drainage of rainwater or rainwater from a roof made of plastic bottles has the following positive points:
- zero cost - all the material for construction can be found at home;
- speed of construction - no more than 1 day;
- it is possible to develop and construct plums independently, without involving experts from outside.
Also, this drain has disadvantages:
- short service life - no more than 1 year;
- the system can not withstand heavy loads - in heavy rain it can not cope with the discharge of water.
The use of home-made drainage is temporary and can be successfully used in small country houses. But it is important to consider that in large residential buildings the use of this system is not effective.
 (No ratings yet)