
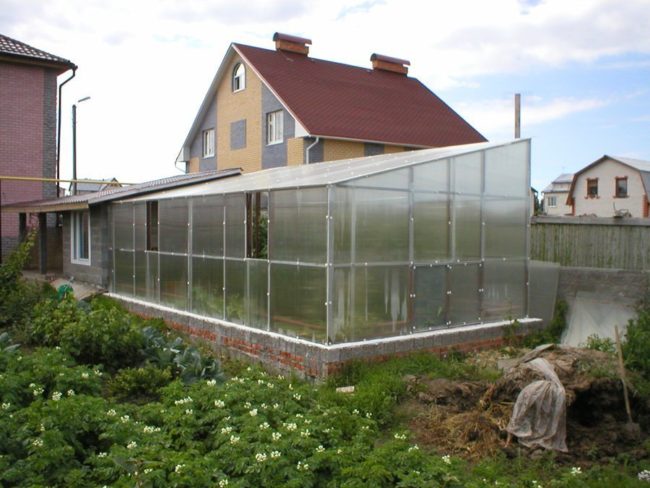
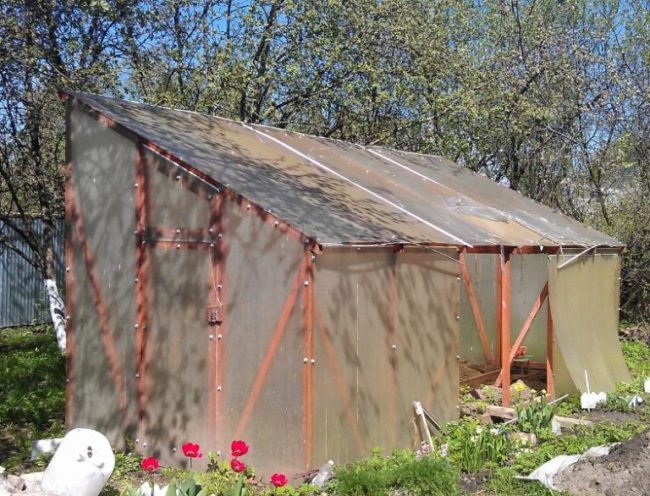
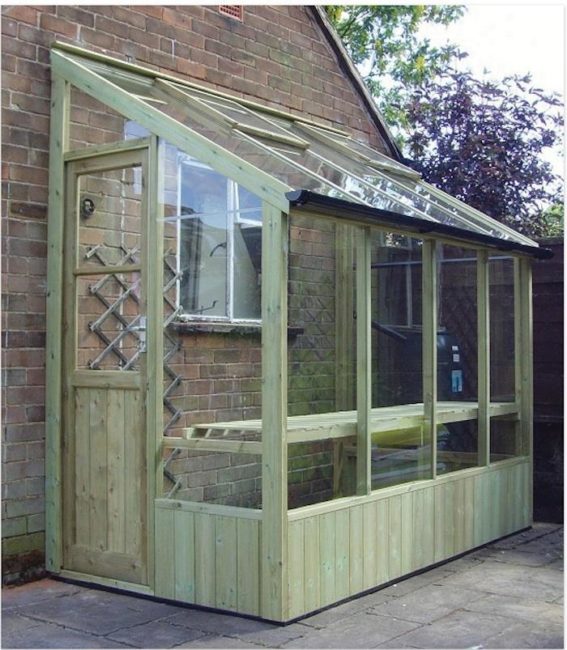
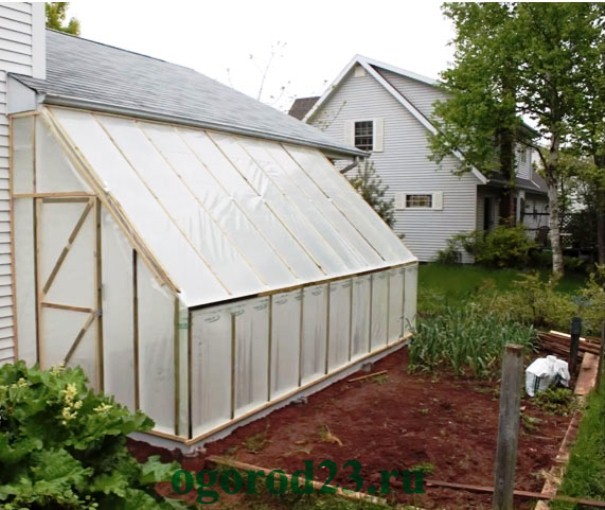
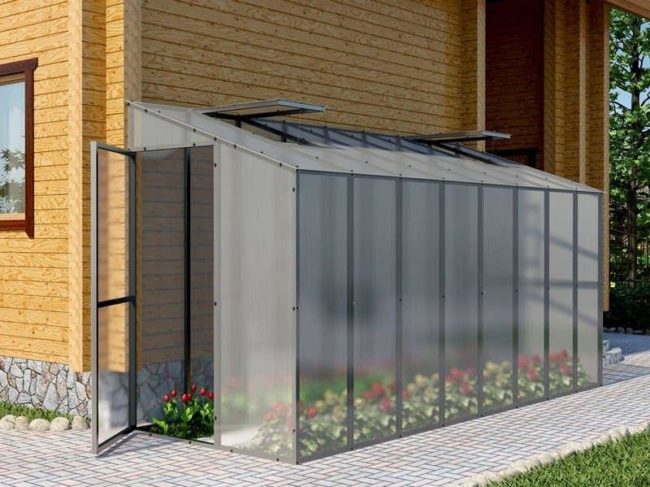
We collect odnoskatny greenhouse

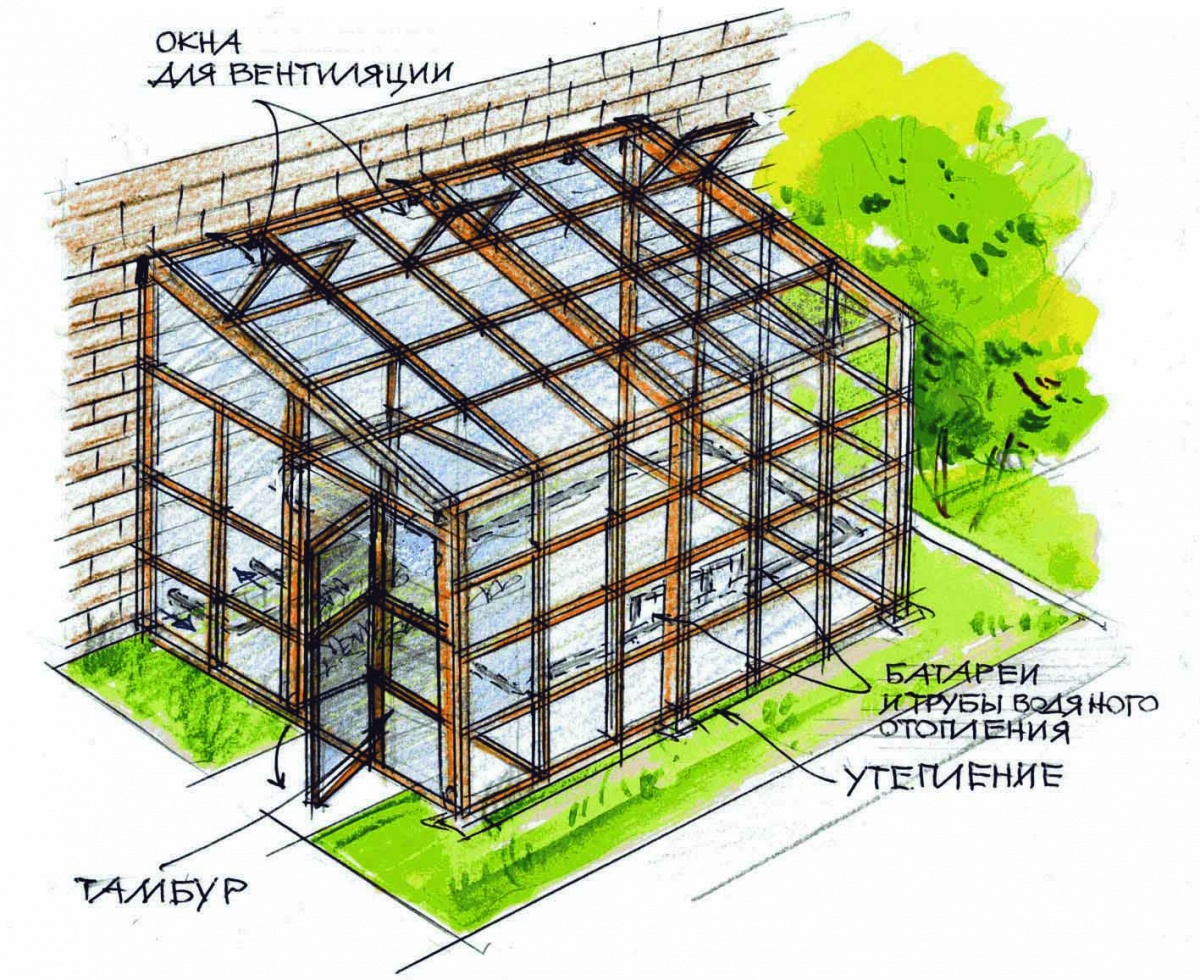
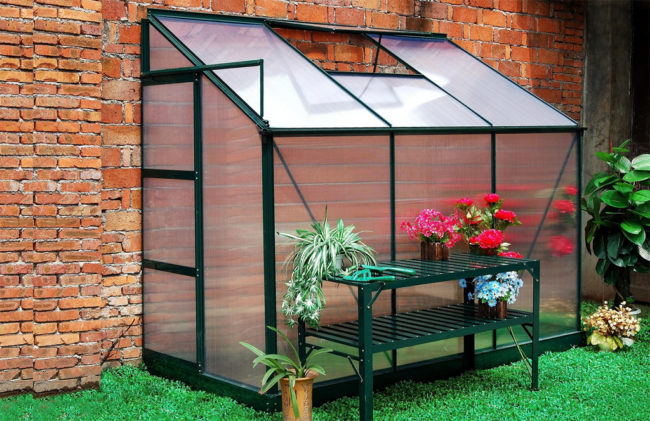
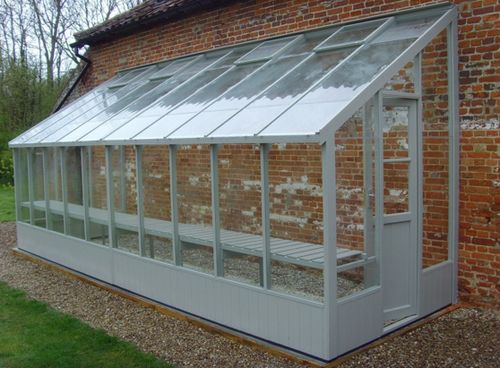
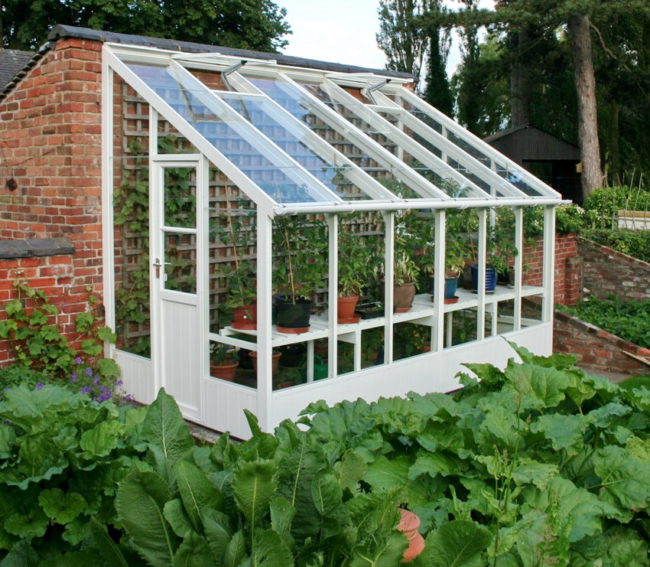
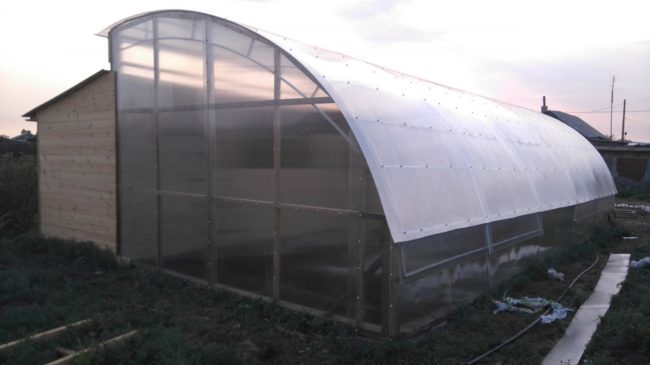
In conditions of lack of free space on the site erect sloping greenhouses with their own hands for 1-2 hours. Mobile and durable design suitable for use during the spring-summer season. The building will protect seedlings from wind and rain. If the greenhouse is located near the house, then it will equip the heating system, lighting and plumbing. The greenhouse, which is planned to be used for 365 days, is equipped with a temperature control system. The list of disadvantages of 1-pitched botany designs include the inability to use them for growing tall crops.
Develop a construction plan
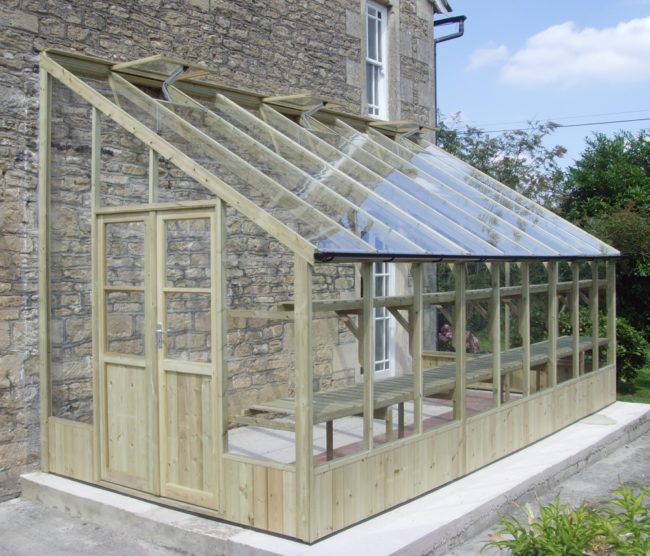
Building a lean-to greenhouse is not an easy task, but the gardener should not relax. Detailed planning is the key to quick and successful completion of work. First, on the site looking for a place where they put the greenhouse. The design is located near the south wall of the building, which already exists. The choice of the other 3 sides of the horizon does not, otherwise the seedlings will not receive enough sunlight.
Greenhouse - the source of permanent moisture. You should not attach it to a wooden wall.
Proper calculation
Accuracy is a guarantee of long-term operation of a 1-pitched greenhouse. The following dimensions will work for the middle band:
- size (roof slope): from 3.5 to 4 m;
- minimum width (for 2 hull type landings inside): 2.5 m;
- passage width between the beds: 1 m;
- length of beds: 80 cm;
- construction height: from 1.8 to 2 m;
- slope angle of the roof: 30 degrees;
- air vents: on 1 greenhouse make 2, each of which is located opposite the other.
The next stage is the development of a project of strip or block foundation. The plot is marked with a peg, based on a prepared plan. Between them pull the rope. Garbage and other foreign objects are removed from the working area. All high vegetation and grass should be removed. Near the place of work create a platform for the storage of building materials. If weather forecasters are not pleased with the weather forecast, then the working area will be equipped with a canopy.
|
Stages of construction |
|
| Blocky | Tape |
| Suitable for structures that are used throughout the summer season. | Suitable for greenhouses that are used throughout the year. Its cost is higher than the block. |
| Dig a trench, based on the previously made markup. Its depth and width is equal to the cross-section of the timber (take wood of deciduous trees), which will be used. | According to the previously made markup dig a trench. Its depth is 50 and its width is 30 cm. |
| Line the walls and bottom of the trench. It is filled 1/3 with sand and gravel. | Level the walls of the trench. Ramming the bottom. The bottom of the trench at 1/3 is filled with sand and gravel. Her ram. |
| Mark a timber, the cross section of which should not be less than 100x100. In conditions of capricious weather, the choice is made in favor of the section 150x150. | Make plywood formwork. Its maximum height above the ground is 20 cm. |
| After the bar is cut, it is treated with an antiseptic solution. | For work they take a solution of concrete of the brand "M200", "M300", "M400". |
| At the construction site, the timber is combined into a single box with a rectangular section. Elements are fixed with the help of corners + screws, or dowels. | Assemble fittings and pour concrete. As soon as the mixture reached the edge of the formwork, it is leveled using the “level”. Conduct installation clamps for anchor bolts. Between them provide an interval of 1.5 m. You need to make sure that the latches are located between the future vertical uprights of the frame. |
| Carefully stack the box from the bar in the trench. Carry out its alignment using the "level" horizontally. If necessary, put a plate under the base. | A fresh layer of concrete is covered with a film of polyethylene. Over the next 5 days it is moistened with water. As soon as the specified time period is completed, the film is removed. Over the next 3 weeks, concrete will pick up strength. |
| The foundation of the bar is fixed. The first way is to drill holes through the wood. Through them, metal pins are driven into the ground. The second method is to install metal pins in the inner corners. | Before removing the formwork, make sure that the concrete has hardened. |
| A layer of concrete covered with roofing material. His task is to provide thermal insulation. | |
On soft plots of gardens, a foundation is being erected on piles. It costs more than block and tape.
Creation of the frame
To work take a finished drawing from the Internet or develop your own. The latter option is justified in the case when a person has experience in the field of design. All work to create the frame is divided into several stages to ensure quality control.

Forming the bottom strapping
Measure and cut off the bars - 1 along the length and 2 along the width of the greenhouse. The material is treated with an antiseptic solution. It will dry within 1 hour. An electric jigsaw form cuts at the ends of the bars to connect them to the floor of the tree. The following procedure is as follows:
- Along the perimeter of the base, holes are made to fix the bottom trim to the foundation
- collect the harness separately - sequentially or only at individual corners;
- holes are drilled in the harness where the pins will be inserted;
- on the foundation set lezhi;
- using the "level" check the installation of structural elements;
- fix the bottom strapping on the base using wood screws.
At the corners of the base, wooden pins are driven into reinforcing bars — they protrude 10 cm above the harness.
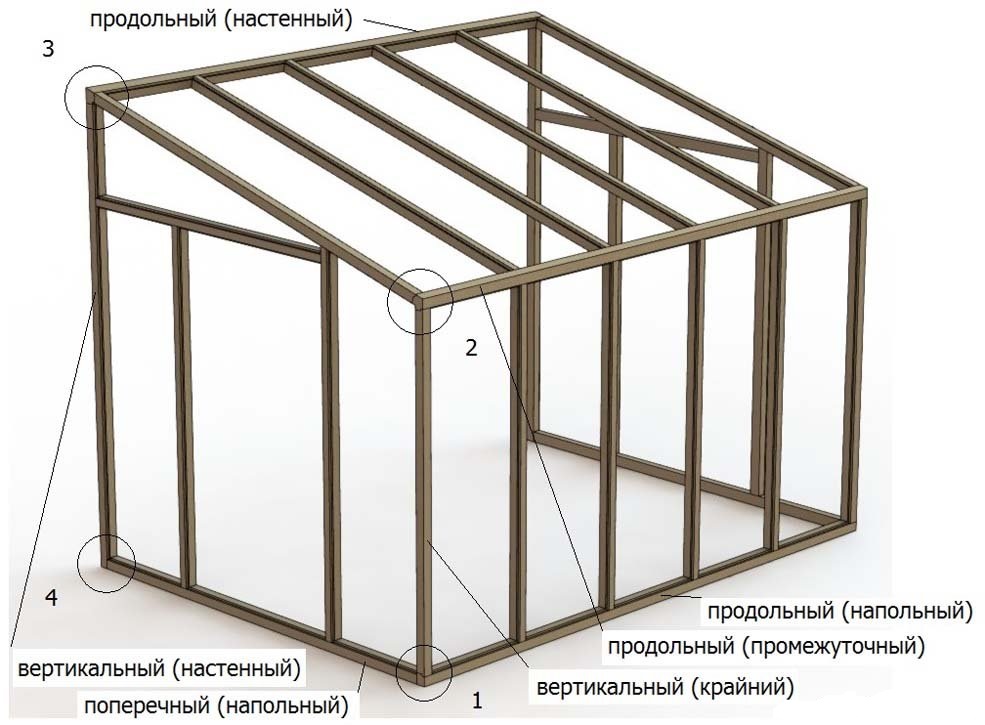
Fasten vertical racks
For work take a bar 50x100. It is marked and cut. In the lower ends of the drilled holes 6-9 cm to install nog. Install the corner posts on the dowels, which can be seen from the bottom trim. To avoid problems during the installation of racks will help mounting on screws or corners. They will not allow "twisting". Consistently install vertical racks using the corners and mounting plates. On top of the racks installed lay the top straps with a cross section of 100x100.

Top trim: how to install
To work take the ladder and electric jigsaw, with which the builder should be "you." Cutting of bars 50x100 is carried out taking into account the future angle of inclination and the length of the rafters. Lay 1 rafter on the top of the harness, so as to eliminate the appearance of gaps. Fix an element with construction screws. In the same way install the remaining rafters. Once the process is complete, a frontal board is mounted over the eaves. Carefully cut off her top at an angle that is equal to the angle of the roof slope.

Installation of braces between vertical uprights
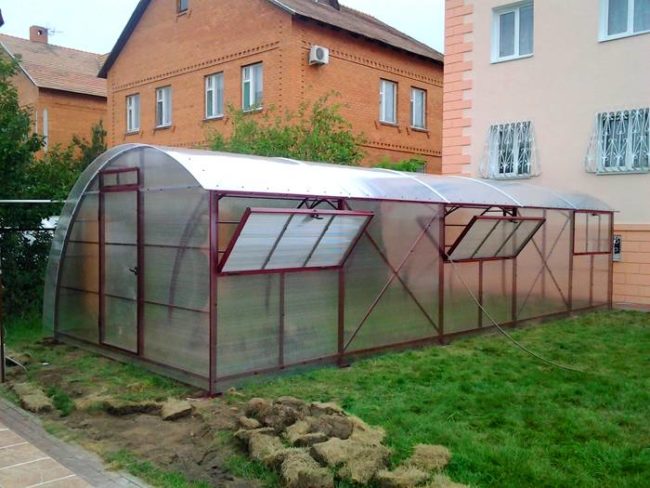
In the greenhouse create an automatic ventilation system using thermal cylinders. They are mounted on the flaps of the vents to reduce or increase t. In the eaves and ridge edges of the rafters perform cuts. They are needed for mounting the upper trim. Before final consolidation, you need to make sure that the roof of the greenhouse has a cornice 5-5.5 cm long.


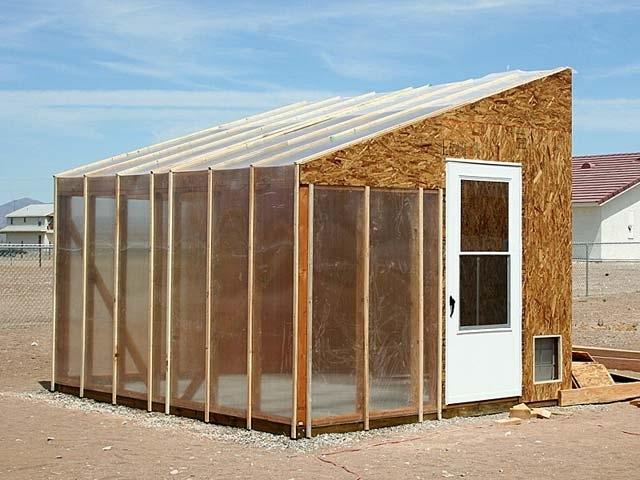


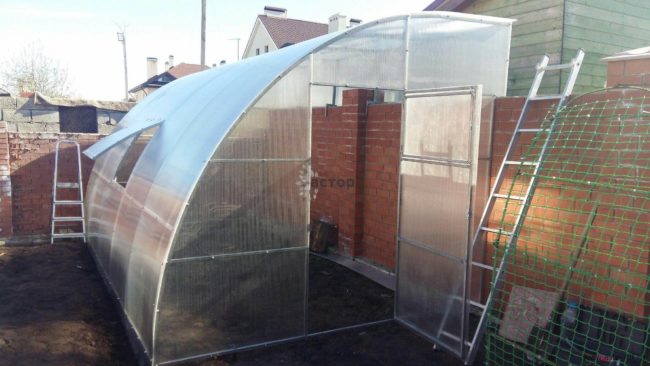

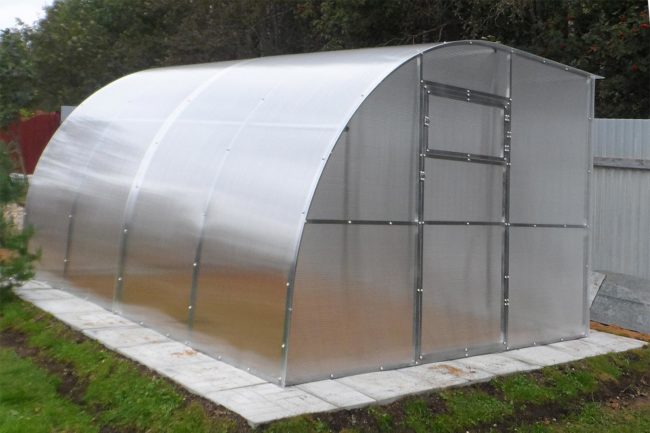
Installation of polycarbonate sheets
Immediately after unpacking the polycarbonate sheets, remove the protective film at the edges. A marking is applied on top of the material. Then cut with electric jigsaw. At a distance of 35 cm from the edge of the sheet, holes are made for thermal washers. The following procedure is as follows:
- in the upper part, the sheets are sealed with sealing tape, and at the bottom they are sealed with perforated tape;
- end profile set taking into account the thermal gap;
- during fixing of polycarbonate sheets to the tree it is impossible to over-pull the sheets;
- polycarbonate sheets applied to the frame (stabilizing coating looks out) at those points that were previously noted;
- Thermal washers are inserted into the holes and screws are tightened;
- polycarbonate sheets are overlapped;
- do the same with the other sheets and roof;
- remove the protective film.
For work, sheets with a thickness of 4 mm and a length of 6 m are needed.
Independent production of lean-to greenhouses does not require skills in the field of construction. The key to success will be a well-developed plan. It takes into account the climatic features of the site, the nature of the soil, which, in turn, will affect the required type of foundation and the duration of use of the structure.
 (No ratings yet)