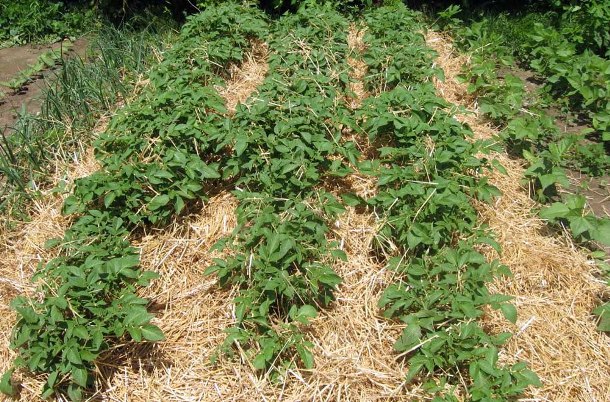
The classical agrotechnology of growing potatoes on their own site includes many stages. It is necessary to prepare planting material and soil, to make a lot of efforts when digging holes, planting potatoes, further hilling it, watering, and weeding. Growing potatoes in the ground is extremely laborious, and the result does not always justify the time and effort spent.
Growing potatoes under straw allows you to minimize the cost of manual labor and, as practice has shown, the quality of the crop is higher than when applying classical agricultural technology.
Content
Description of growing potatoes under straw and hay
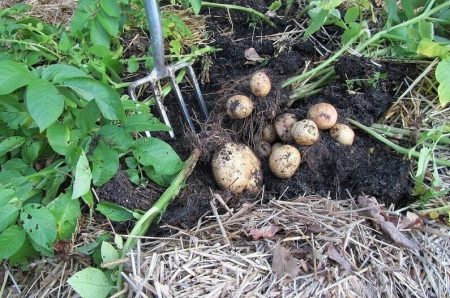
Potato growing under straw or hay is possible. The differences between these mulching materials are as follows:
- straw is harvested from dried up legumes of legumes and cereal plants. It has high brittleness, tubular structure, good vapor and gas permeability. A hue from light yellow to grayish beige, depending on the culture from which the mulching material is obtained;
- hay, unlike straw, is harvested from fresh green forbs. In the hay there are stems, plant leaves, flowers. High-quality hay should retain a delicate floral or grassy aroma, be evenly dried, have sufficient elasticity and low fragility.
How to plant potatoes under a straw?
The planting process begins with the preparation of a plot of land. Dig up the soil and loosen well.
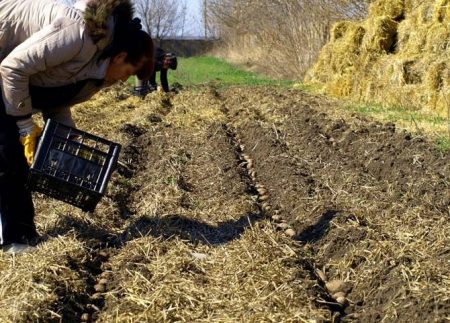
A shovel for planting potatoes is not required. Instead, they use a hoe, chopper or other similar device that allows you to dig straight parallel rows of trenches. A small layer of manure is usually applied to these trenches as fertilizer, after which seed germinated potatoes are laid out. It is convenient to plant potatoes in a row at regular intervals, however, some farmers prefer the “nesting” option.
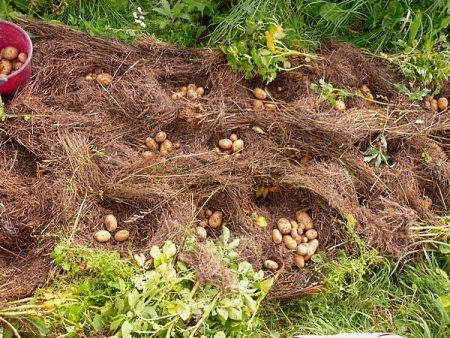
Rows of spreading potatoes are lightly sprinkled with soil, watered and covered with a layer of mulch, that is, hay or straw. During the summer, sprouts are periodically watered, this is the main care for potatoes under the straw. Closer to autumn, when the time comes for harvesting, the tops are harvested and the young potatoes are put into bags by hand.
Planting potatoes in straw is described step by step later, we recommend that you familiarize yourself with the nuances.
Advantages and disadvantages of this method of growing
Potato under the straw: the main positive qualities.
- High landing speed.
- Minimum labor costs when planting and harvesting.
- There is no urgent need to control weeds. Only a bindweed can penetrate through the straw, which does not harm the crop.
- Potatoes under hay do not overreact and do not rot.
- No need to use chemistry. The Colorado potato beetle and late blight do not appear on the foliage.
- The quality and volume of the crop is higher than when planting potatoes in the ground without straw.
- In warmer regions, where the air temperature remains positive in winter, several crops can be harvested in one year. Only in the winter months the straw layer should be increased to 50 cm.
- The probability of piercing the tubers with a shovel and spoiling is excluded. Cleaning is done by hand. Potatoes under hay grows selective, clean.
- Straw and hay can be reused if, after growing potatoes, they are collected in bags and put in a dry shed until the next summer season.
- If hay and straw are not removed, but left in the ground, then good fertilizer will be obtained.
- Actual for infertile clay soils, their structure is noticeably improved.
- The method is suitable for arid, hot regions. Under a layer of straw, the soil does not overheat, optimal humidity is maintained.
Planting potatoes under straw has several disadvantages, namely:
- It is not easy to find enough hay or straw. In this case, farmers additionally use cardboard, sawdust, tops of agricultural plants;
- mice and moles can harm crops. But there is a solution to this problem - it is enough to plant on the edges of the plot several bushes of black root grass (rat-rat, dog tongue) to discourage uninvited guests;
- dense caked straw is not suitable for use, it will be difficult for sprouts to break out, problems with gas exchange may occur;
- if the straw is laid in too thin a layer, the soil under it will overheat and dry out, the potatoes under the hay simply will not spawn, but the weeds will violently make their way to the light;
- too thick a layer of hay or straw will not allow the soil to warm up sufficiently, it will hinder the growth of potato stems.
Potato: growing in straw and hay
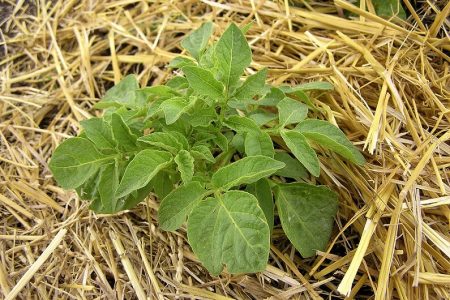
Consider the step-by-step cultivation of potatoes in straw.
Step 1. Soil preparation
Potato is a photophilous plant. For cultivation, it is better to choose a well-lit, open area. Otherwise, the tops will stretch, the leaves turn yellow, the tubers will spoil small.
Soil preparation traditionally begins in the fall. During this period, digging of the earth on the bayonet of a shovel without loosening and leveling is carried out. Along the way, weed roots and beetle larvae are removed from the soil.
In the spring, when the soil warms up to 10 ° C, mineral and organic fertilizers are introduced into the dug up soil.
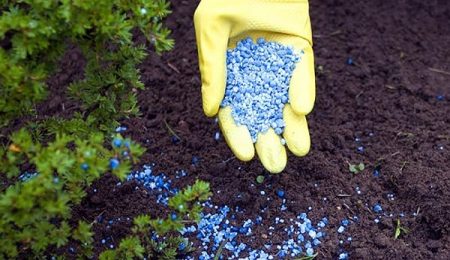
Table. Organic fertilizers for different types of soil
| Soil type | Fertilizers per 1 sq. Km m |
| Clay or loamy | Humus / peat - 1 bucket. |
| Sandy or sandy sand | Humus / peat - 1 bucket, the same amount of clay soil. |
| Peaty | Clay, compost and river sand in 1 bucket. |
Table. Mineral fertilizers per 1 sq. Km. m
| Option 1 | Option 2 |
| 1 tbsp. l powdered superphosphate, 1 cup of wood ash, 1 teaspoon. l potassium sulfate. | 1 glass of wood ash and 2 tablespoons of nitrophosphate. |
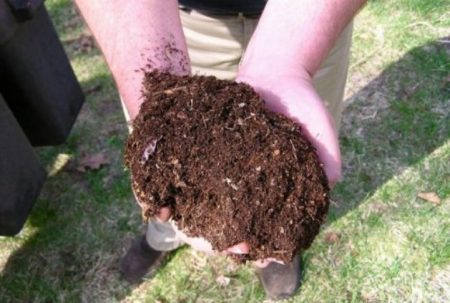
After fertilizing, the sowing area is leveled with a rake. Grooves for planting tubers are dug with a Fokine chopper or plane cutter.
Fertilizing can be done not “randomly”, but directly into the place where the tubers will lie. For fertilizer use:
- peat or humus - one glass each;
- ash - 1 tbsp. a spoon;
- superphosphate - 1 tea a spoon.
Fertilizers are mixed with soil to a depth of 10 cm.
Step 2. Preparing the tubers for planting
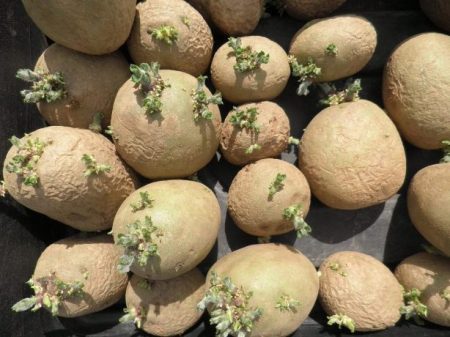
Preparation begins with the rejection of seed material. A richer harvest is obtained from tubers weighing more than 100 g. Suitable for planting tubers weighing from 40 to 60 g. Small tubers are better not to use.
Tuber germination is carried out in well-lit rooms at room temperature and adequate ventilation of the space.
- Selected tubers are strung on a wire and hung in front of the window until sprouts appear. Do not expose seed potatoes to direct sunlight.
- Potatoes are packed in small transparent perforated plastic bags. You can tie packages with thread, twine. In the process of germination, the packets are turned over several times. Transportation of sprouted potatoes is carried out in the same packages, stacking them in any hard container of suitable volume.
What to do if you do not have time to germinate the tubers?
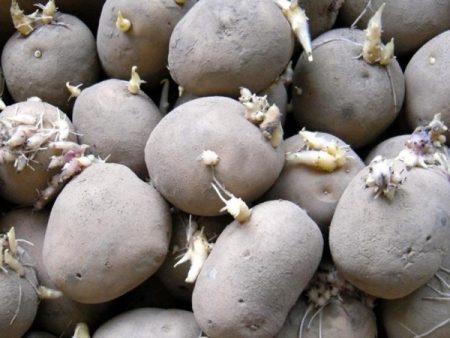
In this case, the potatoes are dried for 8-10 days. Tubers are scattered in a layer up to 10 cm thick in a bright, heated, ventilated room. Tuber sprouts will not appear, but the eyes will become vital, which will have a positive effect on the germination rate and yield.
Step 3. Landing conditions
In order not to constantly measure the degree of soil warming up, waiting for a favorable period for planting potatoes in the hay, you can focus on air temperature. When frozen with decreasing temperature to -3 ° C, the sprouts die. The optimal average daily temperature for the start of planting is + 15 ° С. Typically, gardeners plant tubers from May 5 to 10.
For work, it is best to choose a nice sunny day, land in moderately moist soil. If the soil is waterlogged, there is a high risk of developing rot and crop diseases.
Step 4. Landing Technology
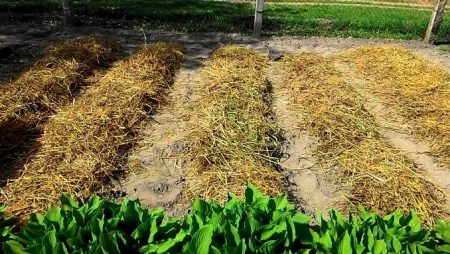
How to plant potatoes under a straw? In prepared grooves, tubers sprout down one at a time. The distance between the tubers is 20-40 cm. The distance between the grooves is up to 70 cm. The tubers are lightly sprinkled with earth. A layer of straw 15 cm thick is laid on top.
So that the straw does not fly apart in gusts of wind, you can sprinkle it a little on top of the ground.
Step 5. Potatoes in the straw: growing and care
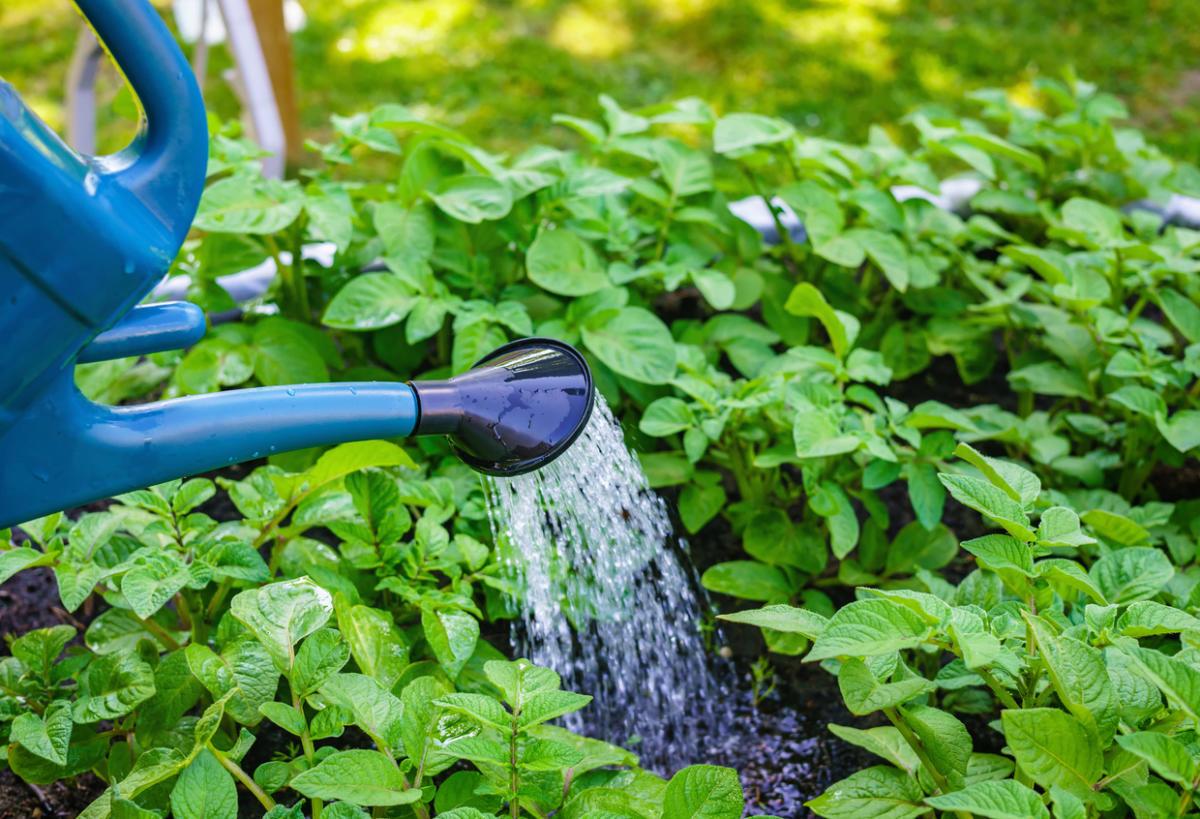
In dry weather, watering is required. For convenience, you can use drip tapes or evenly irrigate crops manually from a hose. The jet must be directed under the root, without wetting the flowers and leaves of plants.
When the stems reach a height of 25-30 cm, you can "spud" them with straw. If the tubers are exposed to direct sunlight, they may turn green.
Step 6. Harvesting
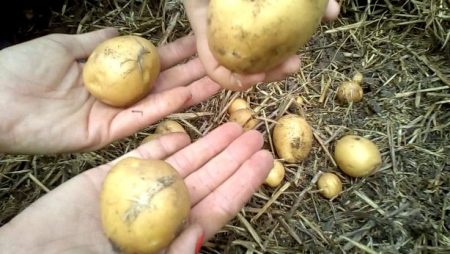
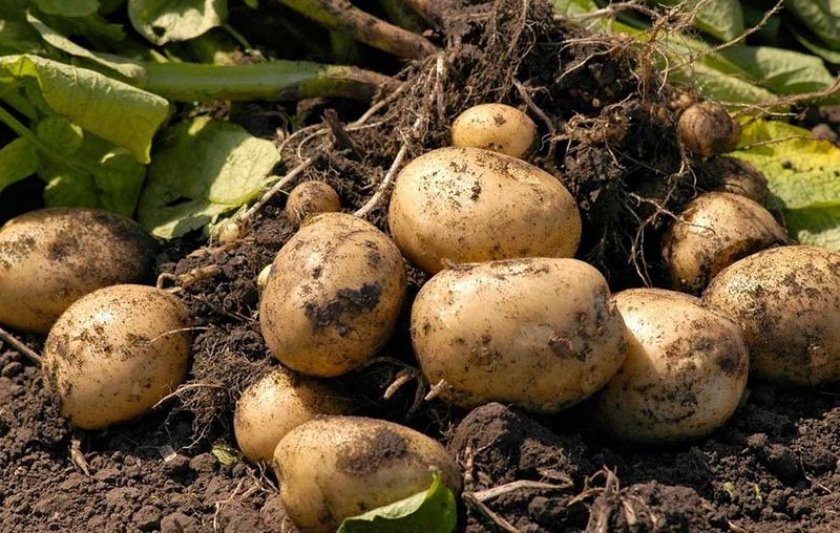
Harvesting is done when the tops begin to dry. On average, it takes 12 weeks to grow potatoes in the hay. You can cut the tops 1-2 weeks before harvesting potatoes, but not necessarily. The tubers do not need to be dug up; they are located under the hay. Some tubers may be sprinkled with earth.
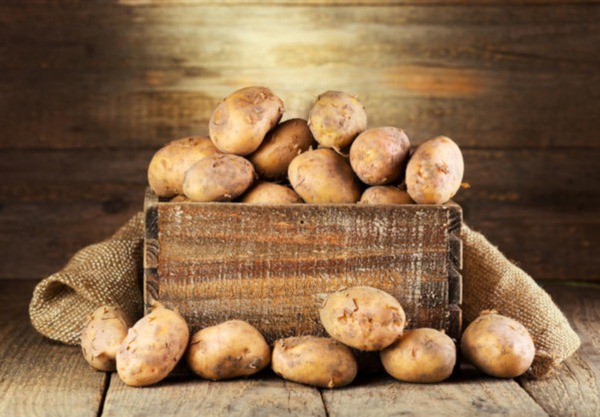
It is recommended to store the crop in perforated bags so that the potatoes do not become damp or rot during storage.
What to do with hay - leave it to fertilize the soil or fold and clean until next spring, each agronomist decides on his own.
Using a minimum amount of straw
Potato under hay and straw: cultivation methods involve the use of a large amount of mulching material. It is good if there are meadows and fields near, but often for gardeners, straw is a scarce material.
Where to get straw? The answer is simple - grow it yourself.
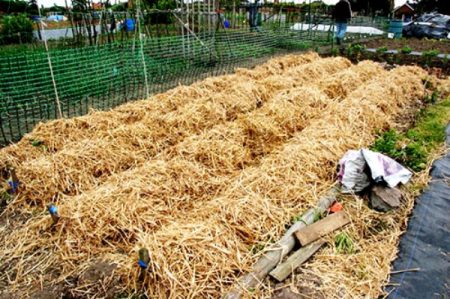
- Define the boundaries of the site where potatoes will grow in the future. Divide the field in two.
- Prepare the seeds of vetch, pea, oat. Stir them and plant them in the ground (one half of the plot) when the snow melts.
- In half of the area where plant seeds were not sown, potatoes can be planted using the classical method.
- When the sown plants grow and dry, you do not need to pull them out.Potatoes are planted right among the stems. How to plant potatoes under straw, decide for personal convenience. For example, you can form “nests” from part of the stems and plant the tubers in the center, and cover the crops with the rest of the hay.
- In the second half of the field, when the potato crop is dug up, you need to similarly sow vetch and oats.
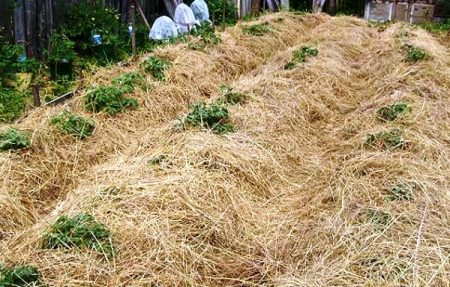
Another option that saves straw is the formation of ridges 10 cm high and 20 cm wide from the ground. A layer of mulch is poured over the ridges. But now it will need much less.
Cardboard and straw as an alternative way of growing
Table. How to plant potatoes under straw or hay without digging.


Growing potatoes in straw using cardboard allows you to effortlessly produce clean, large potatoes, which, moreover, is environmentally friendly.
Reviews
Irina Sh.
I have long wanted to plant potatoes under a straw: I read positive reviews and studied technology.
Planting potatoes under the hay pleasantly surprised me with the result. In the summer I planted potatoes in the holes and under the hay. As a result, 3.5 times more potatoes were grown under hay, there were few weeds, bugs did not bother. On the site where the tubers were planted in the holes, there were a lot of small potatoes and cracked from the heat, they had to spud 5 times and fight with the Colorado potato beetle.
Alexey K.
Growing potatoes under a straw is highly recommended to everyone. However, it is better not to use hay, seeds fly from the grass, and grass grows a lot next summer. When wet, hay is compressed and rots. And straw is a breathable, porous material. I also recommend filling the aisles with chips and sawdust. Comfortable, clean and beautiful.
To get a rich harvest in the fall, you need to carefully prepare the soil and learn how to plant potatoes under the straw correctly. Observing all the nuances, you will receive up to one bucket of potatoes from the bush, visiting the summer cottage only a few times during the summer.
Alexander B.
A great method of growing - potatoes under the straw: reviews should be read so as not to repeat the mistakes of others. We have frosts happen after June 17th. I additionally cover the potatoes with a thick layer of hay, and then I rake it on the tracks. It saved my harvest more than once.
Larisa S.
I am a gardener with experience. Recently I learned how to grow potatoes under a straw. I decided to try it. But the summer was rainy, the crop was nearly destroyed by slugs. I had to collect them in a jar of gasoline.
Nikolay P.
This year, to my fame, potatoes under the straw were born: I learned how to plant from the Web. Faced with the problem of blowing up straw with the wind, I had to cover it with boards, and then completely driven in pegs and pulled on a soft net.

 Description and description of varieties in Belarus with a photo
 Do I need to pick flowers from potatoes: why do they do it
 When to dig potatoes: timing and availability of new potatoes
 How to grow a good potato crop: various methods and methods, planting and care