Planting tomatoes in the greenhouse requires a competent approach
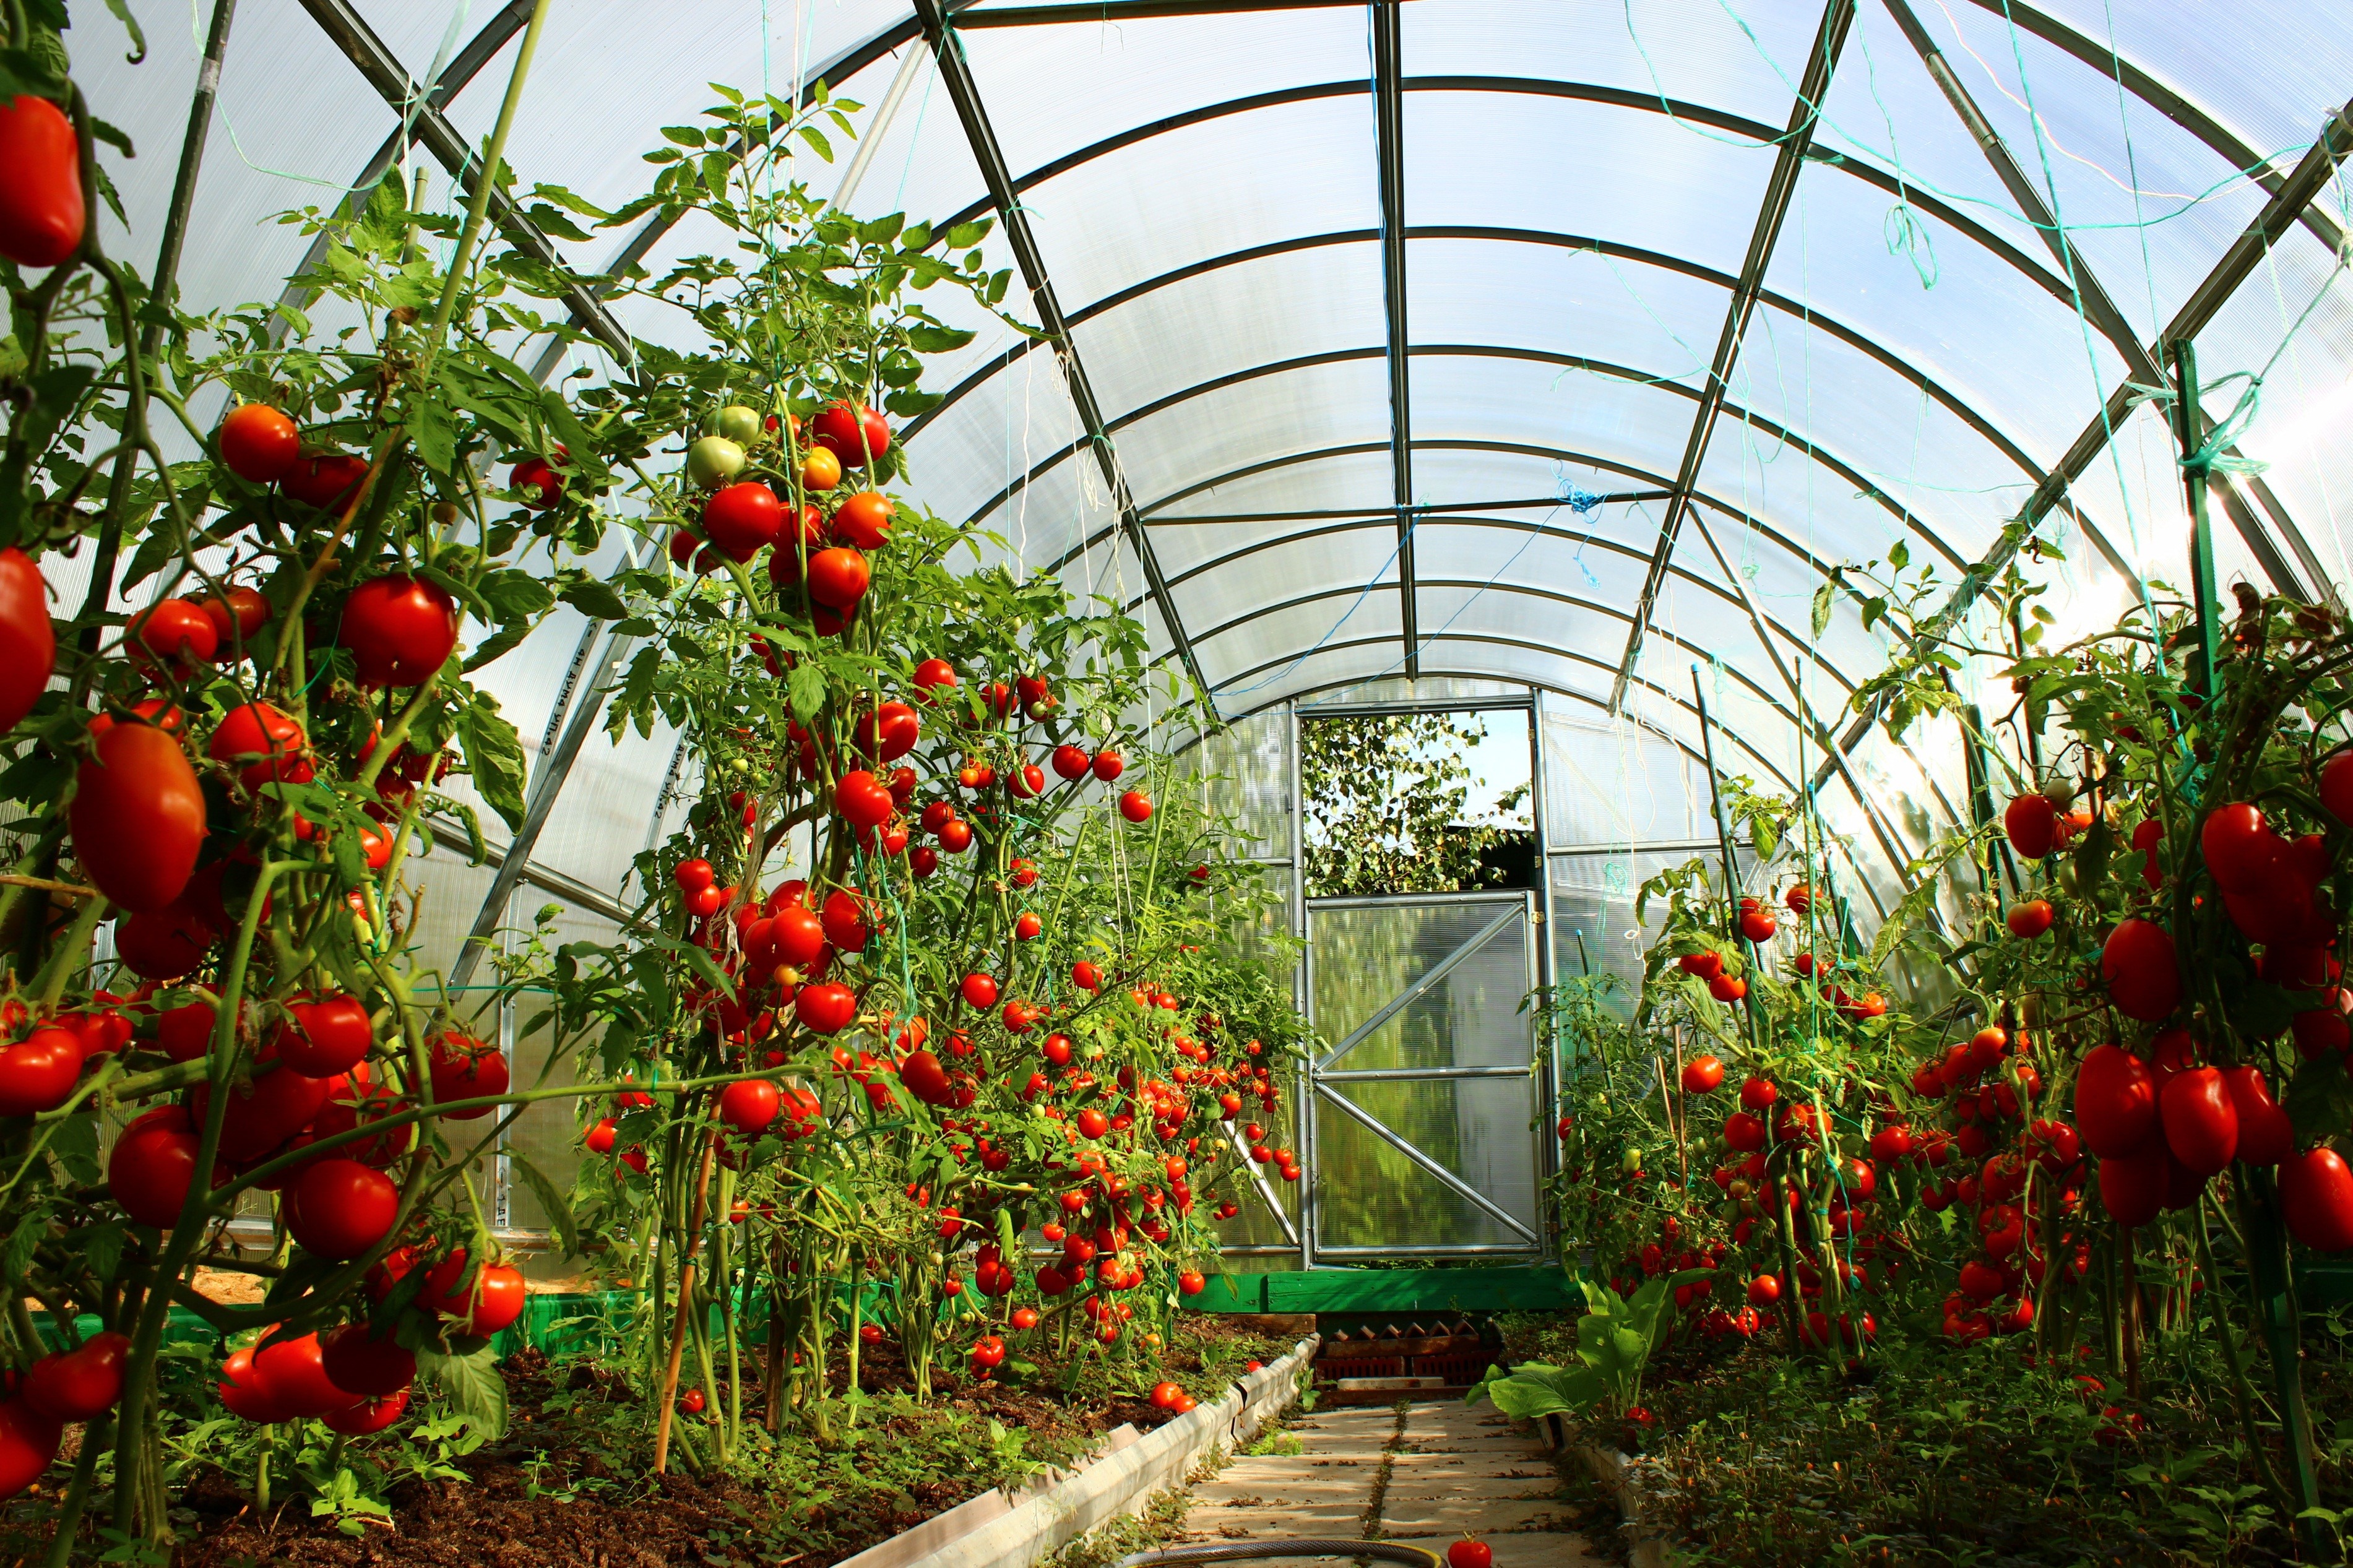
And the thing is in different things. It is important for polycarbonate greenhouses and varieties to be selected correctly, and the seedlings should be planted so as to save space, but at the same time, the crop will be high, and care after planting should be appropriate. so, A plan for planting a tomato in a polycarbonate greenhouse and other questions will be covered in this article.
- Greenhouse tomatoes. Stage One - Selection of Seeds
- Stage Two: Greenhouse Preparation
- Stage Three: the choice of the time of transfer of seedlings to the greenhouse
- Stage four - transfer of tomato seedlings to the greenhouse
- Stage Five - Care
- Diseases of tomatoes in the greenhouse and their treatment
Greenhouse tomatoes. Stage One - Selection of Seeds
 Of course, so that we do not plant, the first thing to do is to buy good seeds. And for greenhouses, they must have certain indicators. Firstly, it is better to buy tomatoes for growing in closed conditions, secondly, those that do not require pollination, thirdly, resistant to diseases (as a rule, hybrids).
When choosing seeds for the greenhouse, consider its size. If the area and height allow, then you can take and tall varieties. They have a very long stem that gives a lot of fruit. If the greenhouse is small, it is better to take compact views.
What varieties of tomatoes should be planted in a polycarbonate greenhouse:
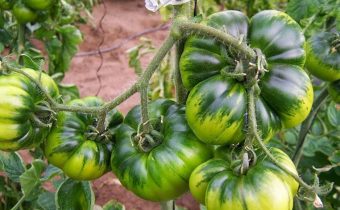
- among tall tomatoes, the best are considered to be: “Honey Spas”, “Mushroom Onion”, “Black Moor”;
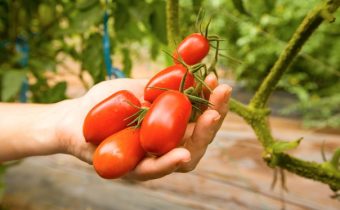
- among the undersized varieties are the best: “Ballerina”, “Pink Leader”, “Summer Resident”, “Fontanka”;
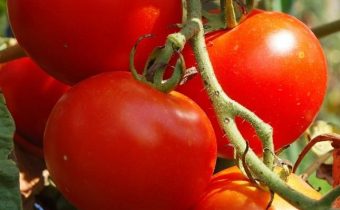
- excellent tomatoes for sale are “Cardinal”, “Monomakh's Hat”, “Canadian Giant”.
Proper planting a tomato in a greenhouse will depend on the type of crop. So, tall varieties can be planted in a row, leaving a small distance between the bushes, as the main thing in this case is a garter vertically. If the varieties are stunted with a sprawling bush, then they are best planted in a checkerboard pattern.
So, the seeds are selected. Now you must sow them. In terms of this is approximately the second decade of February - the beginning of March. If you are new to this business, the seeds are sown in nutrient soil, which you can buy or make yourself from garden soil, sand, humus.
Before sowing any land is better to spill boiling water with potassium permanganate. This will save the seeds from infection by disease. It is also important to prepare the seed before sowing:
- pick germinating seeds;
- pickle them;
- soak in nutrient soil for better germination.
Crops are made to a depth of 1 cm under the film. In phase 2, the true leaflets of the seedlings are spiked into individual cups. If there is not enough light, which can be understood by long, thin stems, then be sure to light up the seedlings. A couple of weeks after thinning, the seedlings are shed at the root of the complex fertilizer. Repeat after two weeks.
When the seedlings strengthened it harden and transfer. Planting tomatoes in the greenhouse requires a competent approach. What are the nuances are important, we describe below.
Stage Two: Greenhouse Preparation
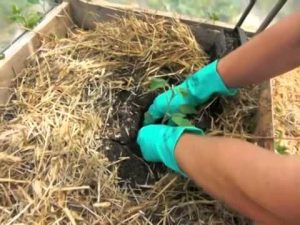 Before you transfer the seedlings to the greenhouse, of course, you need to prepare it. If you are planting a new greenhouse for the first time, then you need to prepare soil. Tomatoes love fertile soil that is light and breathable. They also do not like when the soil is sour. Therefore, check the ground for reaction. If the soil is acidic, then it is lime.
To prepare the soil, you need to take the ground, sand, humus. All this mix and pour on the beds.In order for tomatoes not to get sick, because diseases often live in the soil, and the greenhouse is a humid and warm climate, where pathogenic microflora develops intensively, you need to disinfect the earth. To do this, 1-2 weeks before the intended planting of the soil shed hot manganese solution.
This is especially important if crops were previously grown in the greenhouse and they were sick. In this case, the soil is better not only to spill, but also to replace the top layer with a new one. It is also important to disinfect the walls of the greenhouse itself. To do this, they wipe completely.
The width of the beds is best done at 90 cm, height about 35-40cm. Do not forget about the distance between the rows. It should be at least 50-60 cm for good care.
Stage Three: the choice of the time of transfer of seedlings to the greenhouse
Dates are always determined by the lunar calendar. This applies to planting and trimming and other matters. On average, seedlings begin to be transferred to the greenhouse in the third decade of April - early May, depending on the weather conditions in the region. But most importantly, seedlings should be strong by this time and be at least 25 cm in height.
In the greenhouse, the optimum growing temperature for tomatoes will be 23-25 degrees. If the seedlings are planted early, when night temperatures can be released below -5 degrees, then the seedlings are likely to stop growing.
Stage four - transfer of tomato seedlings to the greenhouse
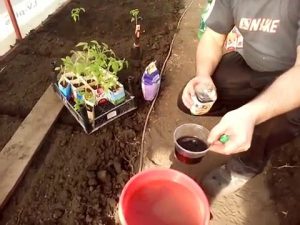 All preliminary work done, you have not forgotten about the garter for high grades. Seedlings are already hardened, it's time to plant seedlings.
According to experienced gardeners, the seedlings do not start to hurt and are well ventilated before planting, in 2-3 days, 3 bottom leaves are cut from the seedlings. And in order to avoid inflorescences, it is recommended to treat the seedlings with a solution of boric acid in water.
The planting scheme will be as follows: tall varieties are planted along the walls and in the middle of the greenhouse, if a bed is made there, in a row. Immediately for tomatoes provide support. These can be wooden sticks, tapestry, ropes, wire that is attached to the ceiling. The distance between the seedlings should not be less than 50 cm. The depth of planting is 4-6 cm. Urea can be added to the well during planting, or you can pour complex feeding. The preparation "Barrier" perfectly is suitable for the greenhouse. He is poured into each well.
If the varieties are undersized, they are planted in beds in a checkerboard pattern, leaving all the same 50-60 cm or more between the bushes.
Stage Five - Care
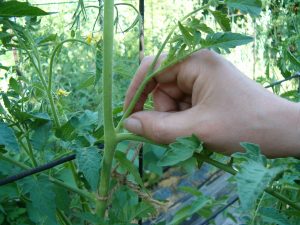 The first thing that matters is how to water the tomatoes after planting in the greenhouse. The first week after planting tomatoes do not moisturize. After that, water plentifully in the evening, necessarily after the watering open the greenhouse for airing. The next day, the soil must be loosened. These measures must be observed, otherwise the stagnation of moisture will lead to getting rot, the development of diseases.
How to fertilize tomatoes after planting in the ground - this is the second important question. After transferring the seedlings to the greenhouse, they do not feed them for the first two weeks. Next, make a fertilizer: in a bucket of water, mix one spoon of dining room nitrophoska and half a liter mullein. After that, pour a liter under each bush.
Two weeks later, spend the second feeding. You can use organic matter, combined with one tablespoon of potassium sulfate. The third feeding is carried out after another 10 days using a solution of ash in water or superphosphate.
Do not forget about foliar feedings. This means that nutrient mixtures need to be sprayed. For this there are different store preparations, such as "Akvarin".
It is also important to look after the tomatoes, so as not to miss the attack of insects. Of course, the greenhouse is protected from their evil actions, but during airing the Colorado potato beetle can easily penetrate into the greenhouse. In this case, either need processing or manual collection.
There are different varieties of tomatoes. Some form little stepsons, others, on the contrary. So that the bushes are not very thickened, and the energy is not spent on excess greens, stepchildren should always be removed in a timely manner.If you do not know what it is - stepsons are called lateral shoots that begin to form in the corners between the main stem and the lateral branches.
Diseases of tomatoes in the greenhouse and their treatment
 As we have said above, the greenhouse is a great place for the development of pathogenic microorganisms, which leads to the fact that seedlings are ill. If you have not properly prepared the greenhouse, bought sick seedlings, then be prepared to face the following diseases:
- black leg - is formed from excessive moisture in the greenhouse. Manifested as black spots on the stem. To prevent tomatoes from suffering this disease, it is important to always ventilate the greenhouse, pour sand under the root, water it only as it dries;
- spotting Also occurs on the background of improper care and high temperature in the greenhouse. It appears as a raid on the leaves and spots, which gradually become brown and dry. You can cope with the help of copper chloric acid or solution with zers;
- strick. Occurs due to high humidity. Will appear stained on the leaves and stalk. It is treated by treatment with a solution of manganese and the removal of diseased parts of plants;
- rot. It affects mainly the fruit. Manifested by rotten sore spots. The reason is the same wrong care. Treatment - treatment with copper sulfate, removal of all diseased fruits, falling asleep at the root of the ash, treatment with Bordeaux mixture;
- phytophthora. The most common disease. It affects both the fruit and greenery with dark spots. Quickly progressing. Treatment is a constant treatment with Bordeaux mixture.
This is the article we have turned out. We hope it was useful for you. Use the tips, and then you can grow excellent tomatoes in your greenhouse.


Olesya
In my opinion, it is better not to plant the greenhouse with tomatoes close to each other, then it is very inconvenient to work with them, to tie up. Even in a checkerboard pattern, it is not always convenient to get to the inner row.
Vera
Last year, for the first time planted tomatoes in the greenhouse, took high varieties. This year, decided to stunted. They are convenient to tie up and handle. And the best to grow seedlings for the greenhouse. Last year I was deceived or simply confused. Giants grew, and there was no fruit.