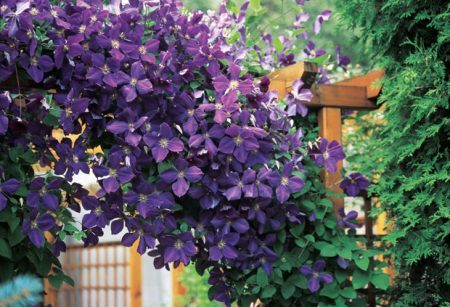
 Gardening your site with various plants helps to make it more attractive and modern. As such a green decor, today clementis is increasingly being chosen. In order for this plant to bloom throughout the summer period, you need to make supports for clementis with your own hands, photos that we offer to see in our article. So, let's look at the options for support for a climbing plant, which can be made independently.
Mesh wall support
If you want to create a solid flowering wall of clementis, we recommend that you consider metal mesh support. Such a support helps not only to create a live flowering hedge, but also additionally allows zoning of the site.
To make such a fence, you need to prepare the following:
- metal road mesh;
- metal fittings;
- enamel for coloring.
Manufacturing technology of the support:
- First of all, the road mesh is taken and turned around. Then, metal fittings are welded to it on the sides.
- After creating the structure, it must be covered with two layers of enamel paint, which will help prevent the formation of corrosion.
- Then, the finished support from the metal mesh is installed and fixed using legs from the reinforcement, which extend to the lower part of the mesh from the sides.
- The legs of the armature are dug into the ground to a depth of half a meter and carefully sprinkled with earth. By fixing in this way, you will prevent the support from falling over during strong gusts of wind.
- The final step is to secure the clementis on the mesh. For this purpose, you can use plastic jumpers or lacing.
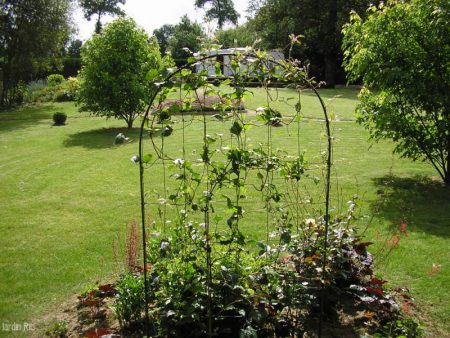
Cylindrical bearing for clementines
With the help of blooming clementis, you can not only create a hedge, but also a separate decorative element on the site. In this case, cylindrical posts made of metal mesh and reinforcement are used as a support. Let's look at this option in more detail. Ways wood processing from decay and moisture.
What is required:
- Metal road mesh;
- Fittings;
- Wire.
Manufacturing technology:
- The metal mesh is twisted into a cylinder and fixed to the sides with a wire.
- Then two reinforcing bars with a length of at least 1 meter are taken and welded on the other side of the structure so that legs with a length of at least half a meter remain below.
- Next, take enamel paint and apply in two layers on the entire structure, wait until the coating is completely dry.
- Now we fix the support with the help of legs from the reinforcement, digging them into the ground.
- Next to the support we plant a clementis plant. In order for the whole structure to be twined with a plant, it is recommended to plant it on all sides.
Rod supports
The simplest in the manufacture of the supporting structure are metal or wooden rods. Today we want to consider the option of support for clementis with our own hands, a photo from the rods.
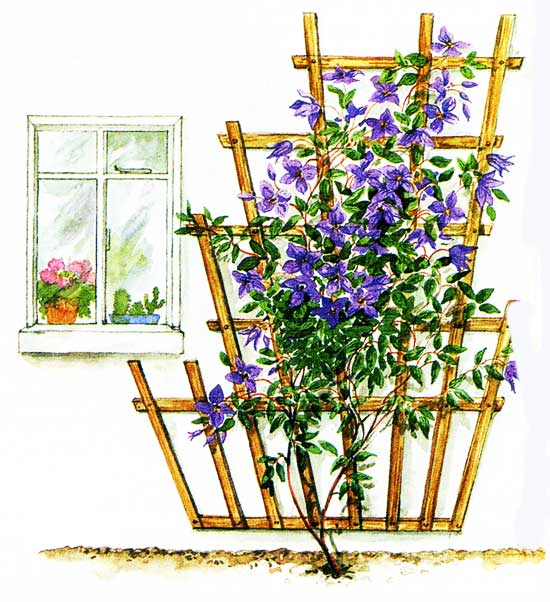
To make such a design, you will need the following:
- Wood or metal rods;
- Harnesses made of rope or wire.
Creating a prop:
- To start, prepare the rods. If you take metal products for the construction, be sure to first apply several layers of enamel paint on them. Wooden products are carefully cleaned of bark and impregnated with a composition against decay.
- Now we take the rods and dig them into the ground up to 0.5 cm.In this embodiment, the location of the rods may be in the form of a straight row or a semicircle. It all depends on what you want to achieve as a result.
- We connect all the rods with bundles or wire. This will increase the stability of the structure. Additionally, using harnesses, it is possible to form a certain bend of the rods and their inclination.
- The final stage is the planting of plants along the support and the further formation of the decoration of the support with waving flowers.
Arch support
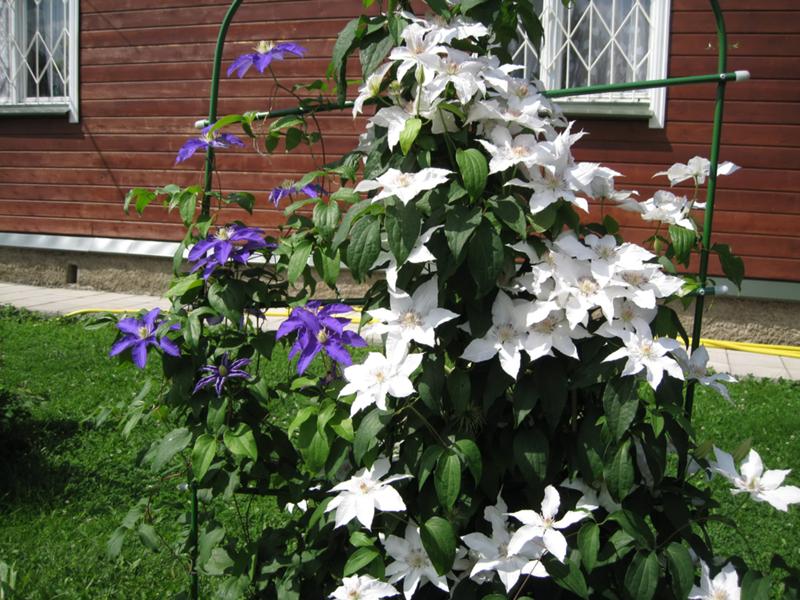
As a support for clematis do-it-yourself photos, you can use designs in the form of a beautiful arch. This option is usually recommended to decorate the entrance to the site. Let's take a closer look at this type of support and its manufacturing technology.
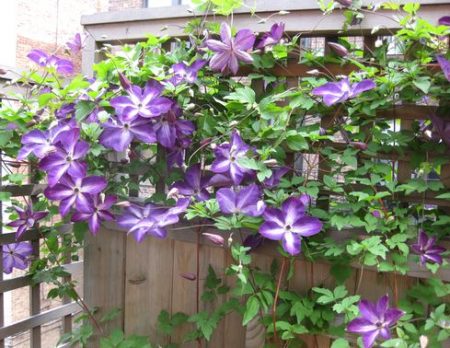
What is required:
- Metal pipes with a diameter of at least 3 cm - 4 pieces;
- Rod metal section 1x1 cm;
- Mortar concrete.
Description for manufacture:
- Before proceeding with the construction of the arch-shaped structure, its future width should be carefully measured. To do this, you can use the following calculation. If the path where the arch will be located has a width of 110 cm. Then the width of the arch should be at least 120 cm.
- Decided on the width. Now we begin to establish the design. To do this, we dig in two metal pipes on each side and carefully compact the earth around them.
- Next, we take metal rods and wrap them around our pipes, as if connecting them together. To create an arcuate arch, you must first bend the metal rods on a rolling mill. Then we weld them to the pipes and tie them additionally with wire or rods with a smaller thickness.
Next, we decorate the arch with plants and plant clematis next to the arch. If you want to get a stronger and more stable design, then the base of the legs can be concreted.

 Clematis - the best varieties for the Moscow region