The best tools for digging pits under the fence posts
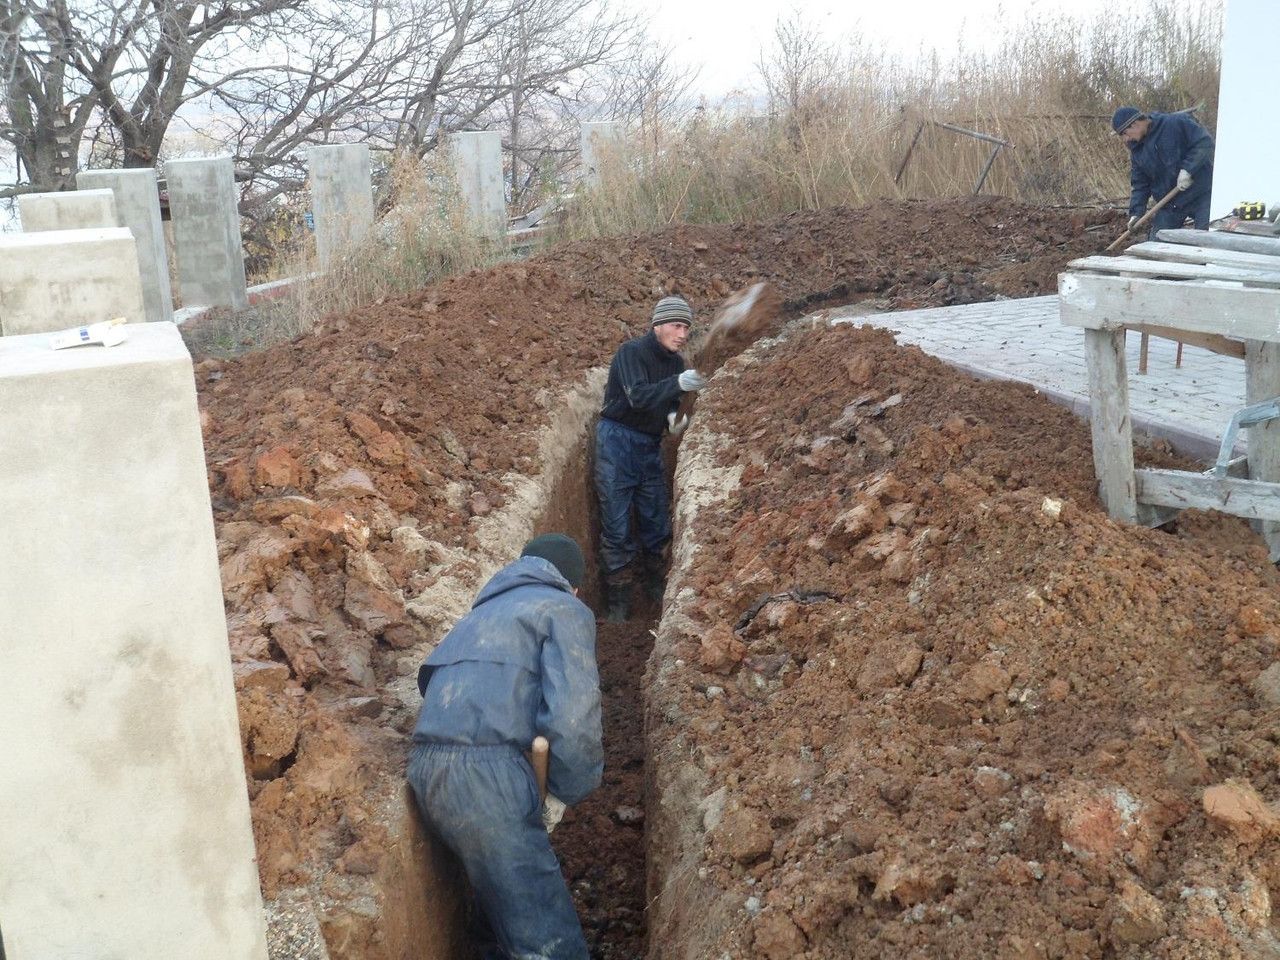
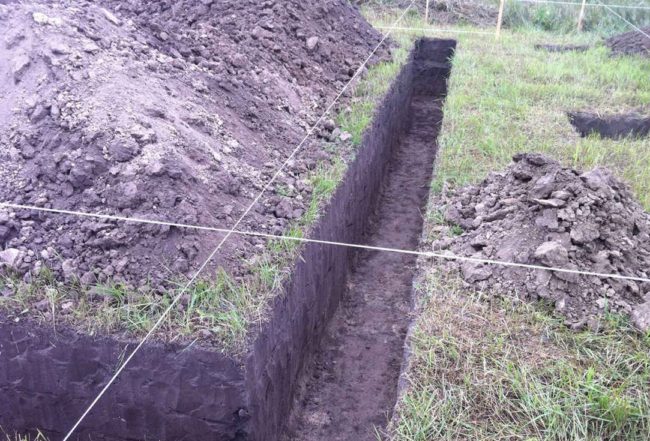
Pits under the fence posts are dug by hand with shovels or drilling tools. The depth of the wells depends on the height of the fence and the material for the supports. They are wooden, metal, reinforced concrete, different diameters, sections and weights. The main condition in preparing the pits is that after installation, the pillars must stand securely, neither sink nor fall apart.
What ways are there
Different methods can be used to prepare wells:
- digging with shovels or drilling with hand drills;
- partially mechanized drilling - drills on the basis of motoblocks;
- machine punching of holes - performed with special equipment.
|
Ways |
Virtues |
disadvantages |
| Manual punching with a shovel | Minimum cash outlay | It takes a lot of time, it is physically difficult, it is inconvenient to get the soil from the pit of small diameter |
| The same with the use of garden hand drills | Work time is reduced by 2 times, the soil can be easily removed from the well. Exercise decreases. Two people can work simultaneously. Make a drill can do it yourself | In the absence of a tool, you will have to buy it or make it yourself. For digging deep wells (over 50 cm) are not suitable because of the inconvenience of ejection from the well |
| Use of drills on motorblocks | Work is performed faster than a shovel 5 times. Not felt the burden of excavation. You can assemble the installation on the basis of a conventional motoblock and converted bayonet shovels | Increased fuel costs for refueling the engine |
| The use of special equipment | Summer residents and owners of personal plots are completely exempt from hard labor in digging holes. | Rental of special equipment increases the cost of the fence device |
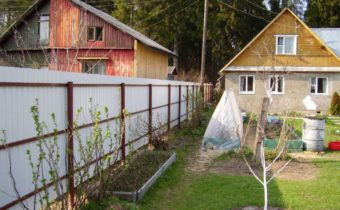
Country owners prefer to use simple tools for such work. They try to avoid the extra costs of preparing pits for installing pillars. Fences are built low to 1.5 meters, so it is better to dig wells with a depth of no more than 60-80 cm.
Basic tools and fixtures
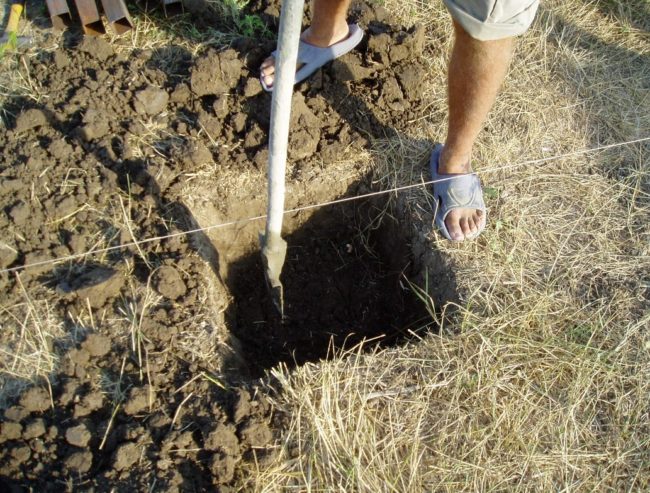 A shovel can be useful for removing the top layer of earth. First outline the boundaries of the future hole. Shovel cut off the sod layer, take out the ground.
Further in work the garden drill of a certain diameter is necessary. You can buy it in specialized stores. The price of such a drill is not very high, from 900 to 1300 rubles. The range includes tools with blades of different diameters. You need to choose a drill according to the size of the disks; it should be 5-7 cm larger than the cross-section (diameter) of the post.
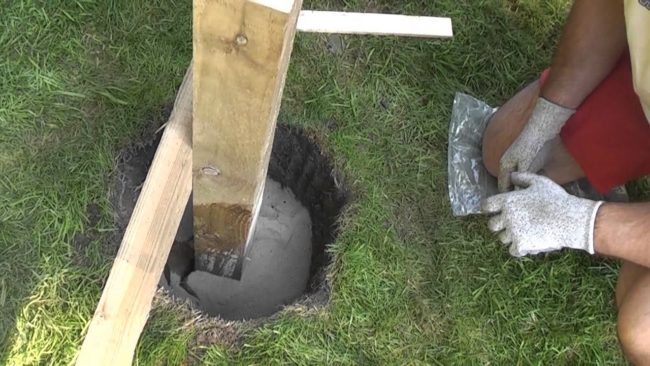
After installing the pillars, voids inside the well are filled with fine gravel and tamped with suitable-sized appliances. It can be cuttings shovels, hoes, rakes. For greater strength, the pit is poured with cement mortar in the ratio: cement - 1 part, sand - 1 part, water - 2 parts.
During the drying of the solution, it is necessary to fasten the posts with braces so that they do not rock. It will also be useful to have a building level that checks whether the posts are correctly installed.
Tool preparation
Shovels, blades and the tip of the drill before starting work must be sharpened.New cheap tools often go on sale with such a lack due to the fault of the manufacturer.
To avoid delays in the work, you must first correct this defect. For sharpening, use the "grinder", but if it is not, then you have to spend time and sharpen the tools with a regular file with a coarse-grained canvas.
Now everything is ready - you can proceed directly to the drilling of wells.
Drilling holes: step by step instructions
Punching holes for the installation of pillars is the most time-consuming process when installing a fence. However, gardeners do not stop in front of difficulties in order to reduce the money spent. Strong men can dig up to 8-10 holes a day about 1, 5 meters per day. Each of them takes at least 30-40 minutes to prepare.
- Mark the place for the pits. Width, length and depth of them - in the spade bayonet.
- Cut off the turf layer, remove the ground.
- Hand drill set vertically in the center of the hole.
- Begin a circular motion tool. On the handles of the drill need to slightly push down from the top.
- Take out the screw with the ground, shake the soil with the blades.
- Measuring tape measure the depth of the hole.

The work continues until the digging of the hole of the desired depth.
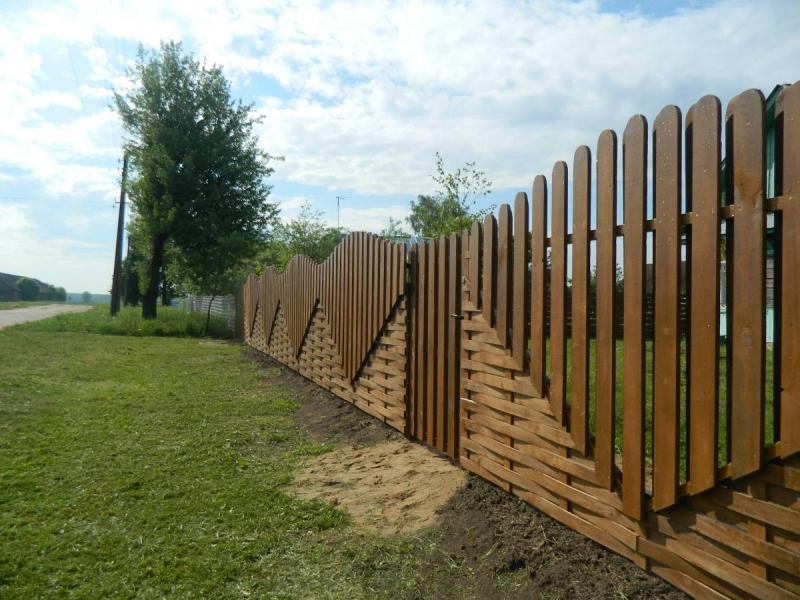
Properly prepared pits for fence posts are a guarantee that the fence will withstand heavy loads during bad weather. He will serve the owners for many years.
 (No ratings yet)