
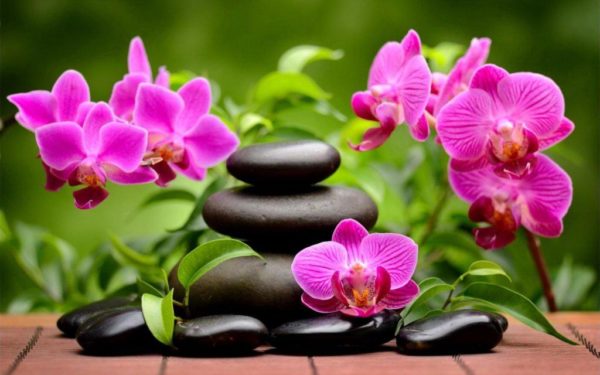
Plants growing in a home or apartment require care. One of the points of the event is replanting old flowers and planting new ones in pots and other containers. Orchids have their own list of rules to qualitatively transplant plants into the ground. Care should be taken to the root system of the orchid. It is characterized by a high level of fragility. Damage prevention measures are required.
Content
How to plant an orchid in a pot
Correctly plant an orchid in a large pot using developed algorithms. The detailed plan step by step explains each stage of the transplant and gives advice. Planting orchids at home involves the selection of materials (pot and substrate), based on the needs of the particular cultivated variety.
One of the rules is moving the flower to a new “home” when indicated:
- The time has come. Transplantation is carried out every 3-4 years.
- The soil in which the flower is planted has deteriorated.
- Found parasites in the substrate.
- The measles system is moldy.
- The previous pot became small in volume.
Is it possible to plant an orchid at home in a new pot? It is dangerous to transplant orchids without emergency indications due to the fact that they negatively perceive the process of movement.
Pot selection
It is possible to grow a small orchid on any surface. As a basis, you need to choose a pot, a vase, polystyrene, stones, etc. For beginners, it is recommended to use pots for planting.
Before starting planting work, you should choose the capacity:
- In a ceramic pot. Unglazed ceramic pots have a high permeability, which provides the desired level of ventilation for the root system. There is a lack of material: reduced ventilability due to the penetration of salts into the pores of ceramics.
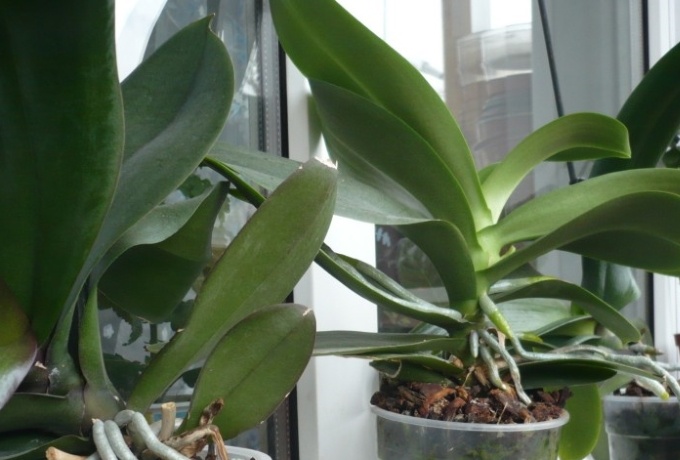
- Plastic pots and pots baskets. Orchid should be planted in transparent plastic. The absence of an opaque layer allows access to daylight to not only the plant, but also its root system. This planting option positively affects the flower during the period of active growth and flowering. The transparency of the material allows you to track the condition of the roots, in time to prevent decay and the development of mold.
- Glass. The material has pros and cons for planting a flower. The positive features include transparency, which gives the roots the opportunity to enjoy sunlight on an equal footing with the stem and leaves. Minus: a glass pot will not be universal. It is suitable for a limited number of orchid varieties, whose roots are more resistant to substrate moisture. It is recommended to avoid leaving the plant in a glass vase in an open area with access to direct sunlight. Due to the properties of the material, the orchid can get burned.
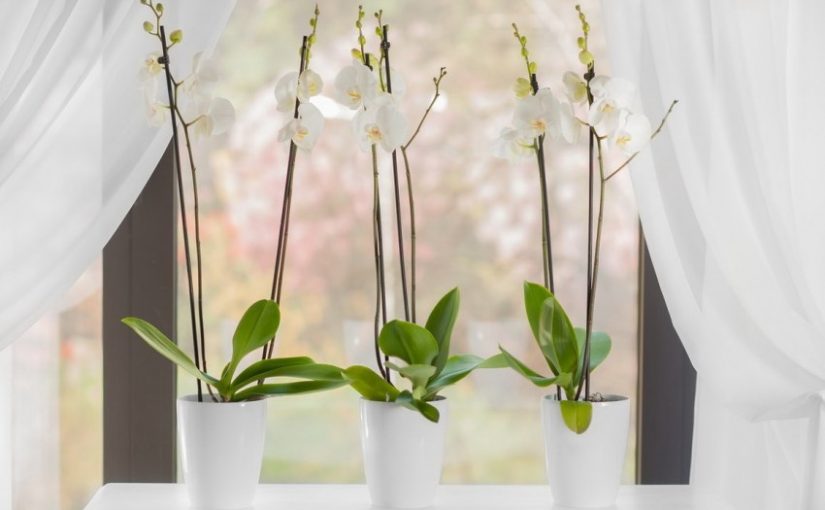
An important criterion for choosing a capacity for a flowering plant of the orchid family: preference for width rather than height. The plant grows to the sides, which explains the requirement for a wide "house".
 You may be interested in:
Soil preparation
When the choice of containers for working with the plant is made, you need to start preparing the soil mixture. You can buy ready-made sweeps in the store or make up the substrate yourself.
Planting an orchid in a pot with homemade soil will be correct. This is due to the fact that the gardener initially selects the components of the substrate suitable for the plant variety.
How to make up the soil at home:
- For manufacturing, crushed to a state of small pieces (2.5-3.5cm) fern root is suitable.
- You can use small pieces of pine bark.
- Sphagnum. This type of moss is used in dried form. It serves as a "store" for moisture in the pot.
- To the main material you need to take expanded clay or charcoal / activated carbon. The presence of additional components in the pot helps to regulate the acidity of the soil, is part of the antiseptic and drainage systems.
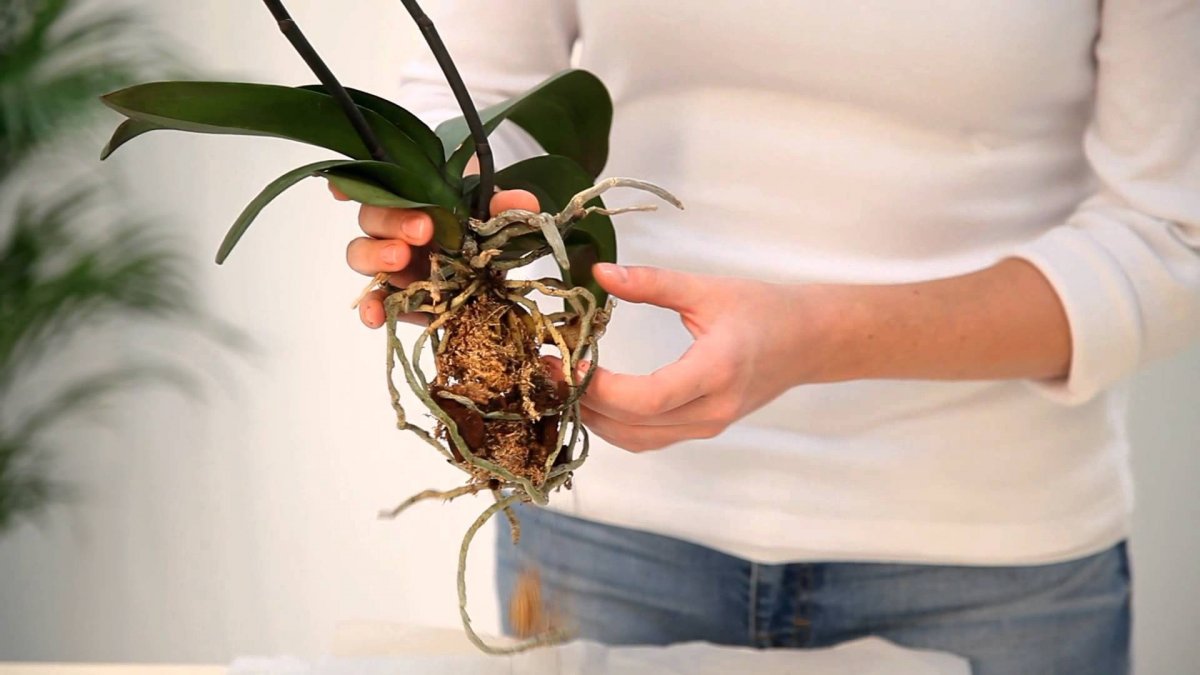
Root treatment
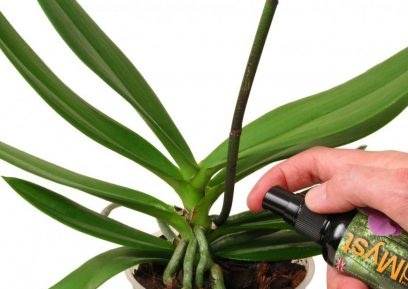
To plant an orchid in a pot you need to carefully, in compliance with all precautions. This is due to the high fragility of the root system and requires the processing of orchid roots before starting work:
- Abundant watering. This will allow the roots to gain flexibility. It is used as a preventive measure for broken roots when extracting a plant from a pot.
- Ground clearance. If there is sticking to the root system, all contaminants must be removed.
- Inspection For orchid planting to be successful, all parts of the plant must be healthy. The diseased root loses turgor, lethargic, soft. It can give off an unpleasant odor and color changes.
- Removal. Identified diseased and empty roots should be removed from the plant. To do this, the affected part is cut off with a capture of 0.5 cm healthy.
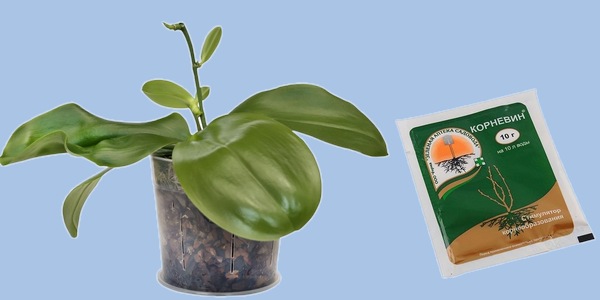
- Treatment. Splicing places need to be sprinkled with powder from coal. It acts as a way to disinfect and prevent root infections.
When a diseased plant enters a new soil, the substrate is infected. This condition will require a new transplant. Due to the fact that orchids are difficult to tolerate the change of "home", the likelihood of death of the flower increases.
Step-by-step landing instructions
There are many methods, including non-standard, unusual methods of planting orchids. They consist in the process of planting a plant in stones, on a foam base, in a cache-pot, woven from wire or vine baskets.
Beginners are advised to plant orchids at home in the classical way:
- As part of the first stage, prepare the plant and root system for planting in new soil. Remove the orchid from the old container, check the roots, and, if necessary, treat the sections with charcoal. Let the plant "breathe" in the fresh air for several hours.
- Next, do the preparation of the substrate. If it is shop soil, it is recommended to dry it within 10-15 minutes. If the substrate is made independently, you can immediately fall asleep in the selected container.
- The next step is planting an orchid in a pot. It must be carried out carefully so as not to damage the fragile root system.
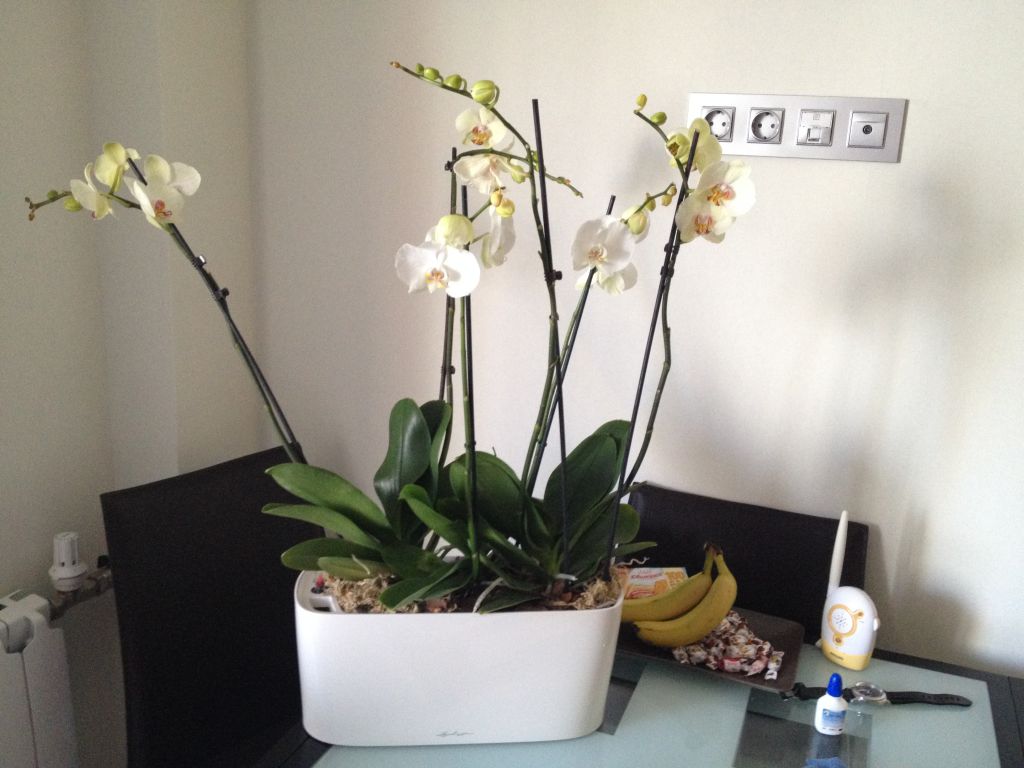
- Plant fixing. The first time after planting in a new substrate, the plant does not have time to take root, which leads to a fall of the flower. As a preventive measure for traumatizing a plant, it is best to strengthen the flower in the ground with a garter.
Compliance with all points of work ensures the correctness of planting work and the speed of adaptation of orchids.
Landing Features

In connection with the presence in the free sale of various plant varieties for home cultivation, there were features of planting a number of orchids:
- Phalaenopsis and the Vandov tribe. To plant them, you need to use a container with transparent walls. Drainage holes should be made in them. At the bottom of the tank fill the drainage in the form of pebbles or expanded clay. It is recommended to install a medium-sized foam block in the middle of the pot. Next, fill the container with a substrate with particles up to 3.5 cm. Large size is necessary to create voids in the soil. Set the plant so that only the root system is placed in the substrate.
- Moisture-loving orchid species (madevalia, oncidiums, etc.) require large-sized drainage in a layer half the capacity selected for planting. Lay out the substrate for growing on top of the drainage layer 9-10cm. Place the plant in the ground to the base.
- Sympodial plant species. As a container, use a low wide bowl with a drainage layer at the bottom. The substrate may contain small pine cones or bottle caps. The orchid itself should be planted with the edge of the bowl. This allows for convenient growth for the roots.
In order for the planting to be carried out correctly, you need to know the variety of the selected orchid and the features of its development.
 You may be interested in:
Fixing a flower and leaving after planting
As a basis for strengthening, you can take a stick to which the stem of an orchid is attached. If a short flower is planted, or a baby orchid, it is enough to do with garters made of soft material that are attached to the hole on the edge of the pot.
If you need to plant several orchids in one pot, each of them must be fixed individually in the soil. This will avoid a "chain reaction" in case of unsuccessful garter of one of the orchids.
Moving process from an old pot to a new one - a stressful situation for a flower. For this reason, from the moment the orchid is planted in the container, the stage of nursing measures begins:
- Weekly quarantine for the plant. The period consists in moving the plant to a shady cool place.
- It is recommended to suspend watering for 5-7 days from the moment of planting.
- Checking the substrate and timely replacement of individual parts if necessary.
If the rooting of the plant has occurred, after 7 days it can be returned to normal conditions.
Orchids are unpretentious in handling, require minimal florist skills. The peculiarity of the care of varieties is watering and providing lighting. This increases the percentage of popularity among lovers of home flower gardens. You can plant an orchid in a pot, vase, basket, in a cache-pot and on a block of a piece of wood. It is recommended to use the developed work algorithms. The subsequent life of the grown plant depends on the quality of preparation and planting.
 Reasons why orchids fall flowers and what to do
 How to use hydrogen peroxide for orchids and why
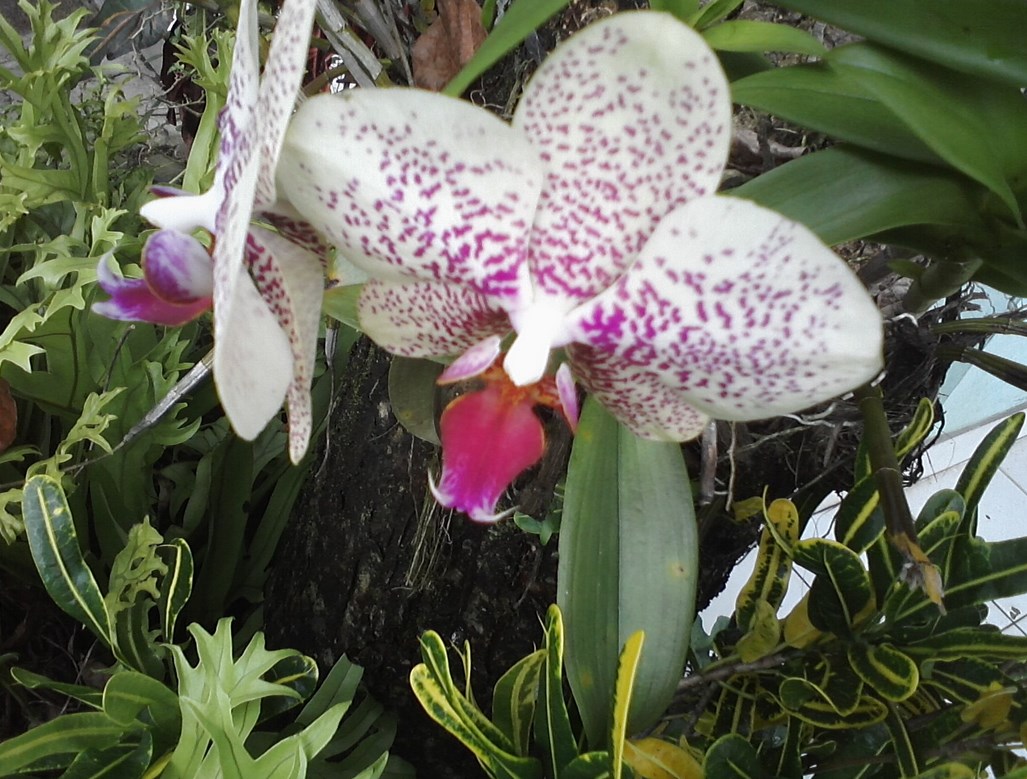 Midges are wound up in the orchid: effective ways to get rid
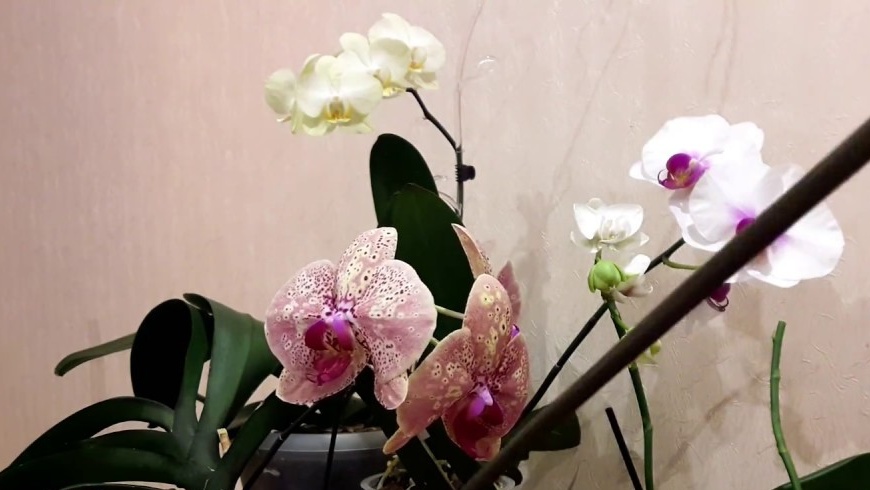 Is it possible to transplant an orchid during flowering