
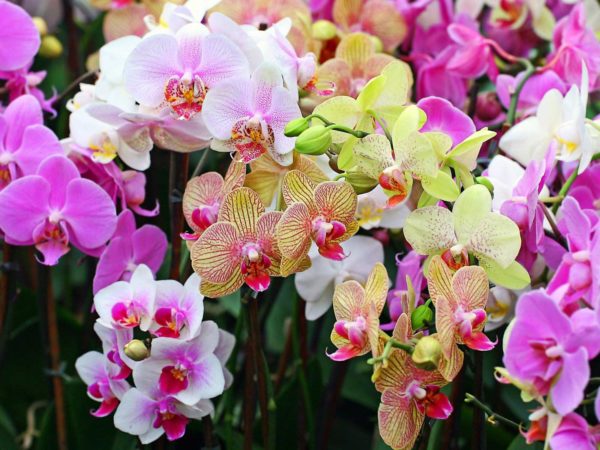
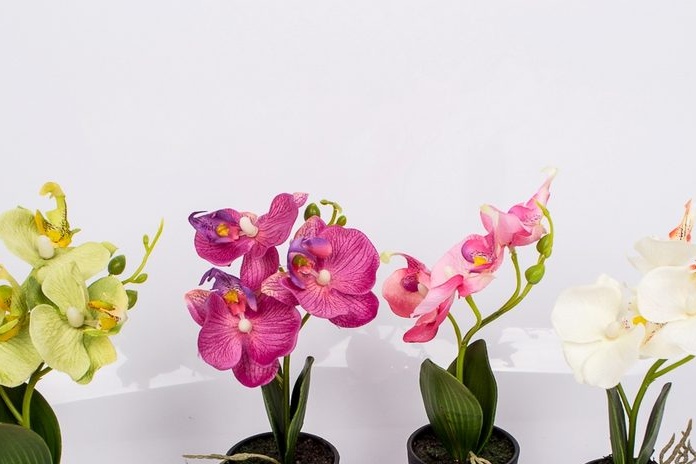
Phalaenopsis is a hybrid flower that is considered the best plant for those who have always dreamed of growing an orchid at home, but did not know how to do it correctly. Before you learn how to grow the roots of the Phalaenopsis orchid, it is worth learning the basics of caring for this plant.
The maximum temperature for growing is considered 28 degrees Celsius, and the minimum is 10. Under conditions of dryness of the substrate, the plant can tolerate lower temperatures. In the heat, it is very important to provide the orchid with good ventilation, and it should be watered in such conditions only when there is a need.
Under normal conditions, watering comes down to once every couple of weeks. People with experience growing orchids recommend watering in the morning so that the roots are dry by night. This minimizes the possibility of freezing of the roots and further problems with the flower. Phalaenopsis can be fertilized only at the stage of formation of flower buds.
Content
Preparing for resuscitation
Growing roots at phalaenopsis in water will be successful only if the correct preparatory process:
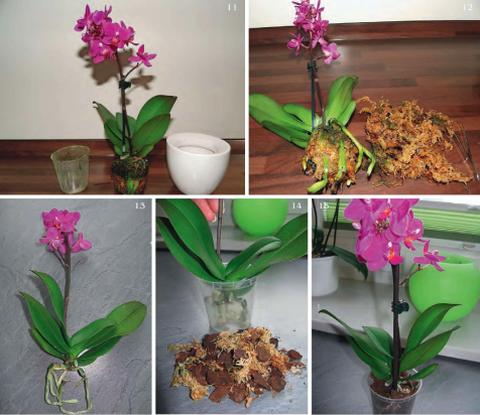
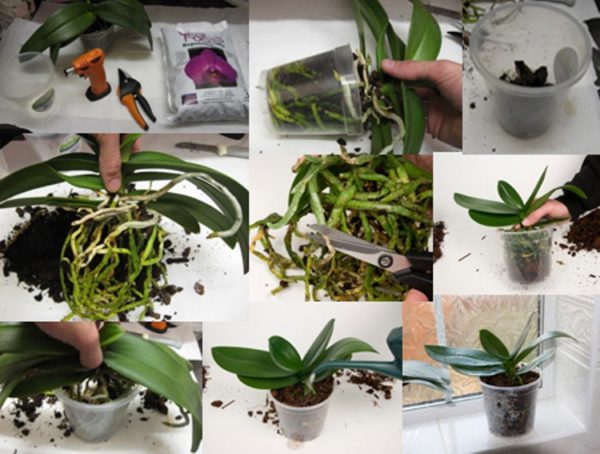
- Carefully remove from the pot and get rid of the substrate to find out how damaged the root is. The root system is washed.
- Select parts to be deleted. Roots that still have a light green color, good texture and leave. It is important to consider that healthy roots can be whitish, this happens when there is little sunlight in the pot. Removal roots will be beige with a brown tint.
- Damaged leaves of a plant that look wilted should not be touched. Orchid itself will get rid of them when the time comes.
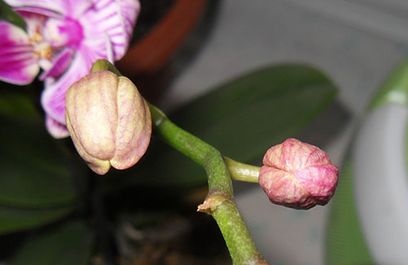
- Peduncles can be removed safely. They will be the culprits of the fact that the roots grow slowly, because the plant will put more power into the peduncles. The maximum that can be left is the lower part.
- All excess parts are removed with sterile instruments. From healthy leaves at this stage, you can remove areas that indicate rot or dryness.
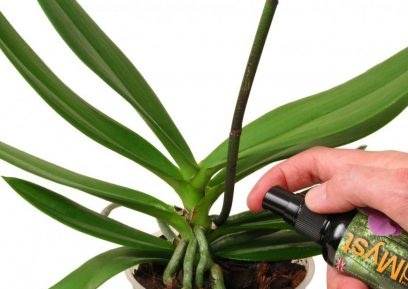
- The slice needs processing. This is necessary in order to avoid possible rot. The process of decay can completely kill the plant in just a couple of days
- The treatment is carried out with ash, cinnamon or activated carbon. Many also take charcoal or fugnitsid for these purposes (in the case of the latter, soaking is carried out for no longer than 15 minutes, the dosage is halved, starting from what the manufacturer recommends). It is forbidden to use zielonka or iodine. Such funds will only bring harm to the plant, in the form of a burn.
- The last stage is drying. This does not take much time: from half an hour to several hours.
Treatment and restoration in the greenhouse
The greenhouse is able to create conditions similar to those in the natural environment of plant development. It is easy to establish the humidity necessary for the plant and temperature indicators. Such conditions allow the orchid to grow rapidly. Growth will be noticeable almost daily.
The greenhouse can be made using a 10 liter plastic bottle or an aquarium. The bottom is covered with expanded clay. Its layer should be small. Spread moss on top. The place from where the plant begins to develop the root should be in contact with moss. The roots can be seen after two weeks. Once they are large enough (at least 4 centimeters), the plant can be planted in a pot. This method is good if you do not know how to root a phalaenopsis orchid without roots.
In water
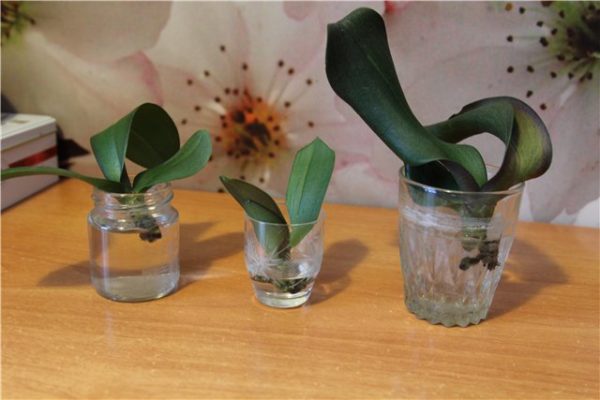
The extension of roots in phalaenopsis in water can be carried out in different ways:
- Alternating soaking and drying is a good way. In this case, the plant is placed in a large capacity. The base should be immersed in water for 6 hours, after which the plant is left to dry until the next day. Water may contain honey or sugar, once a month you can use liquid potash fertilizers.
- Constantly in the water. This method is similar to the previous one. All you need to do is skip the water drain. The plant needs to be soaked constantly, but the water is changed at least once every 5-7 days.
- Above the water. The bottom of the vessel is filled with water and the phalaenopsis is placed so that the root is above the water. The vessel where the plant is located must be closed. Every day, the orchid needs to be processed in plain water with added sugar.
- Up roots. This method is considered the most effective. The plant is inserted into the bottle (trimmed) with the leaves up. Focusing on the length of the leaves (middle), phalaenopsis is filled with water. It must contain coal. The root, which will be visible from above, must be sprayed daily.
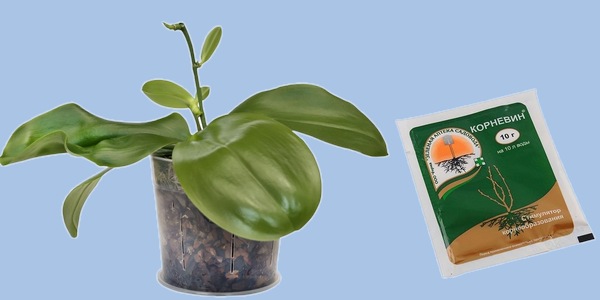
- In the substrate. The method is suitable only for those plants that have few healthy roots. They must have a length of at least 2 centimeters. When using this method, it is necessary to monitor the humidity of the substrate. To maintain moisture, immersion in water is necessary, as when moistening a healthy plant. Growth can be stimulated by using vitamin B1, which is diluted in water. A good option would be resuscitation in a sphagnum, which is poured into a bag. Sphagnum is good in that it perfectly retains the moisture necessary for root growth.
- On the bark. The plant is fixed on the bark, its base should be directly in contact with the bark. Treatment with vitamin B1 is required. Watering is not needed, they refuse to spray. Resuscitation of phalaenopsis by this method will give results in three months.
Solutions for dipping roots
Now you know how to grow the roots of the Phalaenopsis orchid over water and other ways of resuscitation. In order to successfully revive the plant, you need to find out which solutions are used to treat the roots.
- Ribaw Extra. An excellent solution for strengthening even the weakest roots. For 200 milliliters of water, you need only a few drops of this product. This is one of the most popular growth regulators at the moment. Its popularity is due to the undeniable effectiveness of Ribav Extra.
- Zircon is known for acting on the roots of orchids very gently, but it causes active growth at the cellular level. This tool helps to achieve the perfect balance between root growth and their health.
- Radiopharm helps to achieve quick results during resuscitation of an orchid. Phalaenopsis, which is treated with this solution, will quickly take out not only central, but also lateral roots.
- New synthetic regulator. Its use leads to the rapid formation of roots, which, among other things, can very quickly and effectively absorb all important mineral components.

Common gardener mistakes
Resuscitation of phalaenopsis without roots is not complete without errors. It is difficult to find a person who performed this procedure the first time quickly and effectively.Gross errors during the resuscitation of the plant can be considered as avoiding all preparation steps or untimely watering, or spraying, when revitalization methods are applied that require such steps:
- Growing roots in water
When you have phalaenopsis without roots and you need to quickly learn how to save it, resort to this method. This is a popular method of growing orchid roots, because it gives a good result almost guaranteed. The main thing is not to forget to change the water every week and sometimes soak the plant in glucose solution. Now you know how to grow the roots of phalaenopsis, which, it would seem, has no chance of surviving.
- Orchid lighting
A window that faces north is the best place to grow this orchid. This flower can grow on window sills that go to other sides, but the north side is preferred. Sunlight should be sufficient for the normal development of phalaenopsis. But in spring and summer it is important to ensure that the sun does not damage the sensitive leaves of the orchid.
- Phalaenopsis Transplant Rules
A transplant is carried out only in extreme cases. Orchid does not like transplanting, but it is necessary when the roots begin to rot or the root system is already crowded in its pot. The roots of the plant before the transplantation process clean and trim the damaged areas. Slices are treated with charcoal. Coal is considered an excellent disinfectant and protector against rot. Expanded clay or granite is laid at the bottom of the new pot, which will provide good drainage to the plant.
 Reasons why orchids fall flowers and what to do
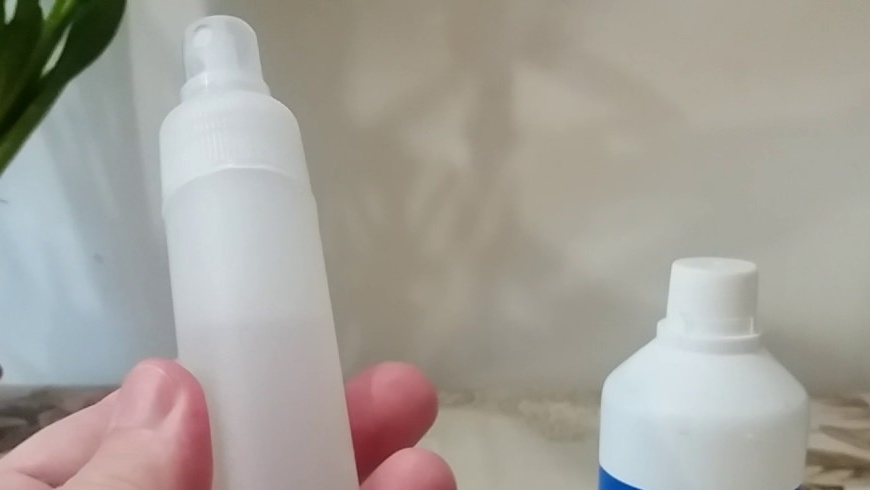 How to use hydrogen peroxide for orchids and why
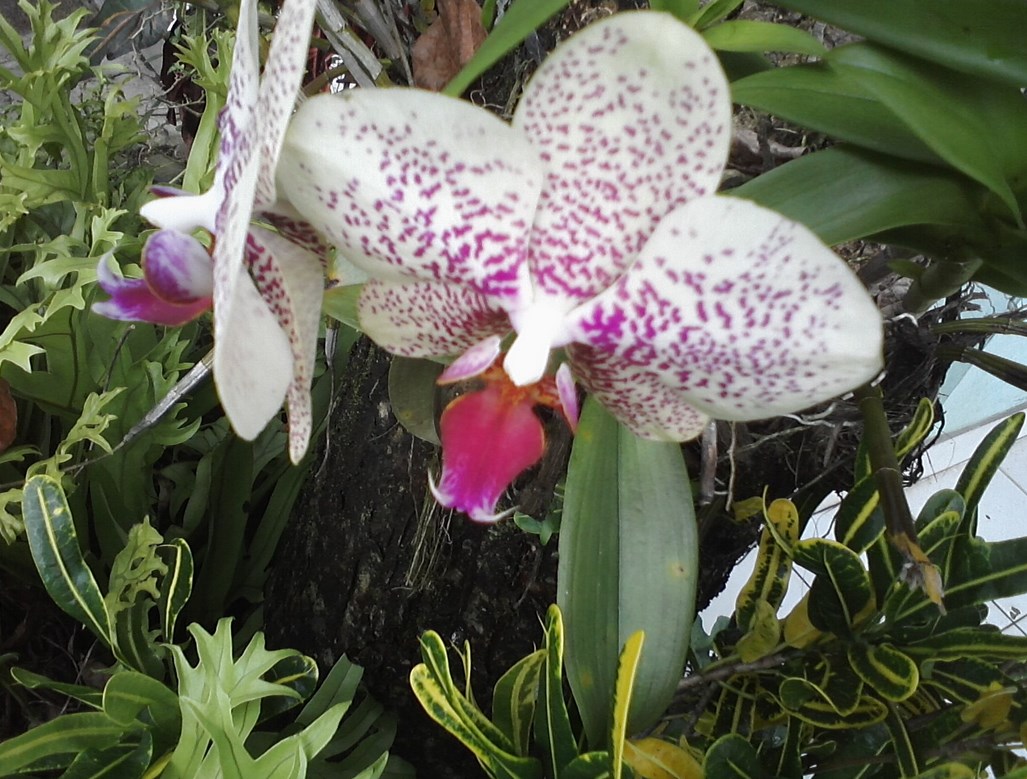 Midges are wound up in the orchid: effective ways to get rid
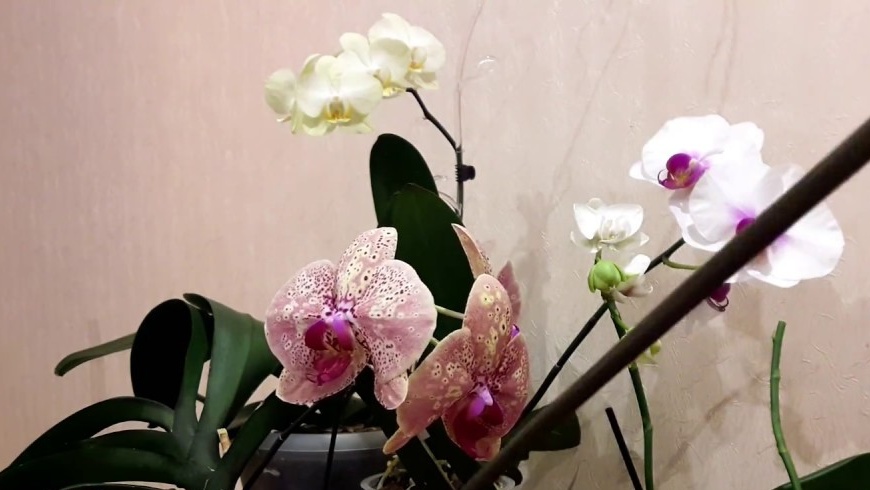 Is it possible to transplant an orchid during flowering