
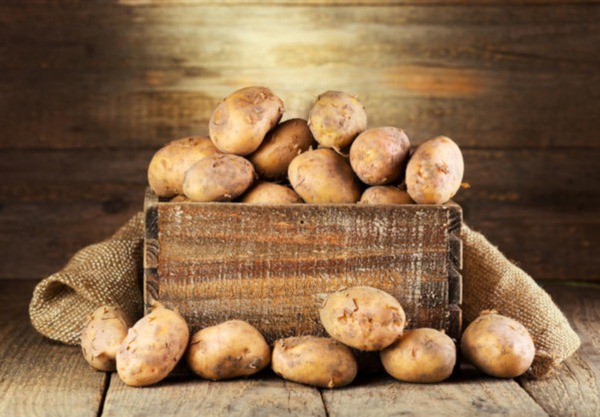
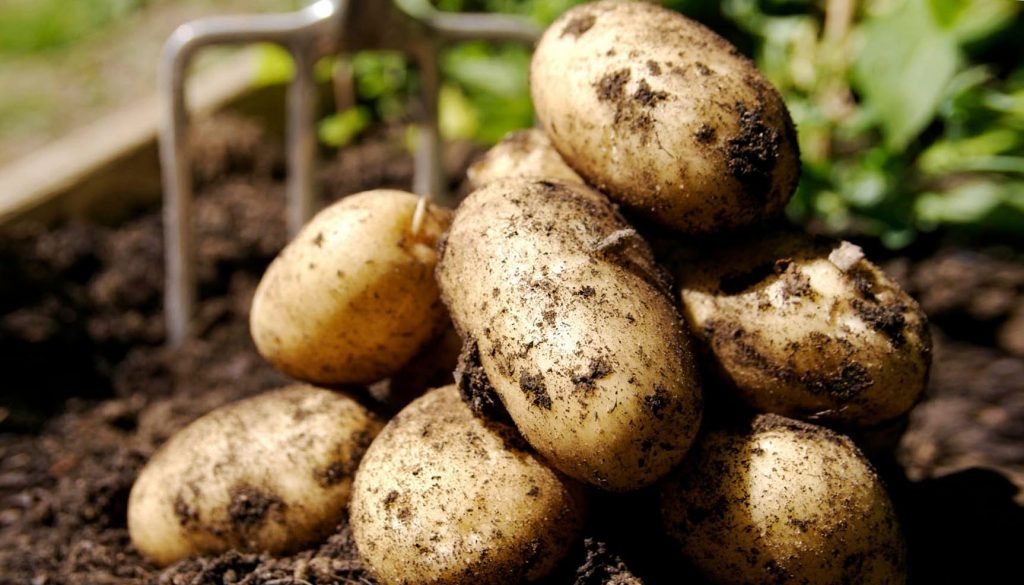
 Today we will consider how to plant potatoes in order to get a good harvest. The very first thing to start with is to pick good tubers from the fall. Typically, experienced summer residents do this: when the potato bushes enter the growth, they will look at the best and strong bushes, and mark them with pegs. Then from these bushes will leave material for planting. The tubers do not have to try to choose the largest ones, the size of the potatoes of about 5 cm will be just right.
Further - in the autumn, you need to prepare a garden where you will plant potatoes in the spring. Fertilize, dig, and the bed will be ready for planting in the spring. Add per square meter:
• Ammonium nitrate in a quantity of 13 g (can be replaced with urea in a quantity of 10 g)
• Potassium salt in the same amount
• Superforsfat - 15g.
Read how to fertilize potatoes for a better crop in detail.
Planting material was taken away in the fall, the bed was fertilized - everything, in the spring ready for planting.
Advice:
• Planting material should be changed after 4-5 years
• Change the potato bed after 2-3 years
Planting potatoes under a shovel

Spring has come, you can plant potatoes, but you need to do this at the end of April. If your neighbors planted earlier, and you worry that you are late - you know, planting tubers in cold ground is pointless, they will only spend a lot of energy for germinating in unheated ground. It is unlikely that the neighbor’s harvest will be better than yours if you wait until the soil warms up to at least 12 degrees, and then plant potatoes.
The most common way to grow potatoes is with a shovel. Traditionally, the earth is dug up, in even rows (some especially zealous summer residents even pick up pegs and stretch the ropes to make rows even, even. Well, it’s already if the eye completely doesn’t work for you, otherwise it's extra body movements).
Pits are dug at a distance of at least 40 cm from each other, between the rows it is better to make distances of up to 80-90 cm so that the bushes are well ventilated and it is convenient to wind up. The larger the tubers planted, the wider the rows should be. Read more what distance to leave between rows of potatoes.
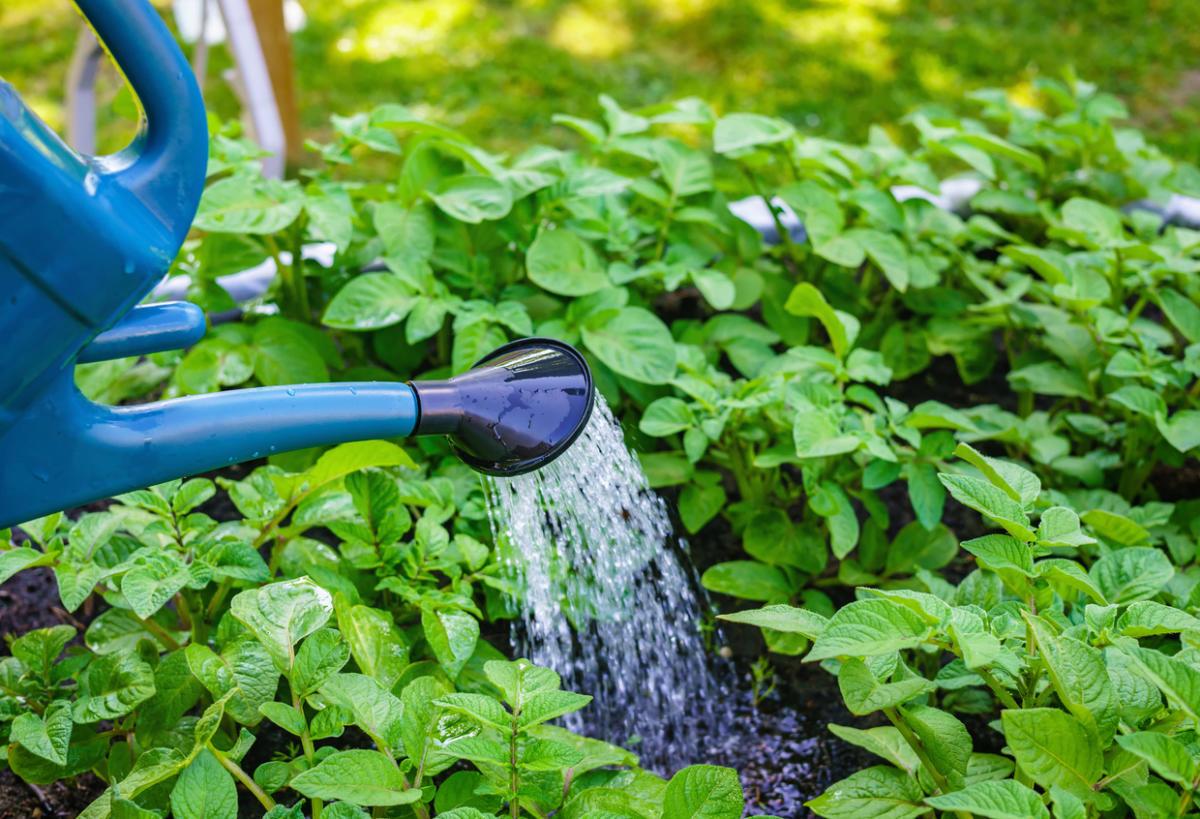
Fertilizers are placed in the wells, it is better to pickle potatoes with a weak manganese solution and toss ash into the wells, this will help protect the potatoes from pests and diseases. That's it, the potato is being buried, the next work - already when the bushes grow up - hilling, watering, weeding.
Landing under the straw
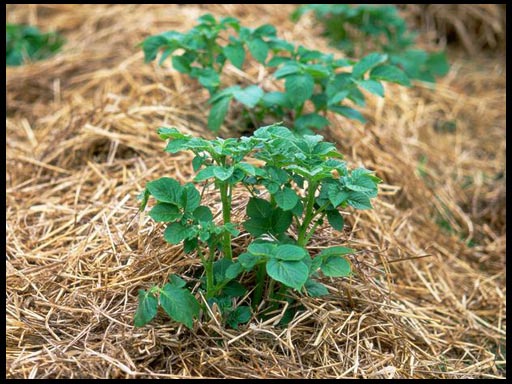
If you do not want to bother with all sorts of weeds and irrigate yourself, you can use a method such as planting potatoes under hay or straw. It has a number of advantages and its drawbacks, to which, in fact, only the question relates - where to get so much straw? The rest is all pluses. So, let's take a closer look at how this process happens.
Potatoes can simply be spread out on the plot, crushed with fertilizers and covered with a blanket of straw. Moreover - it should be so warm, about half a meter high. Here they hid - and forgot about the potatoes before the harvest. A very economical method for labor. In the fall, they raked straw and harvested potatoes. Read more: growing potatoes wisely without weeding and hilling.
Planting potatoes under a walk-behind tractor
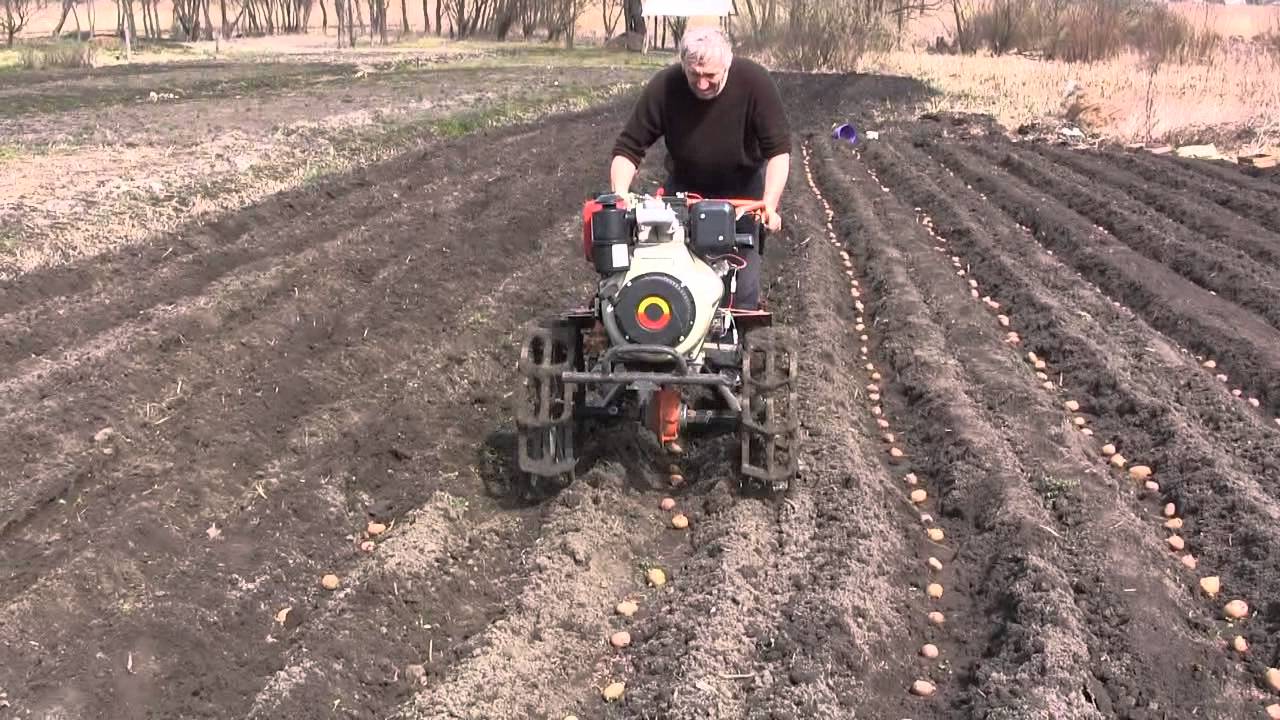
If you have acquired a large plot for growing vegetables, you obviously cannot do without the help of a walk-behind tractor. Such an assembly will significantly save time and power. Using a walk-behind tractor, you can plant potatoes very quickly in two ways.
The first - just make furrows with the walk-behind tractor, turning the furrow at the end of the furrow to the wheel, so you get straight rows at the right distance. Then scatter the potatoes and fall asleep with a walk-behind tractor. Nuances: when laying beards, use metal wheels, and when you will tackle - change to rubber.
The second method is the use of a special nozzle for planting potatoes. It’s convenient - the walk-behind tractor goes, makes a hole at equal distances, throws potatoes and sunbathes, maybe even throw fertilizer. Using the same aggregate and various attachment attachments, you can spud potatoes (using your hands is a labor-intensive process, especially in large areas), and harvest.
Preparing potatoes for planting
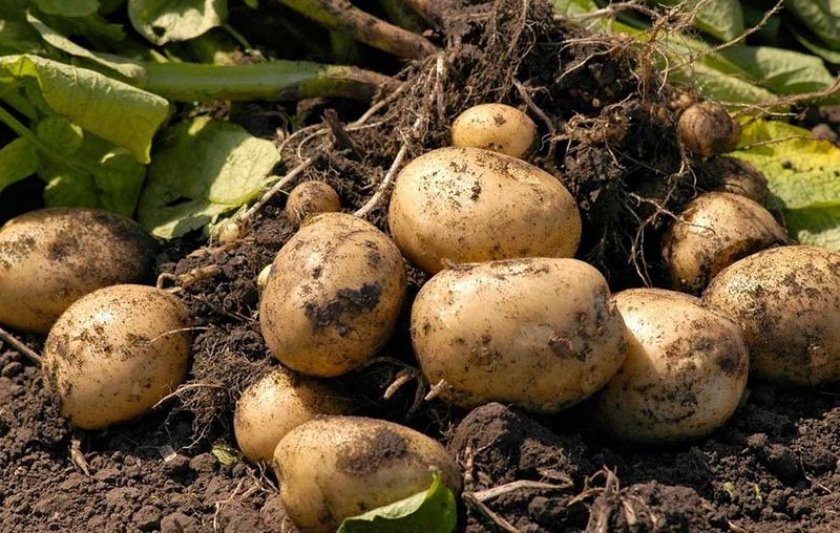
So we looked at all sorts of planting methods, preparing the site, seed, now we need to focus on the main thing - how to prepare potatoes for planting. This is very important for the future harvest, and if this stage goes well, you will be provided with a harvest.
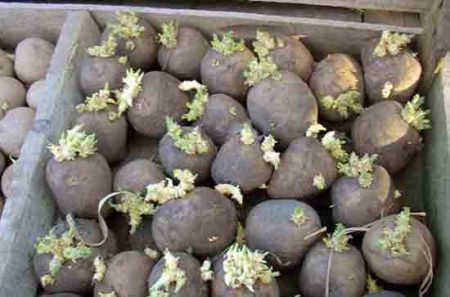
About a month before the intended potato planting, begin to germinate it. You need to do this in a bright room, but without direct sunlight. Make a potassium permanganate solution in a large capacity, collecting potatoes in a grid, dip into the solution, hold it for so little, let it drain in water, dry the potatoes and put them in boxes, preferably in one layer, maximum two. After a couple of weeks, bring the boxes with potatoes already sprouting into a darker place with a lower temperature, otherwise they will grow very much, which you don’t need at all - 1.5-2 cm sprouts - just right.
It would be nice to turn over potatoes and spray with solutions, alternating:
• Mineral fertilizers
• Ordinary water
• Ash dissolved in water.
All these manipulations may not be carried out, but if you want to increase the yield and protect the tubers from diseases, then do it. And you can simply dilute 20 g of boric acid and a net with potatoes in a bucket of water before planting, dip in a solution for a few seconds, and then plant. This will create a protective film on the tubers and help maintain the crop.
Read more: tomatoes in a polycarbonate greenhouse planting and care.
Using chopped potatoes
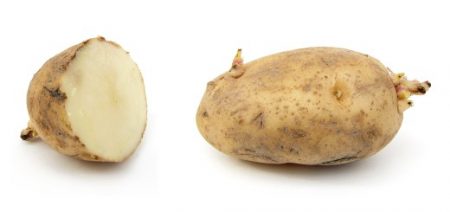
In order to save seed potatoes, or if you have too large tubers, it is quite possible to cut the potatoes into pieces, leaving 1-2 sprouts per piece, and plant them like a full potato. Often a good crop grows from such pieces, you only need to apply a few tricks.
If you are cutting potatoes, especially purchased potatoes, constantly disinfect the knife, dipping in a dark potassium permanganate solution. So you will not spread the disease from other, possibly infected root crops. Having cut it - dry it slightly in the sun and dust it with ash.
You can plant such sliced potatoes only in warm weather - in cold and rainy chances are your cutter will most likely rot and you will not get a crop. Put the potatoes in the holes with the cut only down, sprouts to the sun. Have a good harvest!
 Description and description of varieties in Belarus with a photo
 Do I need to pick flowers from potatoes: why do they do it
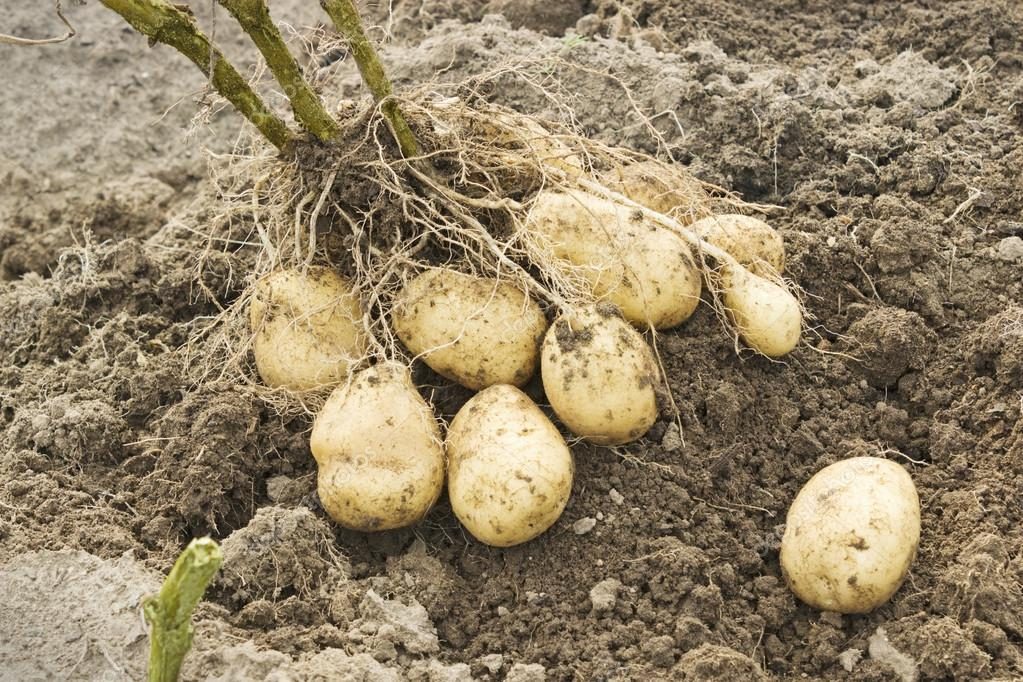 When to dig potatoes: timing and availability of new potatoes
 How to grow a good potato crop: various methods and methods, planting and care