
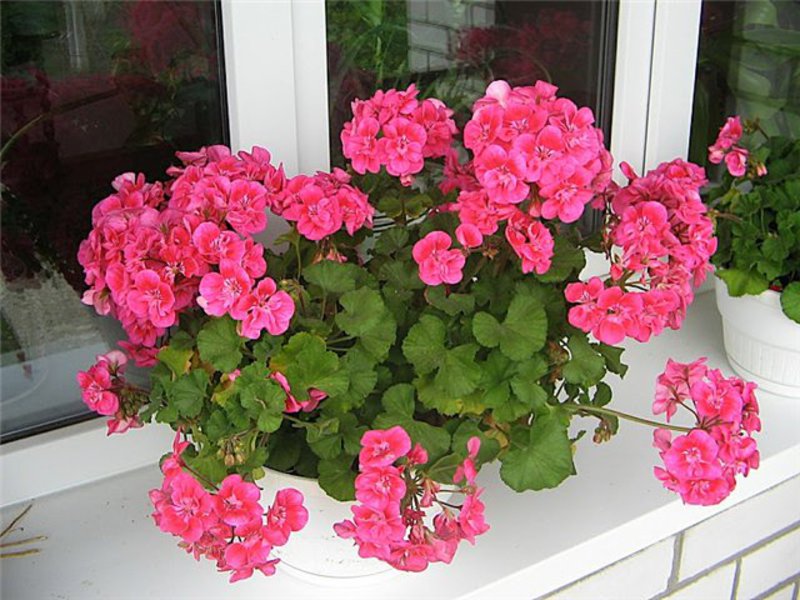
Propagating geraniums in a vegetative way is not difficult. Even a beginner in the field of floriculture will cope with this. This is a great way to rejuvenate old pelargonium and get several healthy flowering plants at once. Cuttings, unlike growing from seeds, retains all varietal signs of maternal geranium. This is especially valuable when it comes to breeding a rare variety.
Content
Breeding methods
 Pelargonium first appeared in European countries in the 17th century and immediately became very popular. Breeders tirelessly develop new varieties and now their number has exceeded 400. The greatest demand among flower growers for geranium is large-flowered, zoned, fragrant, thyroid, unique and angel.
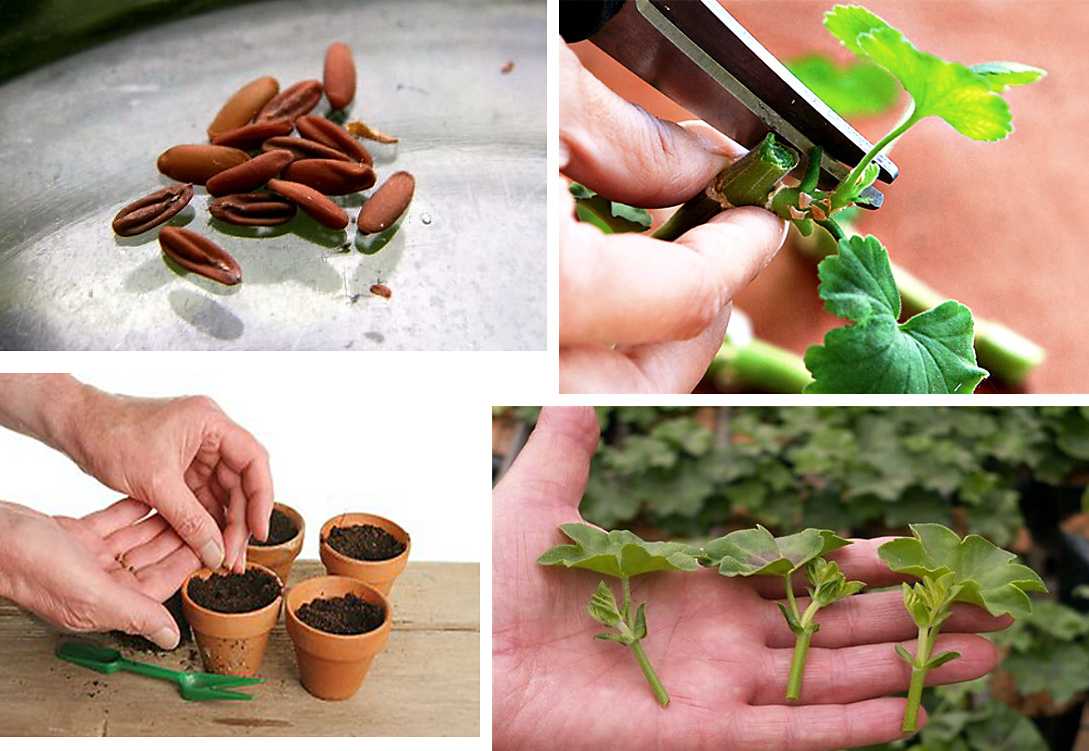
Pelargonium multiplies:
- by seeds;
- stem cuttings;
- separation of the bush.
Seed cultivation is the most labor-intensive process, not always in this case the signs of the maternal geranium variety are preserved. Separation of an adult bush is more often practiced when transplanting plants to a new place.
 Zonal geraniums are best developed during cuttings. Young plants bloom 3 months after the planting of cuttings. In other varieties, this process is much slower. They are ready for flowering only 6-15 months after cuttings.
Another purpose of cuttings is the rejuvenation of an adult plant. If this is not done, in a few years a beautiful, strong plant will turn into an elongated bare stalk with small inflorescences at the ends of the shoots.
Cutting term
All procedures involving mechanical damage to the plant are carried out, taking into account the annual cycle and biological characteristics of the species. Otherwise, the survival rate of pelargonium worsens, varietal symptoms are lost, and immunity to diseases decreases.
Cuttings taken from the old pelargonium take root much worse. With age, the ability to root formation decreases due to a decrease in water-retaining properties and slow metabolic reactions. Therefore, it is better not to delay the cuttings.
Pelargonium cuttings are cut in autumn and spring. Although some nurseries for commercial purposes cut geraniums year-round, including in winter, it is optimal to do this in August-September or in March-April.
More likely to root safely from cuttings taken in the spring. These include a stable high temperature, the absence of drafts, the required amount of sunlight required for the synthesis of auxin. The disadvantage of the spring procedure is that the planting material is cut with flower buds that have already formed. This reduces the decorativeness of the uterine bush.
Autumn pelargonium goes into a dormant stage and the rate of metabolic reactions is reduced. Therefore, propagation of geranium by cuttings in the fall at home is a little more complicated and slower if the shoots are cut from a bush older than 6 years. Planting material from young pelargonium is developing rapidly and is blooming next year.
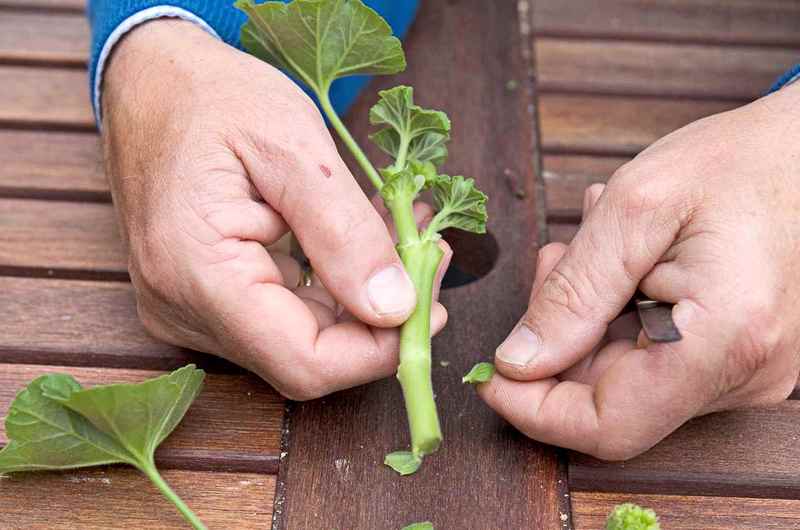
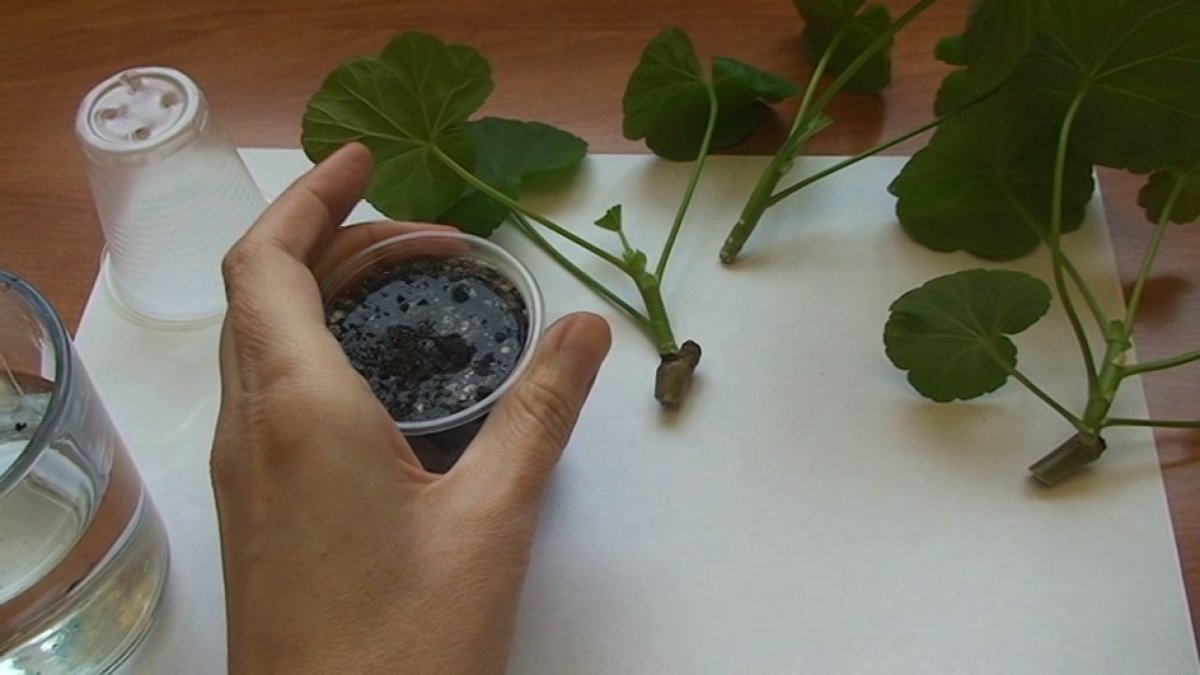
Harvesting cuttings
 For better survival, uterine bushes are selected and cuttings are cut, guided by the following rules:
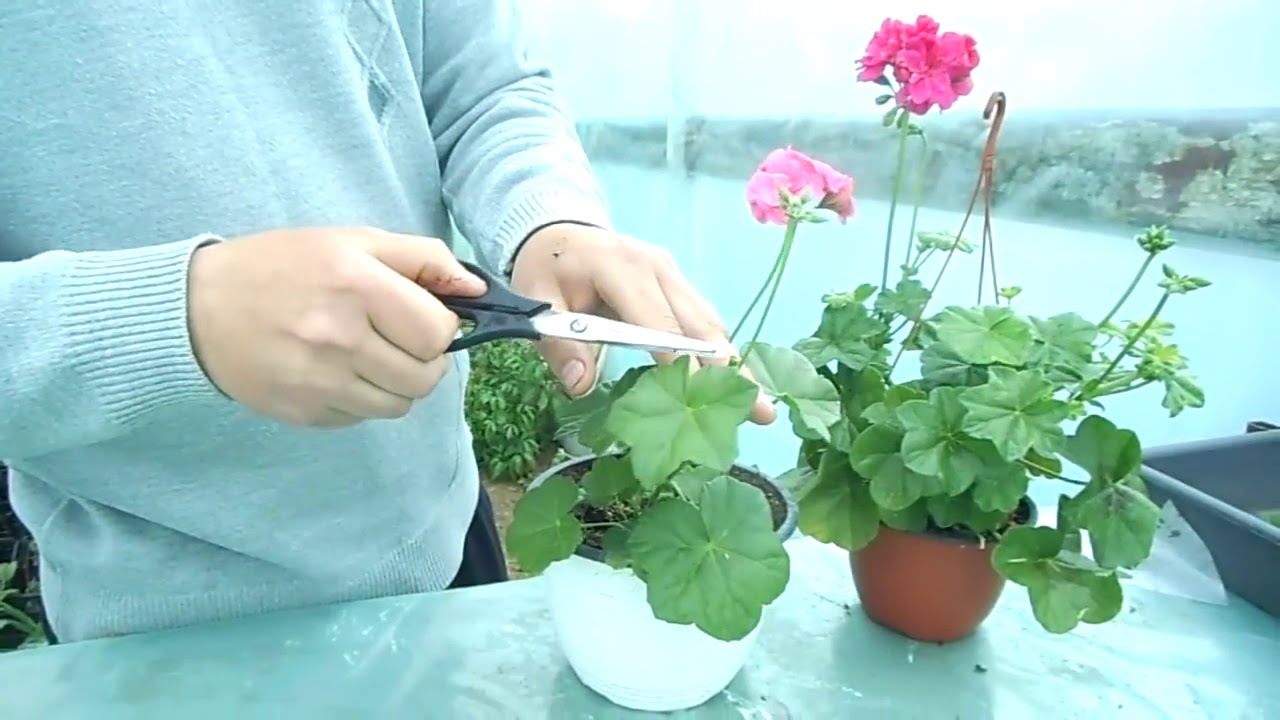
- healthy and strong pelargoniums are suitable for reproduction;
- cuttings are cut from the top of the bush;
- for work use a sharpened knife with a disinfected blade;
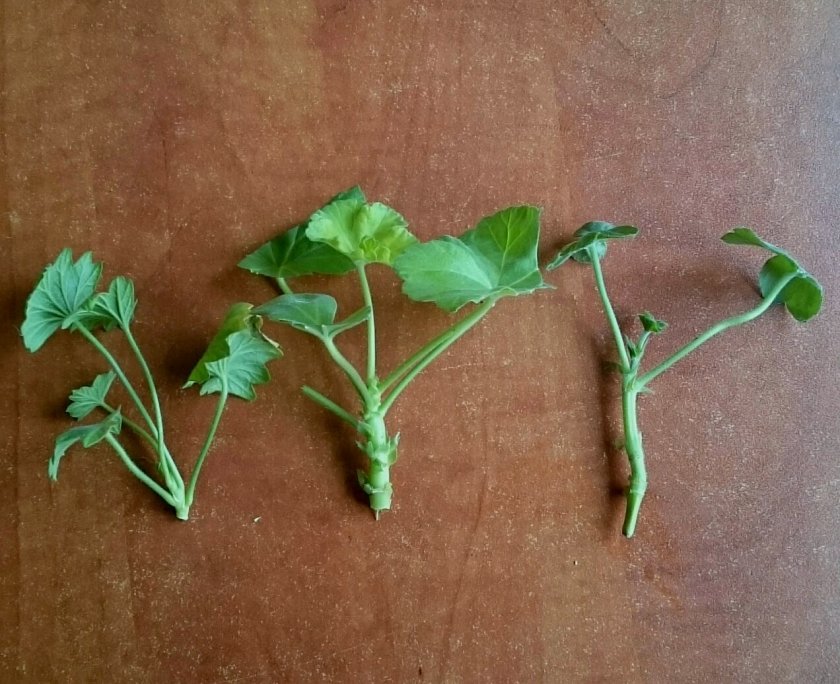
- cuttings of 8 cm long with 2-3 internodes oblique cut;
- if the stem is long, 2 cuttings are cut from it, making an upper cut directly above the bud;
- the stump above the kidney is minimized so as not to provoke rot;
- from the bottom, the leaves are torn off, leaving 3 to 5 leaves on the stem;
- all flower stalks with buds are ripped off to improve survival.
Preparing planting material for rooting
 Usually, pelargonium cuttings take root well without any preparation, but several measures are taken to increase the chances of favorable reproduction:
- After cutting, the cuttings are laid out on a flat surface in a darkened room for 2-3 hours to dry.
- Dried sections are treated with crushed activated carbon, wood ash, or Kornevin. Also come with slices on the mother bush.
- Before planting, an additional cut of the cut is treated with a root stimulant.
Rooting in water
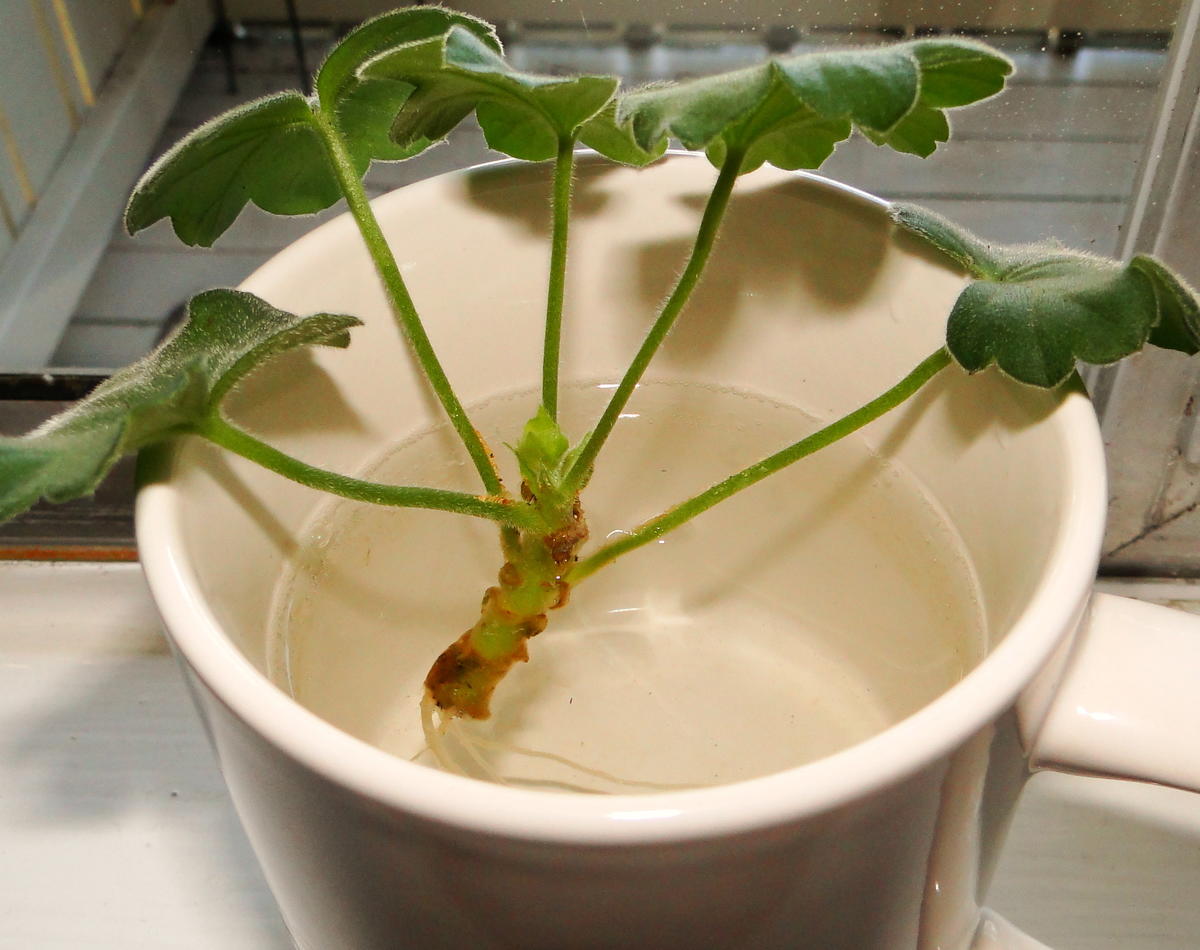 This method of grafting pelargonium is the simplest. For root growth, the cuttings are dipped in containers with clean water, deepening the lower end by 2-3 cm, so as not to reduce the useful area for respiration of the process. For disinfection, powder from crushed tablets of activated carbon is added to the cups. This will prevent the stalk from decaying.
In the room where the rooting takes place, the temperature is maintained from +14 to +16 degrees. At a lower temperature, the shoot will not release roots and will rot. After 7-10 days, roots appear on the lower cut. After half a month, they grow to a sufficient length and the young plant is moved to the ground. Further, the seedling is looked after in the usual way.
Rooting in the ground
 For most varieties of geraniums, it is more common to plant the cuttings directly in the substrate. For rooting, different varieties of soil mixtures are applicable:
- independently mixed soil from identical parts of garden soil with neutral acidity, humus, sand and turf;
- soil from ready-made universal soil for indoor flowers with the addition of sand and vermiculite;
- coconut substrate;
- a mixture of equal amounts of perlite and peat;
- sphagnum;
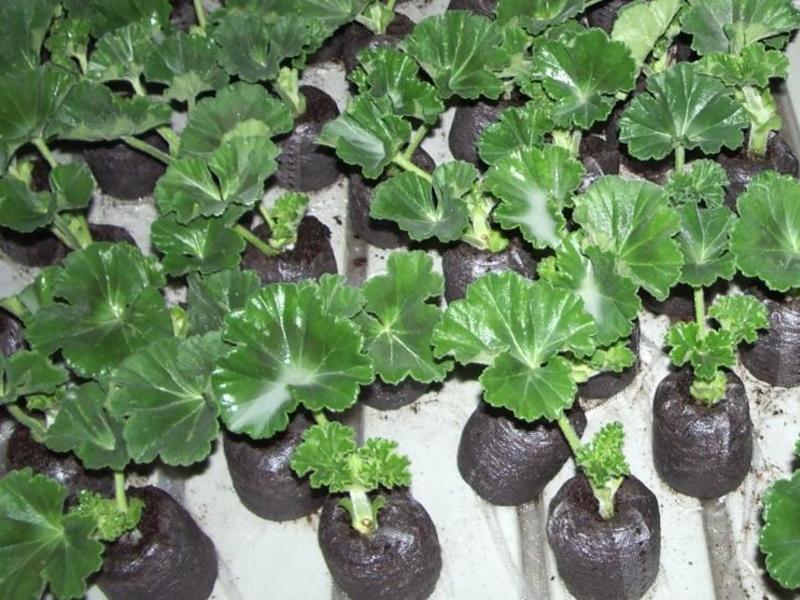
- ready peat tablets.
To plant the cuttings, take small pots, disposable cups or other suitable containers with a volume of 100-200 ml. Be sure to make holes at the bottom and lay the drainage layer. The selected soil is laid in disinfected containers and spilled with boiling water or a pinkish solution of potassium permanganate.
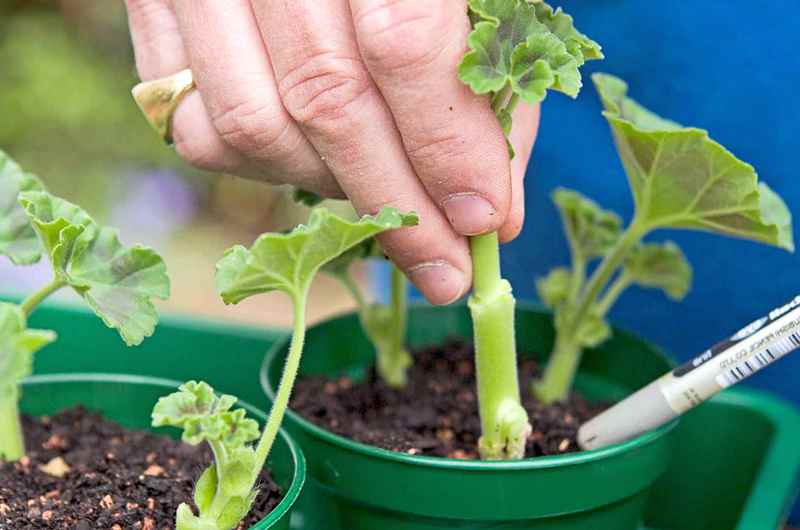
In the center of the pot, a 3 cm deep hole is made in the substrate and the bottom cut of the prepared cut is placed in it. Then they sprinkle with soil and compact. Tanks with planted cuttings set on a well-lit windowsill, shading from direct sunlight. At the time of rooting, the temperature in the room is maintained from +18 to +25 degrees.
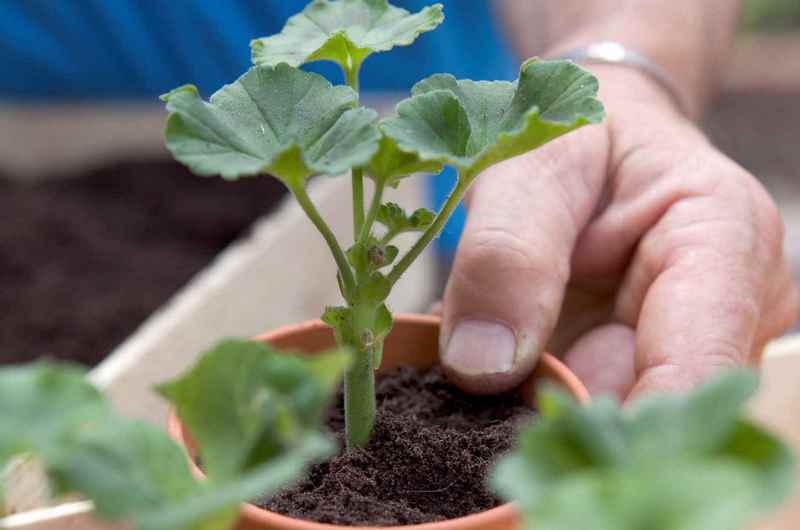
During rooting, cuttings are moderately irrigated. Drying or waterlogging of the soil should not be allowed. When watering, water should not be on the leaves. A signal of successful rooting is the growth of new leaves on the handle. Then you can transplant the young plant into a permanent pot.
Reproduction in the greenhouse
 Engaged in massbreeding geraniums gardeners often use mini-greenhouses to root cuttings. Such a device is a wide container with soil, covered with glass or film. The greenhouse accelerates the rooting process and allows you to work simultaneously with several cuttings and save space on the windowsill. Such a greenhouse can be built independently from improvised items or purchased ready-made.
The greenhouse tray is filled with nutritious soil, several cuttings are planted in it and covered with a lid. The soil in the greenhouse is regularly irrigated so that it does not dry out. It is impossible to fill the soil, otherwise the cuttings will rot. 2 weeks after the start of rooting, the lid is removed.
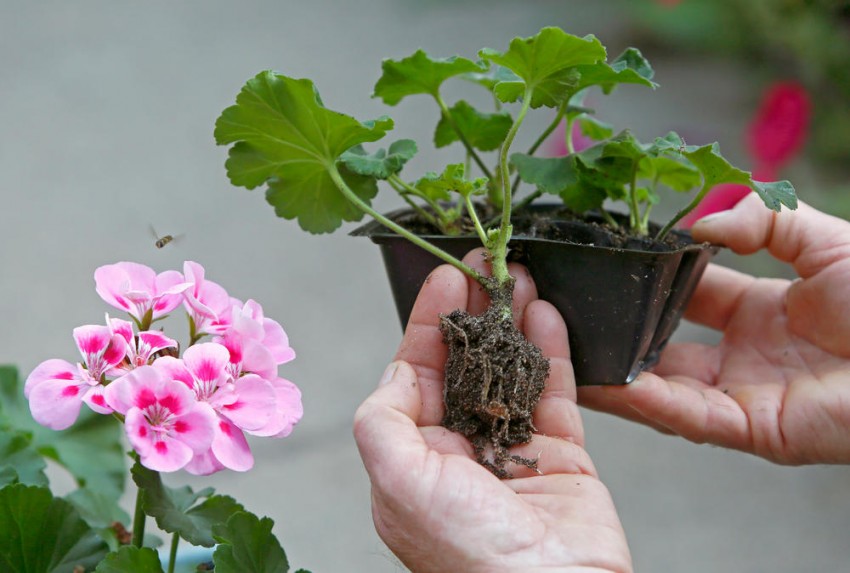
The period of root formation in all pelargoniums is their own. So, the royal takes root in a month, and ivy geraniums need only 2 weeks. Successful rooting is indicated by young leaflets grown on the handle. After their appearance, the seedling is moved to a constant container. This is done by handling the plant with an earthen lump.
Transfer
Pelargoniums are grown in pots., the volume of not more than 0.75 liters. Too much capacity of the tank provokes the plant to build up the root system and green mass. This reduces flowering. For the same reason, geraniums are not fed with nitrogen fertilizers. The selected pot at the bottom must have holes. It is filled with 15% expanded clay drainage.
For the growth of geraniums, a soil mixture consisting of:
- 2 parts of turf land;
- 1 part peat;
- 1 parts of sand.
The prepared soil is watered with a weak solution of potassium permanganate for disinfection and structuring, and then two thirds of the prepared pot is filled with it. Then the rooted stem is transferred to the pot. It is advisable to do this by transshipment so as not to disturb the root system once again. The remaining space is filled with soil, occasionally shaking the container to avoid the formation of voids. Then the flower is watered with lukewarm, previously defended water.
Care for young plants
 For young geraniums are looked after as well as for adult plants. Pots with bushes are installed on the southern window sills with good lighting or light partial shade. In especially hot times of the day, geraniums are shaded so that the sun's rays do not burn the leaves.
In the hot season, geraniums are often irrigated. The amount of winter watering is reduced to 1-2 times a week. It depends on the type and condition of the air in the room. Additional hydration in the form of spraying or sprinkling pelargonium is not necessary. Loosely soil in containers and wilted leaves and faded buds are removed.
To activate growth and provoke geranium to bloom, they feed it twice a month in spring and summer with mineral complexes with a small amount of nitrogen. To make the bush more lush, pinch the top of the geranium and several side shoots.
Tips & Tricks
 To cuttings successfully, flower growers with great experience advise:
- a few days before cutting the cuttings, stop watering the uterine bush;
- to protect against fungus, cover planted cuttings with plastic bags or glass jars for 2 days;
- for planting cuttings, use small pots or place several in flowerpots;
- do not use for growing geraniums clay pots with a porous structure, as they provoke the evaporation of moisture;
- in the summer, transfer geraniums to the garden to a flower bed or just take out pots in the open air.
Finally
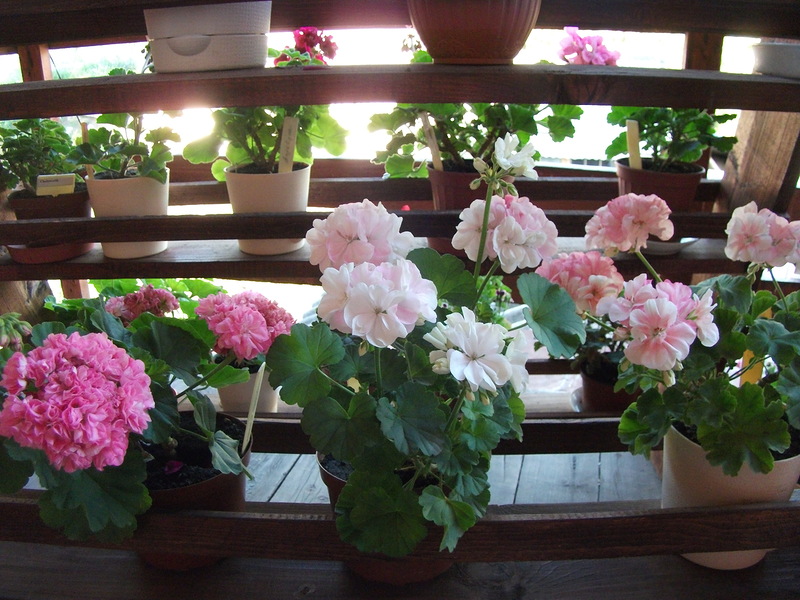
Propagation by cuttings is an excellent way to plant a real geranium garden on a windowsill in a short time without significant material costs. With it, rejuvenate beloved plants that have already lost their decorative effect.
 Geranium is not only a beautiful plant, but also a folk remedy for diseases