
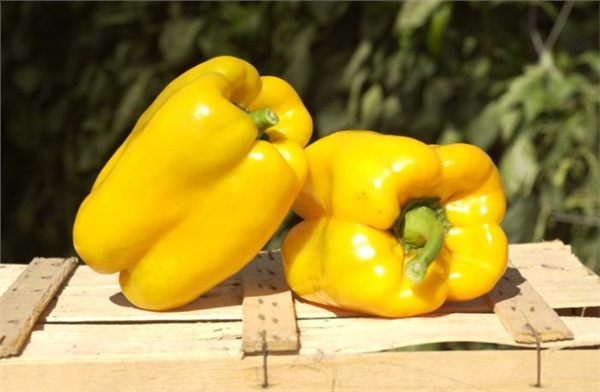
 Varieties of sweet peppers are distinguished by shade, size, taste and productivity. The name "Giant Yellow" speaks for itself. This hybrid of a bright sunny shade is highly appreciated for its taste and benefit.
On a note! Yellow pepper contains very few carotenoids, lycopene. The benefit of the vegetable is obvious due to the presence of pectin and vitamins B, C. In addition, yellow pepper has a lot of iron and potassium.
Content
Where is Giant Yellow applied?
The purpose is universal.
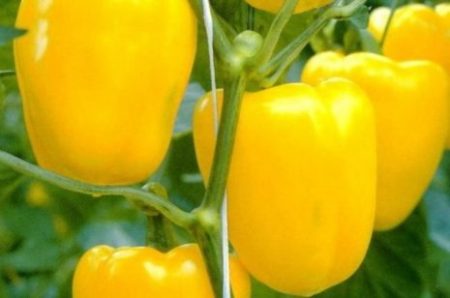
This pepper has thick and strong walls, very large fruits. Spring peppers are ideal for stuffing. The dish will turn out beautiful, portions - large.
Chopped peppers are added to fresh salads and preserves. Sweet pepper is often used to make side dishes, stews, it is added to soups, lecho and ketchups.
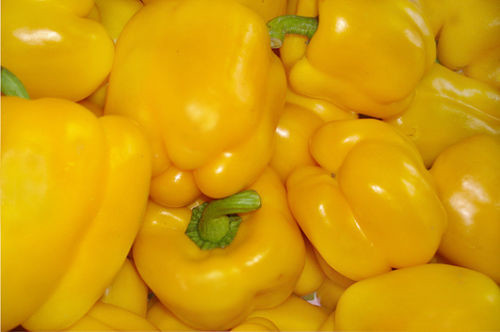
Beautiful yellow peppers will decorate any dish. It can be baked in the oven and on the grill, fried, boiled, stewed, marinated, used as a filling for pies, frozen for long-term storage.
On a note! Sweet pepper is recommended to be used fresh, as part of salads and slices. During the heat treatment, the amount of nutrients is reduced by 70%.
Description of the giant yellow pepper
- Bushes are spreading, densely leafy. Plant height up to 80-110 cm.
- The hybrid is classified as early ripe.
- Growing is possible in a greenhouse and open ground.
- Fruits weighing up to 250-300 g. Pepper wall thickness up to 12 mm.
- The pulp of peppers is very sweet and juicy, dense, with a characteristic pleasant aromatic aroma.
- Productivity - up to 5 kg per square meter of beds.
On a note! Bushes without fail require a garter to the supports.
Agricultural technology
The seeds of the Yellow Giant pepper sprout at a temperature of + 25 ... + 28 ° С. From sowing to seedlings usually takes two weeks.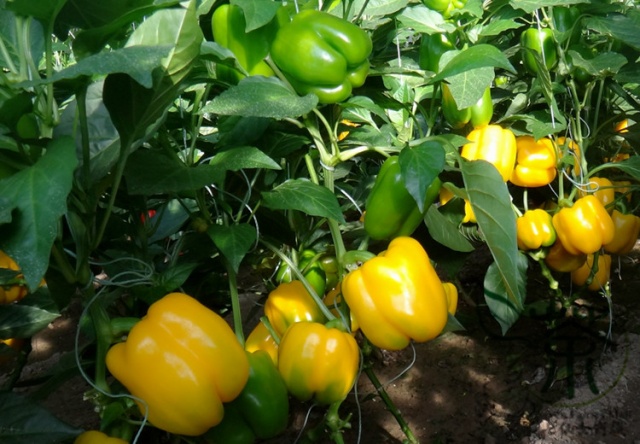
You can transplant seedlings into the soil when the sprouts have 10 real leaves and a stem about 20 cm high. The approximate age of seedlings suitable for planting in the soil is 55-60 days.
The optimal time for transplanting seedlings:
- in the greenhouse - mid-May;
- open ground - mid-June.
Planting seedlings can be done only on condition that the night frost has passed.
The "Yellow Giant" is placed on the beds according to the scheme 70x40 or 90x50 cm. Planting is not too thick, it is not worth it, the plants will not develop qualitatively.
Pepper seedlings growing
The method of growing pepper in the "snail" has proven itself well. For work you will need:
- sharp knife;
- substrate for the laminate. Not foil. 2 mm thick;
- priming. Or a store substrate. Or a mixture of garden soil with humus;
- tweezers;
- plastic packaging bags;
- stationery gum or tape;
- atomizer and syringe;
- capacity in which the "snail" will stand.

Since the “Yellow Giant” is a hybrid, seeds from last year’s harvest are not harvested, each time they are bought in a store.
Important! Keep track of the quality of seeds, their expiration dates, require certificates from sellers.
- Substrates are usually sold in large rolls. To work, you need to cut the roll with a knife into ribbons 10-14 cm wide.
- One edge of the tape must be placed on a flat, hard surface covered with a newspaper or film. You do not need to trim the substrate yet.
- A two-centimeter layer of soil is poured onto the edge of the substrate, slightly crushed by hand.
- Pepper seeds are taken one by one with tweezers and laid out on the ground, departing from the edge of the substrate 2 cm. The distance between the seeds is at least 2 cm, no more than 10 cm. The laid seeds are slightly sunk into the soil with a finger.
- The edge of the substrate begins to twist, trying to form an even, dense roll. The excess substrate is cut with a knife.
- "Snail" is fixed with an elastic band or a strip of adhesive tape.
- The "snail" is placed vertically and covered with soil from above, without crushing it.
- Place the “snail” in a container prepared in advance and pour it abundantly from above from a spray bottle or with a douche.
- Next, a plastic bag is put on the “snail” from above, which is fixed with clerical gum. The greenhouse effect is necessary for faster germination of seeds.
- The "snail" is placed in a warm place and wait until the first green shoots appear from the ground. Then the package can be removed, and the seedlings rearranged on the windowsill.

Pepper seedlings do not need to be fed. Watering is best done through the pan.
Pepper seedlings dive into the "diaper". For work, you will need plastic bags 22x32 cm in size, elastic bands, soil.
They take the "snail", remove the fixing gum, turn the edge around 10-15 cm. You do not need to deploy the entire snail.
A package is placed on the desktop. Two handfuls of soil are poured into the center of the package, slightly compacted with his hand.
Strong and healthy sprouts are selected from the unfolded edge of the “snail”. Weak plants should be discarded immediately. Together with a lump of land, seedlings are transferred to the "diaper" and sprinkled with another handful of soil.
They begin to fold the "diaper." If the seedlings are small, then you must first bend the bottom of the package, and then roll the free edges into a roll. If the pepper seedlings are already tall, then the bottom edge of the packet is better not to wrap, only the free edges. Ready "diapers" are fixed with an elastic band and put in a box tightly to each other.
Two weeks before planting in the ground, seedlings begin to harden, exposing briefly in the greenhouse, on an open window or loggia. Hardened seedlings take root better in the garden and grow stronger.
Planting seedlings in the ground
Step 1. Preparing the beds.
If pepper will grow on open ground, it is advisable to equip the garden in a sunny place. You can’t grow pepper where tomatoes, potatoes, and eggplant grew before. It is best to grow peppers after cabbage, peas, pumpkins, root crops.
You must make sure that in the daytime the air temperature is above + 20 ° C, and at night not lower than + 15 ° C.
It is important to loosen the soil in the garden well with a rake and add organic compost. The prepared bed is watered with water in order to check the quality of the drainage. If water is absorbed quickly, then drainage is good. If moisture stagnates on the bed, it is worth adding more compost and loosening again.
Step 2. Preparation of holes.
The holes should be deep enough to allow a germ to fit freely along with a lump of earth. Wells are best placed in two rows and in a checkerboard pattern, then the plants will receive enough light and air.
One liter of mullein solution is poured into each hole (0.5 l per ten-liter bucket, the mixture is heated to 35 ° C).
Step 3. Planting seedlings in the wells.
Seedlings are removed from the "diapers" or "snails" (in case the seedlings are not managed to pick out) together with a lump of earth and transferred to a prepared hole. Around the root, soil is poured, which is immediately spilled with water and rammed. If the soil is too much donkey, then add a little more land.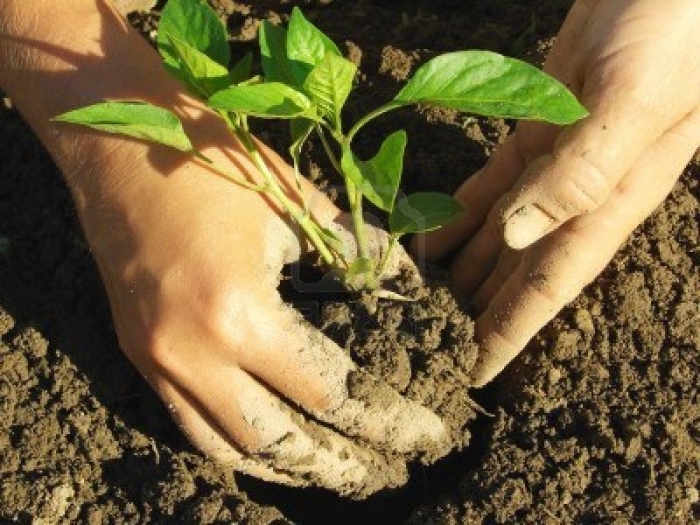
Plant care
Pepper is a thermophilic plant and demanding for watering.
How to water pepper?
- Water the peppers several times a week. If the weather is very hot and dry, it is better to water daily.
- It is best to water peppers in the morning, and not in the evening, then the water will be absorbed during the day, and the risk of mold and rot will be minimized.
- It is necessary to pour water on the ground near the stem. Peppers should not be doused, especially if they grow on open ground to prevent burns.
- To maintain optimal soil moisture, it is recommended to mulch the beds with hay or mowed grass.
It is advisable to loosen the soil around the plants more often, to remove weeds on time.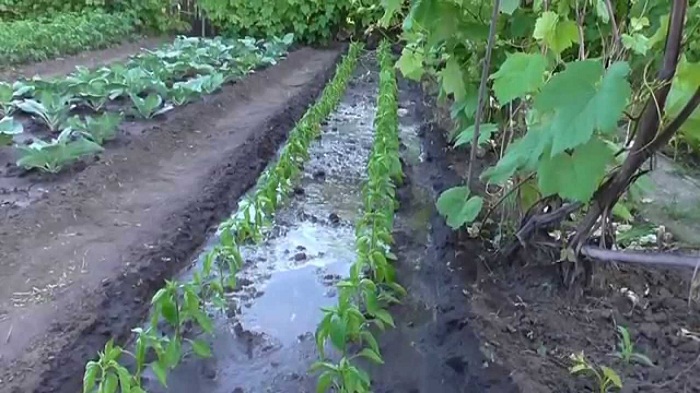
How to deal with pests?
It is important to constantly monitor that aphids and midges do not settle on plants. To combat pests, a soap solution is used (5 g of ground laundry soap per liter of water, the solution is infused for 5 hours and filtered), which is used to wipe the leaves and stems.
How to fertilize plants?
Plants respond well to potassium and phosphorus introduced into the soil, but tolerate chlorine-poor fertilizers very poorly.
The rules for plant nutrition are as follows:
- top dressing for peppers grown on an open ground is applied every two weeks, alternating organic fertilizers with mineral fertilizers. Greenhouse peppers fertilize every 15-20 days;
- before applying fertilizer, the soil is abundantly watered;
- top dressing is diluted in warm, settled water;
- after feeding, the soil is loosened.
Important! You can’t add too much nitrogenous fertilizer, otherwise the plants begin to grow abundantly in green mass, and yield decreases.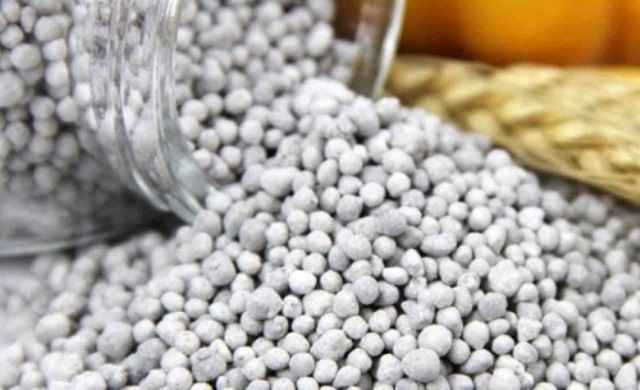
First feeding during flowering. 5 g of superphosphate and 10 g of urea are taken on a ten-liter bucket of water. The mixture is applied under the roots in the amount of one liter per plant.
Second feeding during the formation of ovaries. For fertilizer use an aqueous solution of mullein in a ratio of 1:10 or bird droppings in a ratio of 1:15 (insist 5 days).
You can use "herbal tea." Nettles and dandelions without roots and seeds are crushed and stacked in a barrel. There they add a bucket of mullein and a glass of ash, pour water to the top and close the lid. The "fragrant" mixture will be ready for use in a week. 1-2 liters of liquid are poured under each plant.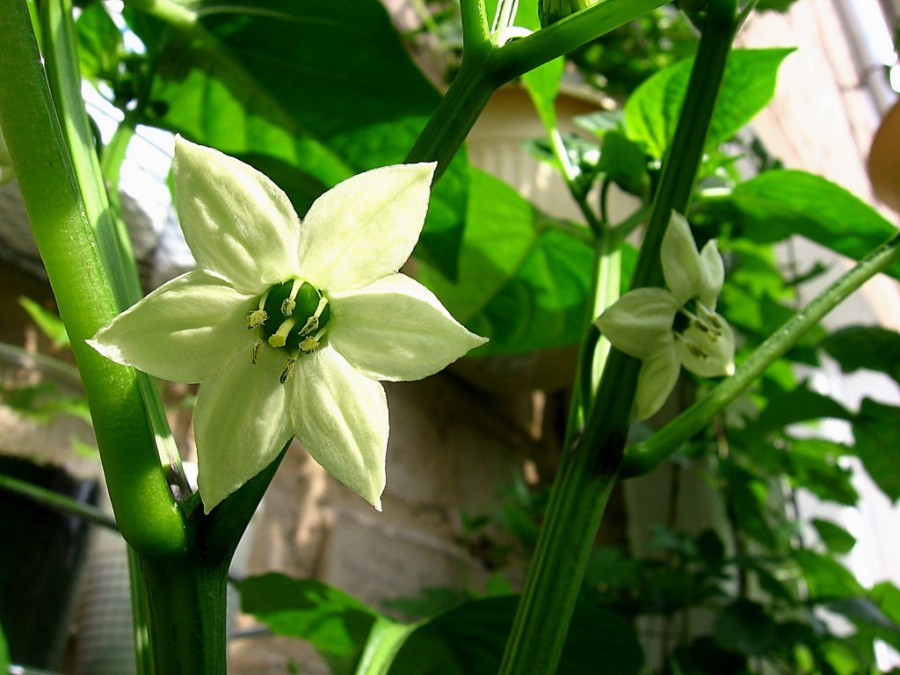
Third feeding necessary during the ripening period. In a ten-liter bucket of water, two teaspoons of superphosphate and potassium salt are stirred. Under each stem, 1 liter of solution is poured.
How to tie pepper?
Peppers require a mandatory garter. We recommend for this purpose to build mini-trellis from bars with a section of 40x40 mm and galvanized reinforcing building mesh with cells of 50x50 mm.
The bars need to be cut into lengths of one and a half meters, and the net should be cut with scissors for metal into pieces of 30x50 cm. The lower part of the bars must be cut with an ax, sharpened so that it penetrates well into the ground.
You can attach the grid to the bars with a knitting wire or brackets.
On a note! Antiseptic wood processing will extend the life of mini trellis.
Finished structures are driven in with a sledgehammer next to the root of the plant. As the pepper grows, it is tied to the net with soft ropes.
Reviews
Albina, Alekseevka
Grown "Yellow Giant" for the first time, the result is very happy. Planted seedlings in a greenhouse in early June, fertilized with mullein solution. Around the end of July, the first ripe peppers already appeared. They are very large and taste delicious.
Galina, Golubitskaya
These peppers have very thick walls, juicy, tasty. And although I do not welcome hybrids, I cultivate the Yellow Giant for the sake of a large crop. My plants in the greenhouse bore fruit almost until the end of September, gradually the number of peppers decreased. I recommend the "Yellow Giant" to everyone, I will also grow it myself next summer.
 Low-growing tomatoes, without pinching: 5 of the most delicious varieties
 Why tomato seedlings grow poorly
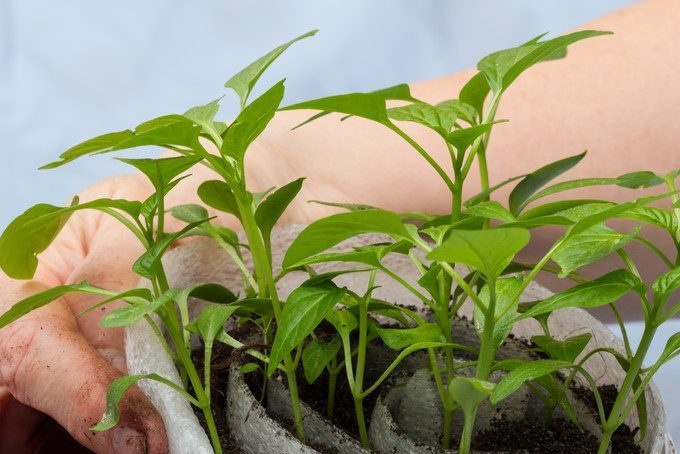 We grow a tomato in a shell
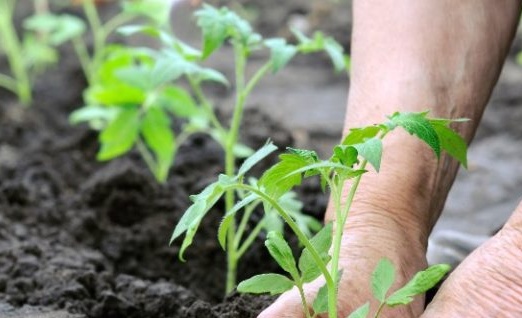 Growing tomatoes without watering according to the method of Kazarin