
The first spring month is the perfect time to think about which varieties of tomatoes to plant for seedlings. When choosing a variety, it is worth considering the climatic features of the area, whether tomatoes will be grown on open ground or in a greenhouse.
It is also important to learn about the characteristics of ripe fruits, their purpose, taste, ripening dates.
One of the varieties that are popular with gardeners is "De Barao" pink. Let us consider in more detail how remarkable it is and how to properly grow a culture.
Content
Grade Features
The purpose of tomatoes is universal. They can be used to prepare any salads, add to first courses, side dishes, vegetable stews, casseroles, etc. Especially good is "De Barao" fresh pink. You can feel how its delicate delicate taste is revealed.
To preserve tomatoes for the winter, they canned whole: pickled, salted.
Juice is made from tomatoes, which is consumed immediately or pasteurized and rolled into jars. However, it is from these tomatoes that juices and sauces are rarely made.
Bush description
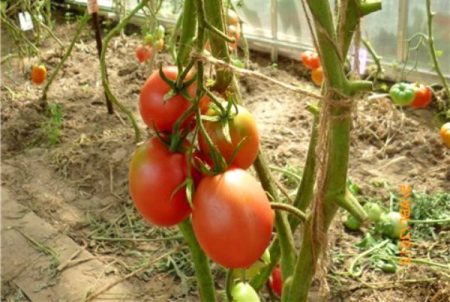
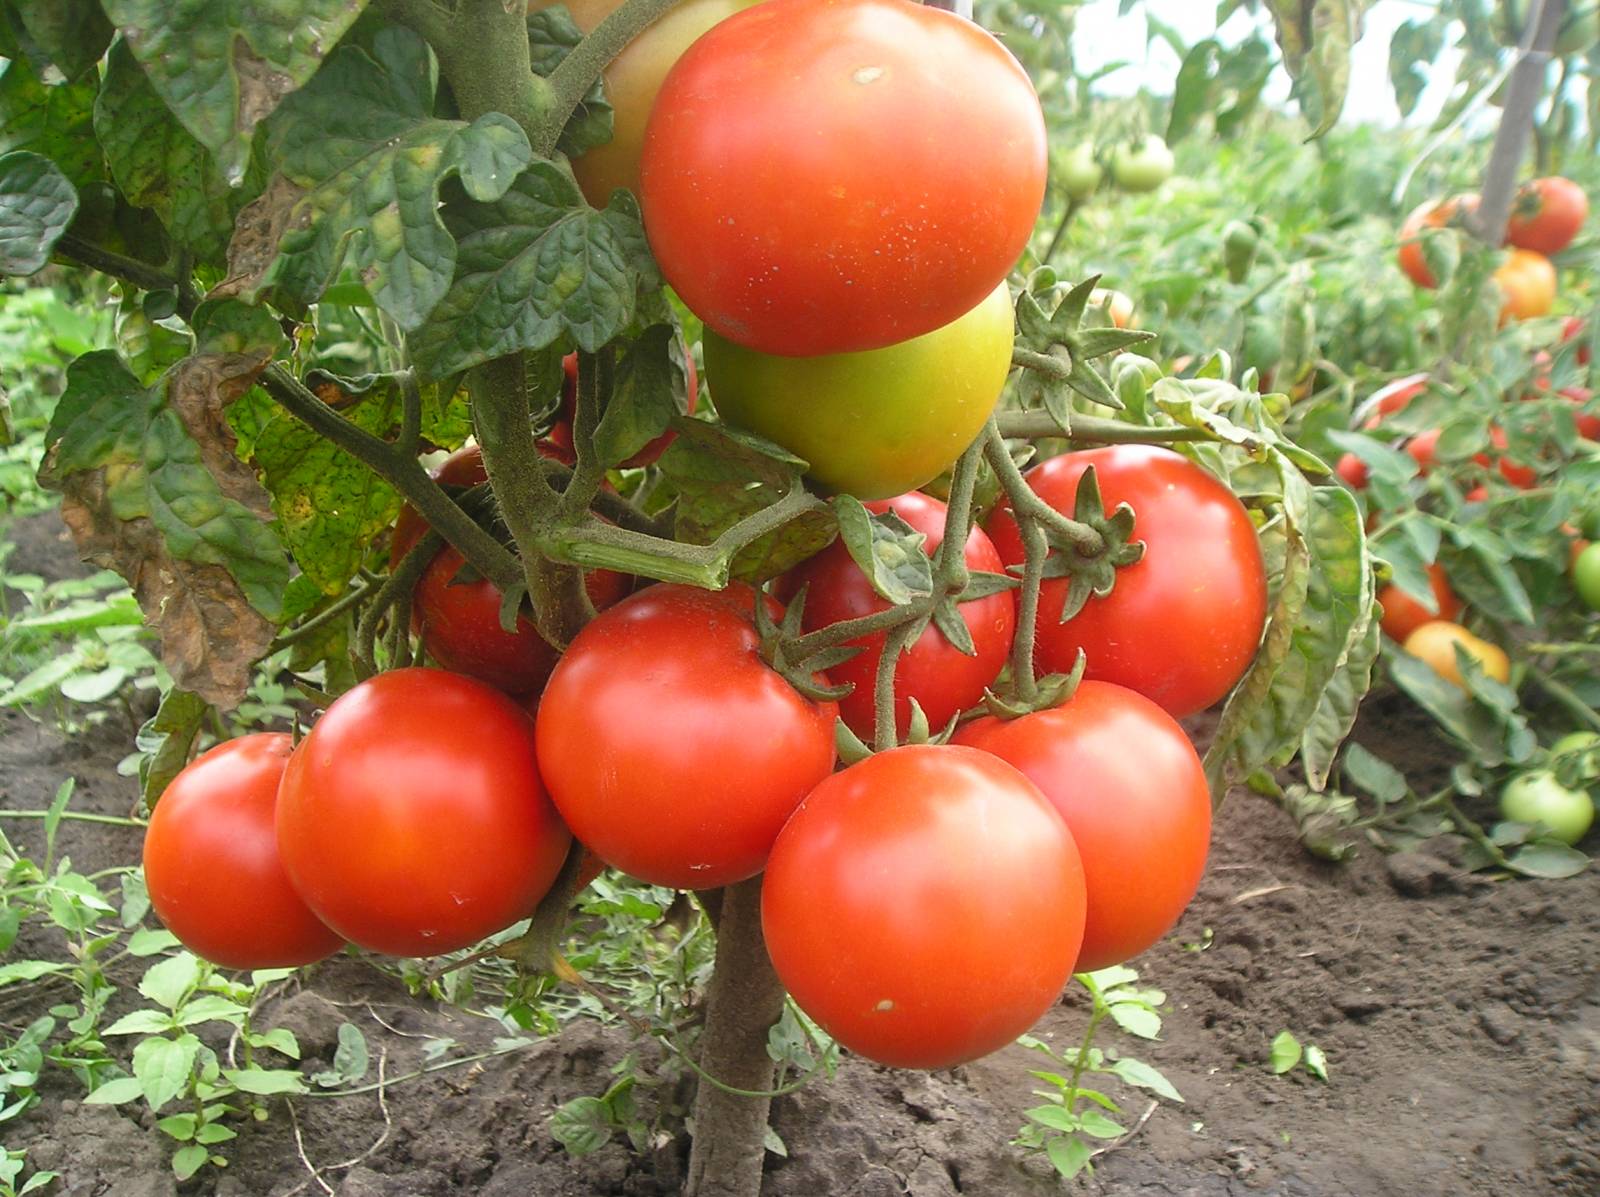
The bush is indeterminate with a long fruiting period (during growth, new ovaries form, brushes with fruits form). Typically, up to 6 brushes are formed on a bush, on each of which up to 10 tomatoes. The first inflorescence is formed over 9-11 leaves, the next every three leaves. Tomatoes on the bushes hang in beautiful neat clusters. Bushes are medium-leaved.
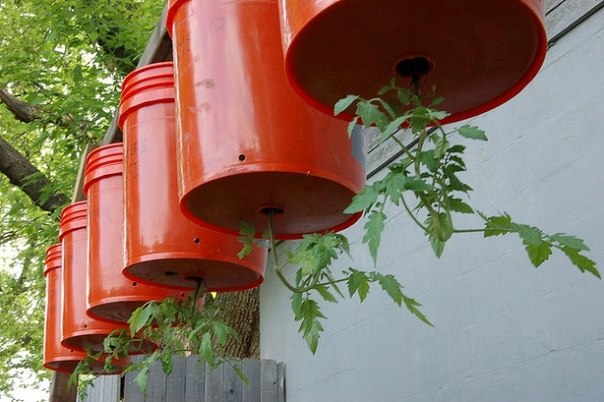
The height of the bush can reach two meters. Such tall plants require stiff support, to which the stem is tied up as it grows.
The variety is classified as shade-tolerant. If tomatoes of other varieties quickly wither away with a lack of light, then the pink "De Barao" will successfully bloom and bear fruit in the shade of a garden tree, high hedge, etc. The shade tolerance of the variety is a definite plus for those gardeners whose land plots are not in the most favorable climatic zone with a small amount of sunny days during the summer.
The first crop is obtained 110-125 days after seed germination. With one square meter, you can get a minimum of 5.4-5.8 kg of tomatoes. If during the growing period the conditions are as favorable as possible, top dressing is provided, agricultural technology is observed, then the yield will be from 7-10.0 kg / m3.
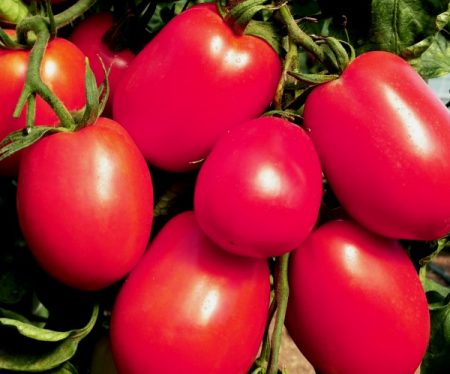
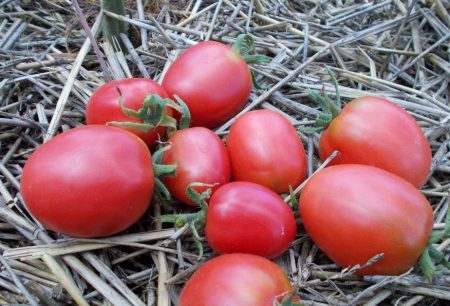
Tomatoes taste fleshy, sweet and sour. They have an elongated oval shape. From below the fruit has a pointed "nose". The skin is elastic, shiny, a shade of pink or light red, there may be green spots. Inside the fruit there are 2 chambers with a small amount of seeds. The average weight of the fruit is 60 grams, the maximum is 80 grams.
Advantages and disadvantages of the variety
| Positive traits | Negative sides |
| Shade tolerance. | It takes a lot of space in the greenhouse.On each square meter, only two bushes can be placed. |
| Unpretentious variety and resistance to diseases, pests. | The need for garter long stems. |
| High yield. | The need for stepsonovka. |
| Good presentation of the fruit, their ability to ripen. | |
| Long fruiting period. | |
| Widespread use of tomato crops, the possibility of full-canning. | |
| Long crop storage period. |
Growing seedlings: step by step instructions
How long does it take to plant seeds for seedlings? You can do this from the first of March. But if tomatoes grow in the open field, it is better to postpone it until the first of April. It is not worth rushing to plant seedlings if you plant seeds in February, there is a risk that the plants will subsequently freeze at nighttime drops in temperature.
Step 1. Sprouting seeds on toilet paper.
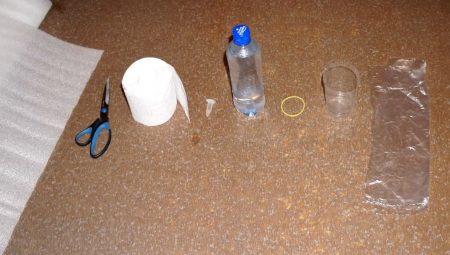
Before you begin, you need to prepare:
- non-folded backing for laminate with a thickness of 2 mm;
- good quality toilet paper, preferably two or three layer;
- syringe;
- drug "Epin";
- warm water - 0.5 - 1 liter;
- sharp knife;
- gum stationery or scotch tape.
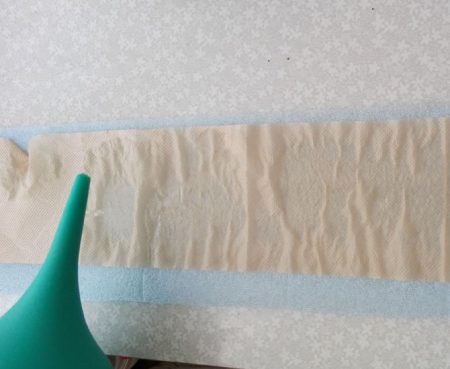
Laminate backing is sold in rolls. From this roll, it is necessary to cut off a tape with a width of 14-16 cm. It is most convenient to measure the necessary width from the edge of the roll, put a mark with a marker, and then cut with a knife without having to roll the roll in advance.
The cut off tape must be placed on the table. It is advisable to pre-cover the table with oilcloth or put a large spacing for work.
The edge of the backing tape must be aligned with the edge of the toilet paper roll, and then roll both to the edge of the table or a little less.
In water it is necessary to part "Epin". At 0.5 liters - 2-3 drops of the drug. The solution should be mixed well and put into a syringe.
From the syringe, the solution must be uniformly poured onto toilet paper so that it is well soaked.
Now you can deal with the unfolding of seeds. It is recommended to grab them one at a time with tweezers or a wet toothpick and lay on paper, 5 cm from the short edge of the substrate, 1.5 cm from the top and observing an interval of 1-3 cm between the seeds.
When all the seeds have been planted, it remains only to cut off the excess substrate, and then roll the tape into a tight roll, which can be fixed with elastic or tape.
The rolls must be covered with cling film, a garbage bag or other similar material, and then put the box (glass) in a warm place for three days. During this period, the seeds do not need light.
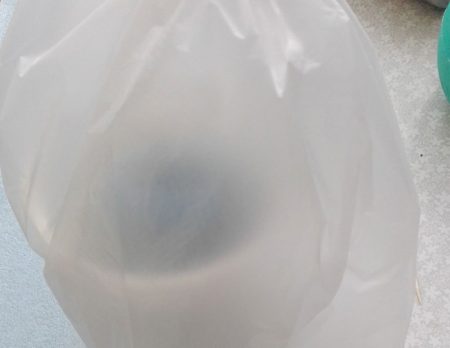
Three days later, you need to check how well the tomatoes sprout. The film must be removed, rolls one by one deploy on the table. If the seeds hatch, green loops appear, you can proceed to the next stage of work.
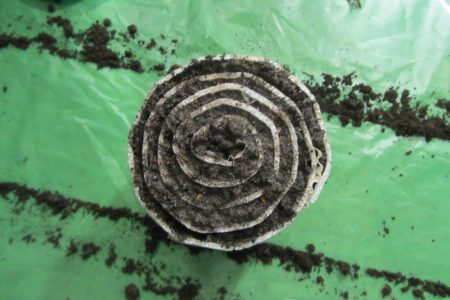
Step 2. Growing seedlings in rolls.
Hatching seeds from toilet paper do not need to be removed. Directly on toilet paper with a spoon or spatula, pour a two-centimeter layer of loose soil.
It's okay if sprouted seeds are covered with soil.For convenience, it is worth simultaneously pouring soil and spinning the roll.
When the whole "snail" is covered with soil, rolled up and fixed with an elastic band, it must be placed vertically, and on top add more earth so that it covers all the turns of the roll.
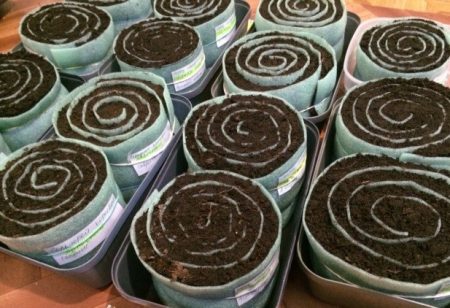
It is advisable to put the roll in a box, on the bottom of which a layer of sawdust is covered. This material absorbs and retains moisture well, providing comfortable conditions for seedling growth.
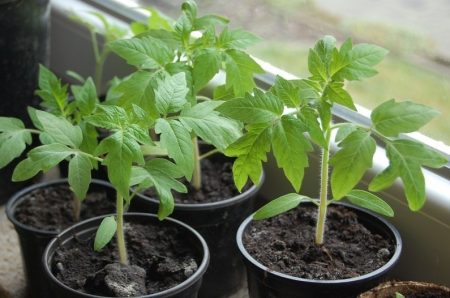
The box again needs to be closed with a bag and put away in a warm place. You can open the box when green sprouts appear from the ground. After this, the seedlings need to be transferred to a bright place, for example, on the windowsill, or a rack for seedlings.
Step 3. It is advisable to water the seedlings with a syringe, without eroding the soil.
Step 4. Diving seedlings.
You can dive seedlings in any containers - cups, sleeves from toilet paper, drawers. But it is most convenient to dive seedlings into “diapers” from a film. Great for this are plastic food packaging bags.
You can dive seedlings when plants have 2-4 true leaves.
The dive procedure from the "snail" to the "diaper" is as simple as possible:
- a roll with seedlings is placed on the table, remove the fixing gum or adhesive tape;
- roll edge unfold. It is enough to bend the edge of 15-20 cm;
- on the table spread the first packet;
- the first sprout is removed from the “snail” with a spatula along with a lump of earth, being careful not to damage the root system. The sprout is transferred to a spread package;
- the sprout is covered with one or two tablespoons of soil so that it covers the root and stem to the most cotyledonous leaves;
- the bottom of the package is folded up, after which the edges are twisted around the root with the ground covered with soil. The edges can be fixed with a piece of tape.

Seedlings in the "diapers" put in fruit boxes tightly to each other.
Step 5. Hardening seedlings.
When the sprouted seedlings are strong enough, they can be taken out into a polycarbonate greenhouse and covered with covering material. If this is not possible, seedlings can be hardened on the balcony or on the window, opening the window at first briefly, then increasing the airing time to 2-3 hours.
Seedlings after hardening become stronger, less whimsical, "immunity" is formed to sudden changes in air temperature during the summer.
Transplanting seedlings into the greenhouse
The tall bushes of “De Barao” are shade-tolerant, but do not overshadow the plants, because this will affect their growth rate and yield. It is optimal if between adjacent bushes there will be from 90 to 120 cm of free space.
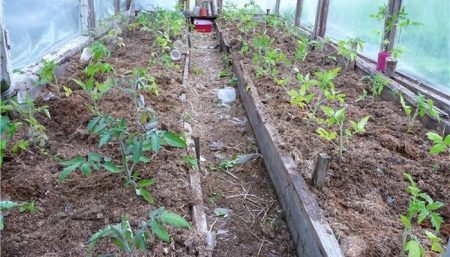
It is advisable to prepare the beds in advance by digging the soil, adding humus to it. So that the soil warms up better, 3-5 days before planting seedlings, the garden bed can be covered with a black film.
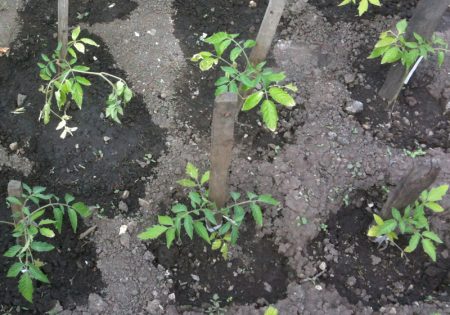
Seedlings are planted when the air warms up to + 20 ... + 22 ° C during the day, and at least up to + 15 ° C at night.
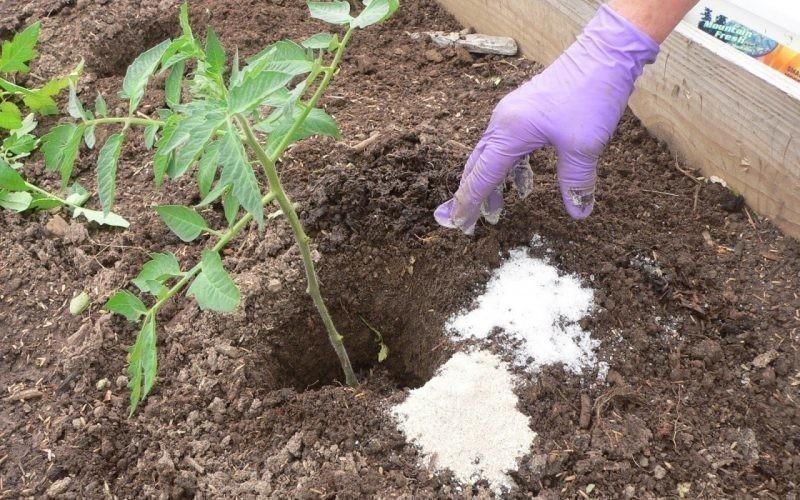
On one square meter, the beds make only two holes. It is advisable to add a tablespoon of ash to the hole. The sprout in the hole is placed vertically, without tucking the roots, after which it is sprinkled with earth and watered abundantly around the stem.
Pegs for garter bushes drive in simultaneously with planting seedlings in the ground. If this event is carried out later, damage to the root system is possible, which is extremely undesirable for plants.
Care for adult tomatoes in a greenhouse
Pink tomatoes love plentiful watering. But do not over-moisten the soil, it is important that the water does not stagnate in the beds.
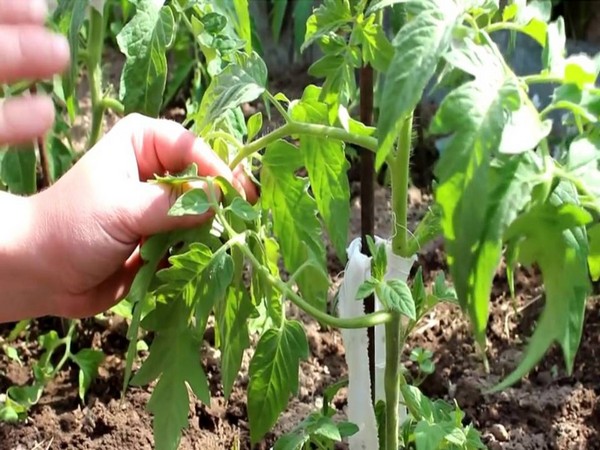
De Barao tomatoes are highly branched.To get the maximum yield from one bush, it is necessary to carry out stepsoning and form plants in two stems.
During the appearance of the ovaries, the lower leaves of the plants can be removed. This will provide better ventilation and good fruit growth.
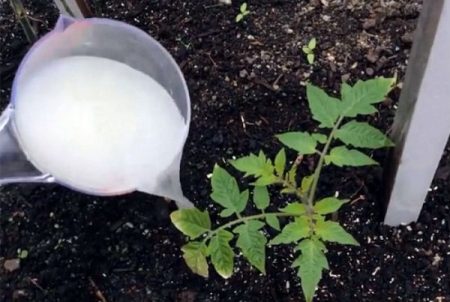
Fertilizing tomatoes is carried out in the following order:
- The first top dressing is the addition of ash to the hole when planting seedlings. In the ash there are enough macro- and microelements necessary for the active growth of plants;
- two weeks after transplanting seedlings to the beds, a second top dressing is performed using “green tea”. Fertilizer is prepared from nettle, plantain, garden weeds and mullein. In a barrel of 50 liters, lay up to 5 kg of grass, add a glass of liquid mullein and pour water. Within a few days, the fertilizer will “infuse”. Before use, it is mixed. Under each bush, pour 2 liters of "green tea";
- the third top dressing is recommended to be done during the flowering period of tomatoes. Under each bush, 1 liter of fertilizer is poured, consisting of liquid mullein (0.5 l), bird droppings (0.5 l), potassium sulfate (1 tbsp. Spoon). You can replace this fertilizer with a nitrophos, stirring 1 tablespoon of powder in a bucket of water. The consumption of the finished solution is 1 liter per 1 bush;
- fourth feeding during the appearance of the ovaries. The working solution is prepared from wood ash (2 liters per 10 liters of water) and boric acid (10 g). Before use, the mixture is insisted 24 hours. The consumption of the solution is 1 liter per 1 bush;
- the last fifth feeding is necessary so that the tomatoes ripen faster and their taste is more saturated. During the period of active ripening of the fruit, the bushes are watered with a solution of superphosphate and liquid sodium humate (2 and 1 tablespoons of fertilizers, respectively, per ten-liter bucket of water).
Disease prevention
- To prevent the occurrence of late blight, it is often necessary to ventilate the greenhouse.
- From the top rot will help spraying plants with a solution of wood ash.
- To exclude the colonization of thrips and aphids on the leaves, it is worth treating the bushes with the Bison preparation.
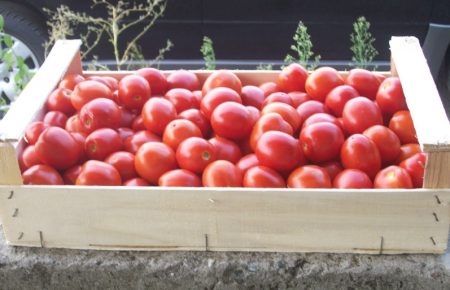
Harvesting and storage
Fruits can be removed from the bush unripe and stored indoors for ripening.
It is convenient to store tomatoes in plastic fruit crates, laying out the fruits in three layers and laying paper between them.
Reviews
Lily, the city of Pyatigorsk
I pickle the seeds before sowing in potassium permanganate, and then sprout. Seedlings are strong and healthy. On the bushes, tomatoes grow dense, very tasty.
Fedor, the city of Bataysk
I grow De Barao in a greenhouse. Here it is easier to tie them to trellises, and the yield is greater than when grown in open ground. I plant seeds for seedlings in mid-March. And for illumination of seedlings I use phytolamps.
Nikita, the city of Pavlograd
I did not like the variety. It takes too much effort to grow it. What is one herding, constantly need to be tied up. I am not ready to spend too much time in the country, such a variety is not for me. Tomatoes, of course, taste good, but I won’t grow them next year.
 Low-growing tomatoes, without pinching: 5 of the most delicious varieties
 Why tomato seedlings grow poorly
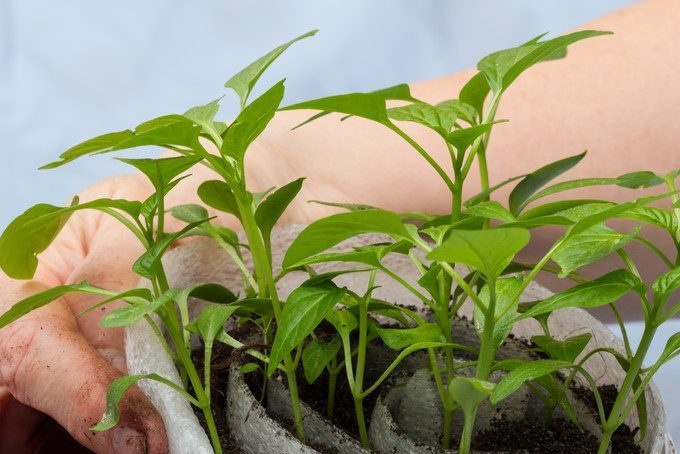 We grow a tomato in a shell
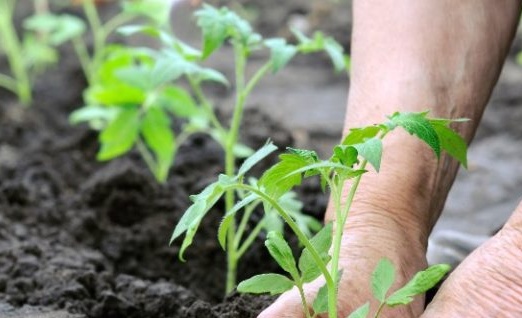 Growing tomatoes without watering according to the method of Kazarin