
 Undoubtedly, the Alpine slides are one of the most beautiful decoration sites. At the same time, you can create such an ornament without the help of professionals, if you know how to make an alpine slide with your own hands.
Step-by-step instructions with a photo will help to achieve a beautiful result even for those who have never before done such things.
The main thing is to have patience and time and not give up if the first time you fail to achieve a positive result, because any mistake can always be corrected!
DIY Alpine slide - a step-by-step process of creating
1. Designing an alpine hill should begin with the choice of a place on the site and drawing the contour of the future alpine hill. For these purposes, you will need a tape measure for measuring and stakes. It is necessary to measure the area of the hill with a tape measure and mark its perimeter with rings (this can also be done with chalk crumbs, if it is more convenient).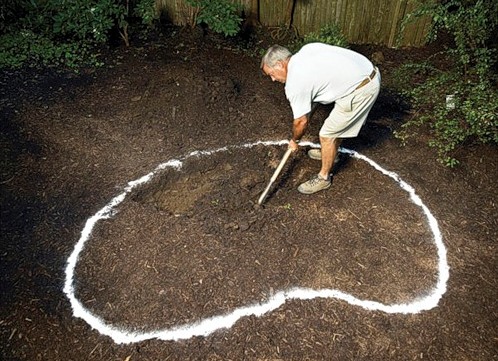
2. The place where the alpine hill will be located must be cleaned. The topsoil is removed from the plot, to a depth of about 40 centimeters, and then the plot must be weeded and weeds pulled out, if any.
3. After cleaning, the area of the hill is covered with gravel, slag and construction waste (chipped brick, crushed granite), the thickness of these layers should be about 10 centimeters. Such a "pillow" will protect the roots of the flowers from excessive moisture, will not allow stagnation of groundwater, and will ensure normal aeration. This protective layer of gravel and other materials is clearly visible on the alpine slide diagram.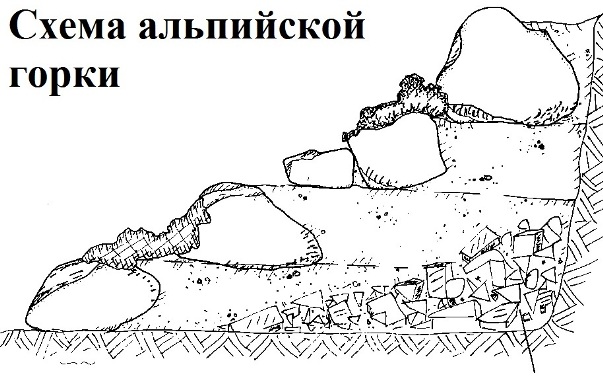
4. Next, you need to create a water-transmitting layer. It is made where the soil is more dense, silty. If the land is swampy, then this is a threat to the alpine hill, because plants for alpine hills accustomed to growing on light slopes, where acidic soil.
5. The next layer of construction is a sand cushion. To do this, pour river sand with a layer of 5 centimeters, ram it and pour over it.
6. The next step is the mixing of turf land, perlite, sand, pine bark, wood chips and small gravel, crushed peat, humus and sphagnum. For this layer, it is better not to use a lot of fertilizers, as the plants can grow tall, which will significantly worsen the visual appearance of the alpine hill and ruin its accuracy. Or vice versa, they can simply die from an overabundance of fertilizers, and then the alpine hill will be empty.
7. The mixture obtained in the previous step must be scattered over the entire surface of the slide, creating a relief of the rock garden. When creating an alpine hill, “cliffs”, “peaks”, “paths” and “transitions” are formed manually if it is a multi-level hill.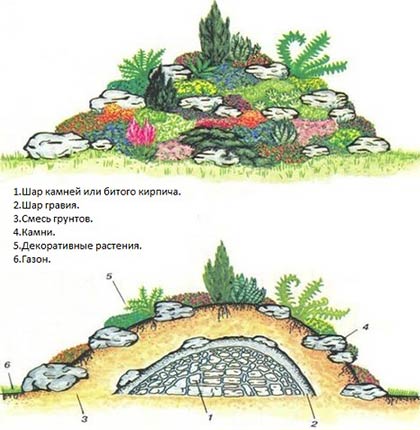
8. After filling there is a laying of stones, under which it is necessary to fill up a little river sand.
9. When the alpine hill is modeled, it remains only to plant plants.
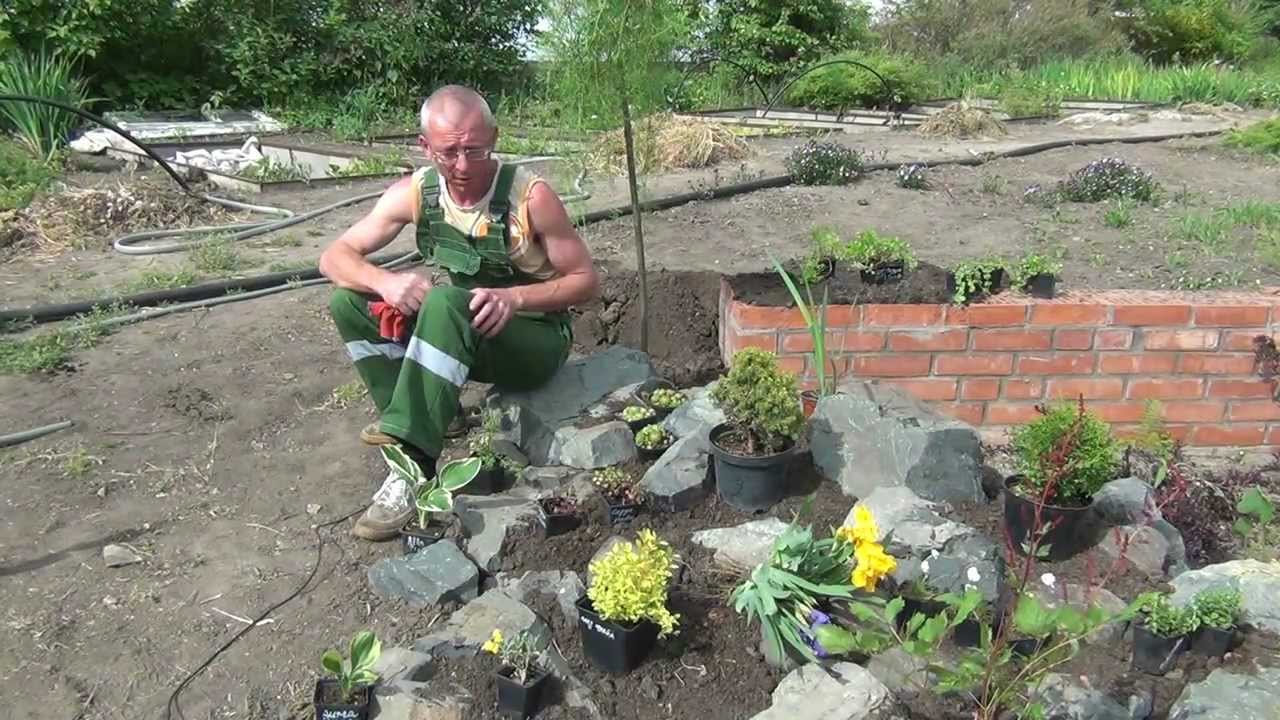
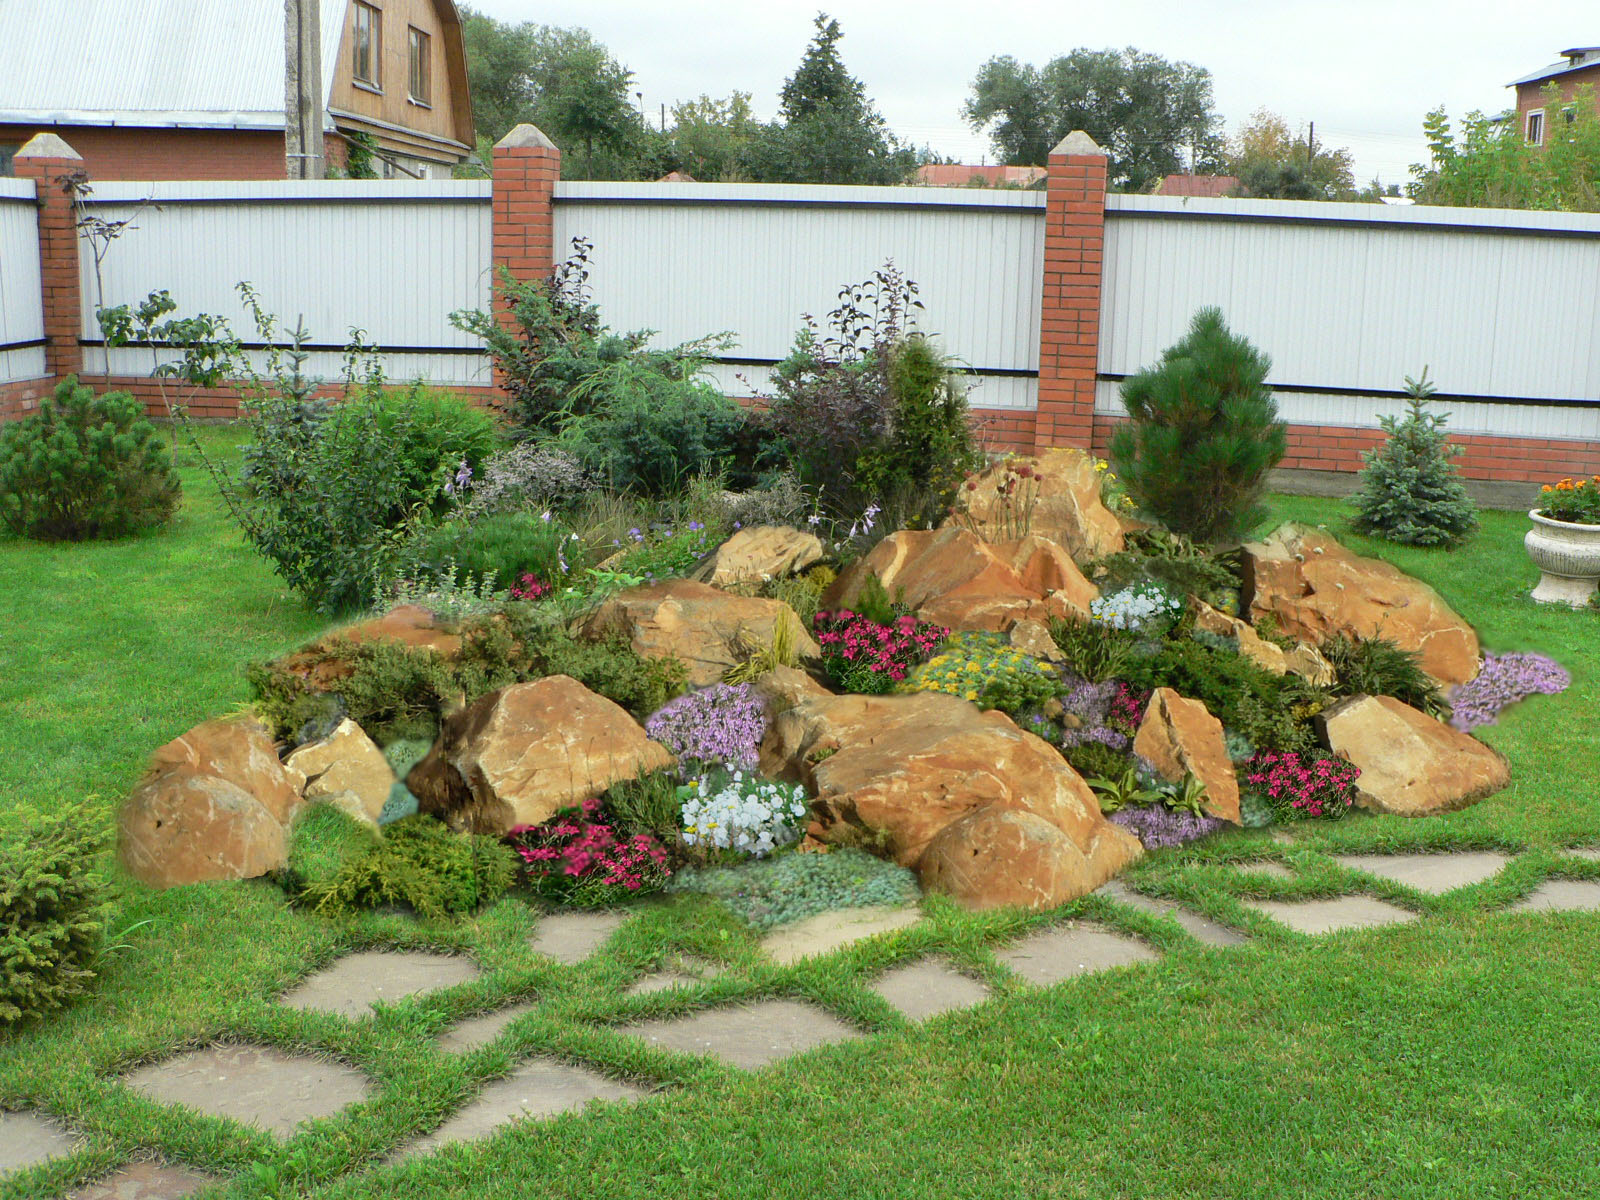
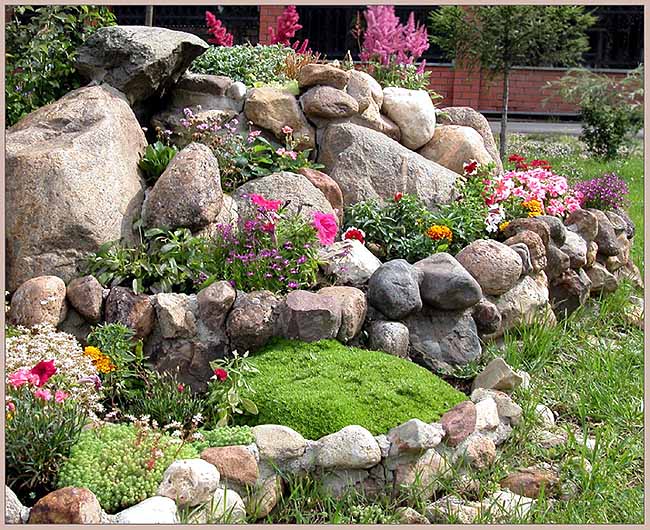
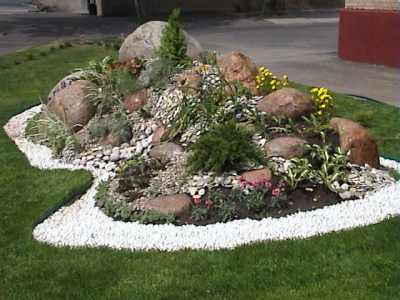
And here are examples of how beautiful and well-groomed alpine hills are with their own hands after all the rough work:
Read also: What plants to choose for an alpine hill.
To simulate the Alpine hill itself is not so difficult, but to make the right layers for the hill, to observe the nuances of the design so that flowers grow on it - this is already a more difficult task. An alpine hill is not just a place lined with pebbles and decorated with flowers, it is a structure that imitates rocky natural areas, therefore, when creating an alpine hill, it is best to follow the step-by-step instructions and follow all the recommendations, then you will certainly be able to create a beautiful and bright rock garden in your the garden!
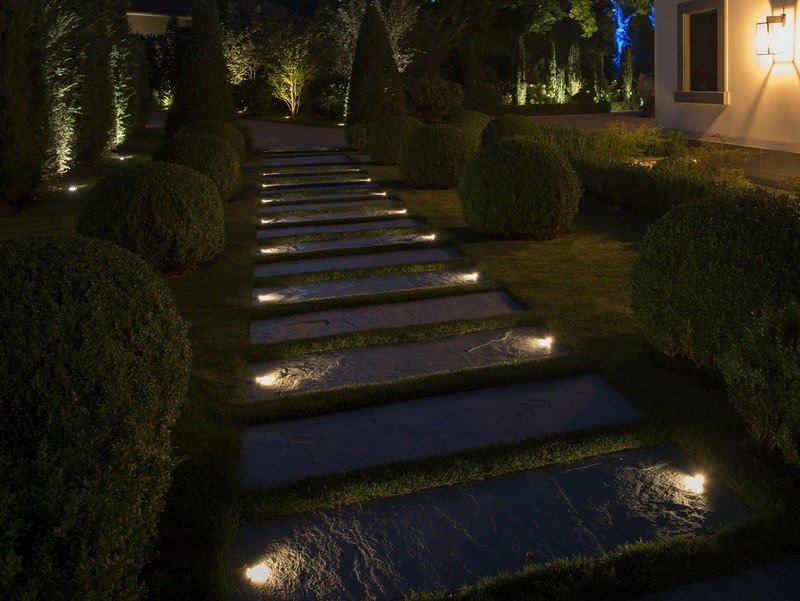 How to decorate and highlight garden paths in an original way?
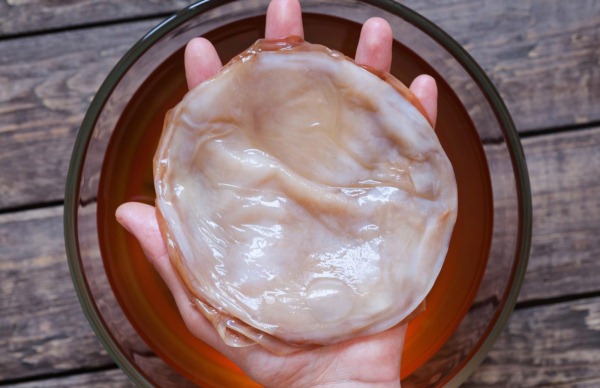 How to grow Kombucha "from scratch"?
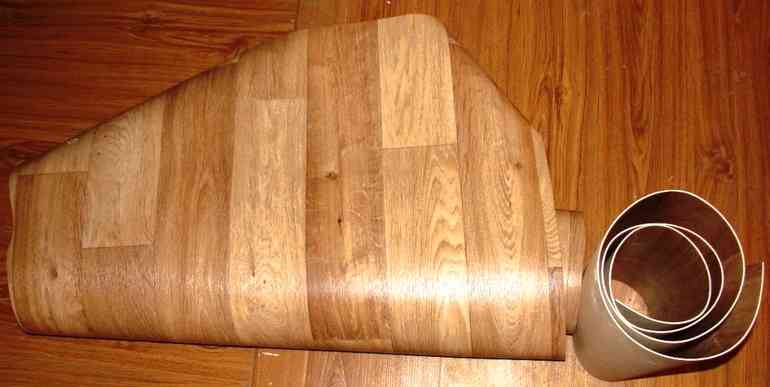 8 practical ideas for using linoleum in the garden
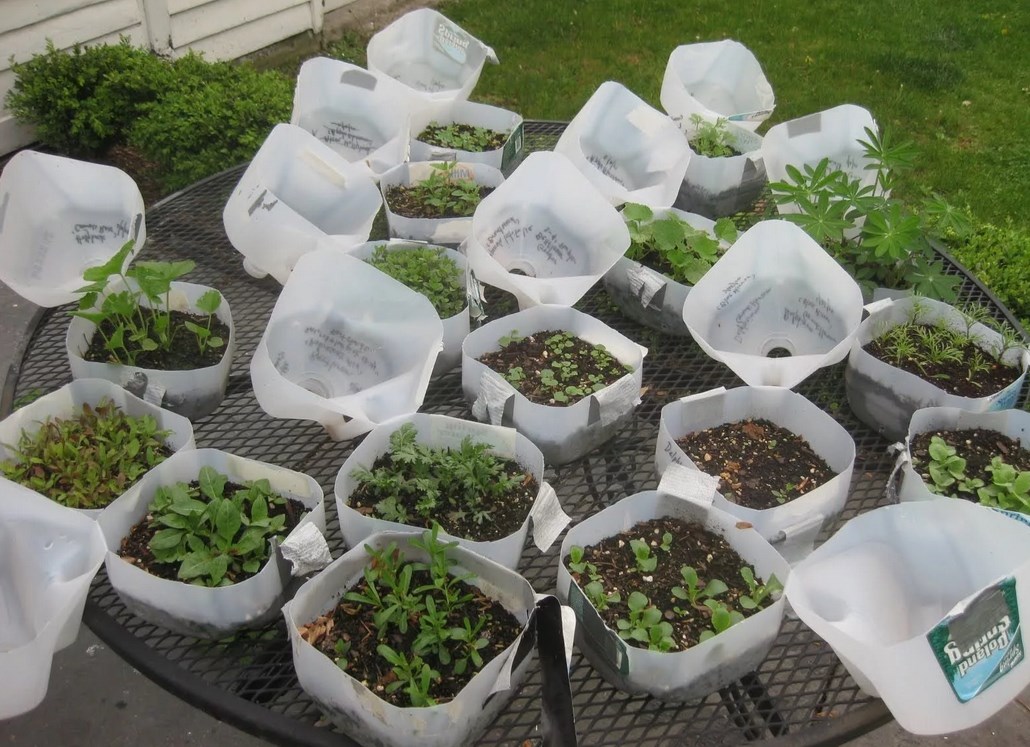 Useful crafts from do-it-yourself canisters for the garden
Tatyana
Your information is interesting and useful to us. Send it by e-mail.
Valery Karnatsky
Class!