
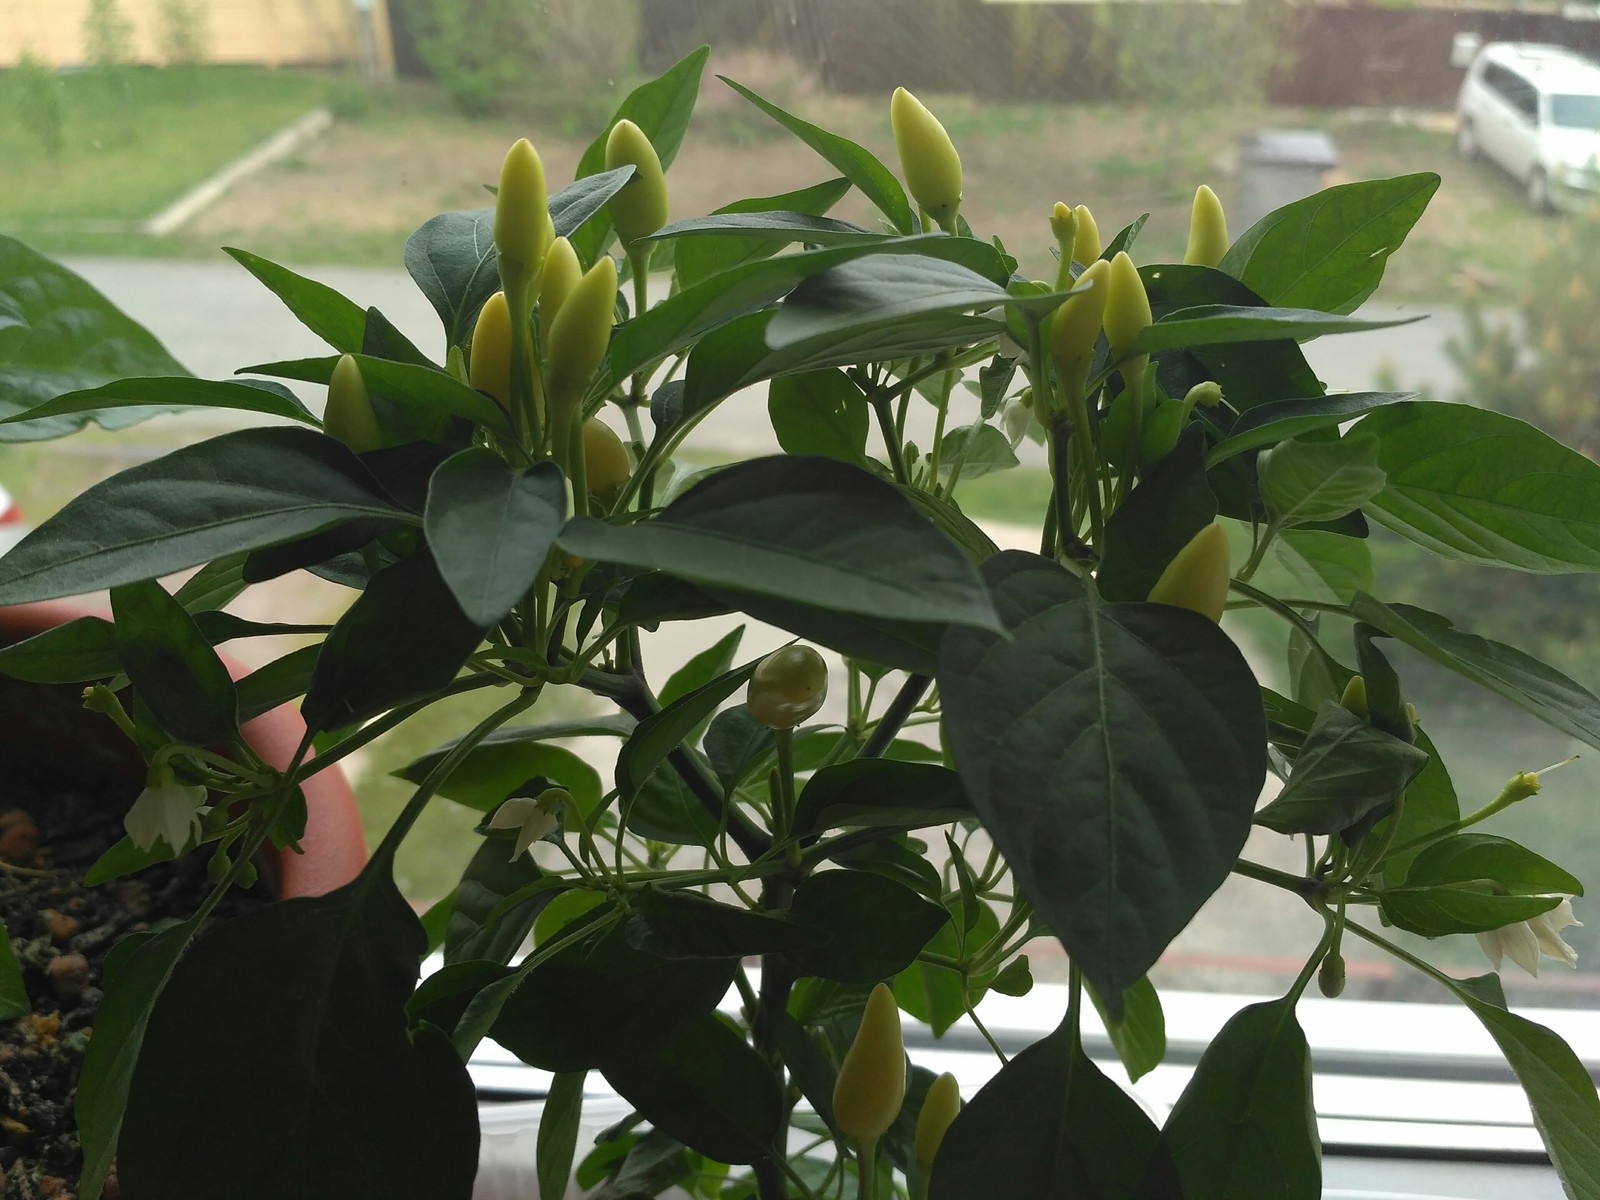
Indoor hot pepper is a plant that has not only decorative value, but also great practical value. The colored bush favorably emphasizes the cosiness of the kitchen and will delight you with a harvest of peppers, the pungency and aroma of which are in no way inferior to the vegetables purchased in the store.
Growing pepper from seeds in a modern apartment on the windowsill is a rather time-consuming process that takes a long time. But if you follow all the simple recommendations for caring for the plant, the growing procedure turns into a fascinating action, in the end which the gardener will be rewarded with a generous harvest of piquant peppers.
Content
Is it possible to grow pepper on a windowsill from seeds?
Since the homeland of pepper is the American tropics, high humidity and heat are the conditions necessary for growing this plant. Hot pepper can be grown on the windowsill, creating the necessary microclimate for development.
Growing vegetables at home has its advantages:
- Systematic harvesting of personally grown fruits.
- The taste of the fruit is no different from the taste of shop peppers.
- Vegetables grow environmentally friendly and do not contain substances harmful to the human body.
- The ability to grow perennial varieties.
- The fruiting of some varieties occurs year-round.
- Lack of financial and labor costs.
- The plant additionally performs the function of purifying air from pathogenic microbes and bacteria.

- Pots are quite voluminous, so often occupy the entire space of the windowsill.
- For the cultivation of perennial varieties, additional illumination is required, which is provided by means of special fitolamps.
- The fruits of indoor pepper are inferior in size to vegetables collected in a greenhouse or in an open garden bed.
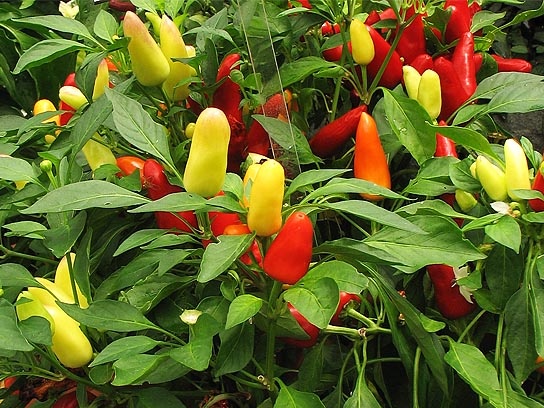
Especially for indoor cultivation, a number of hybrids adapted to living conditions were bred. In addition to being hot, they also have a high decorative effect.
The best varieties of hot pepper for planting in the apartment
Hot pepper indoor hybrids have high decorative qualities. The most popular of these are Spark, Ryabinushka, Aladdin, Confetti and Salute.
Twinkle
The spark refers to mid-season hybrids. Its technical maturity occurs on day 120, and you can harvest it already on day 140. Fruits have a classic folded shape with a curved tip. Peppers are deep red. The fruits are small in size, have a sharp burning taste and a pronounced pepper aroma.
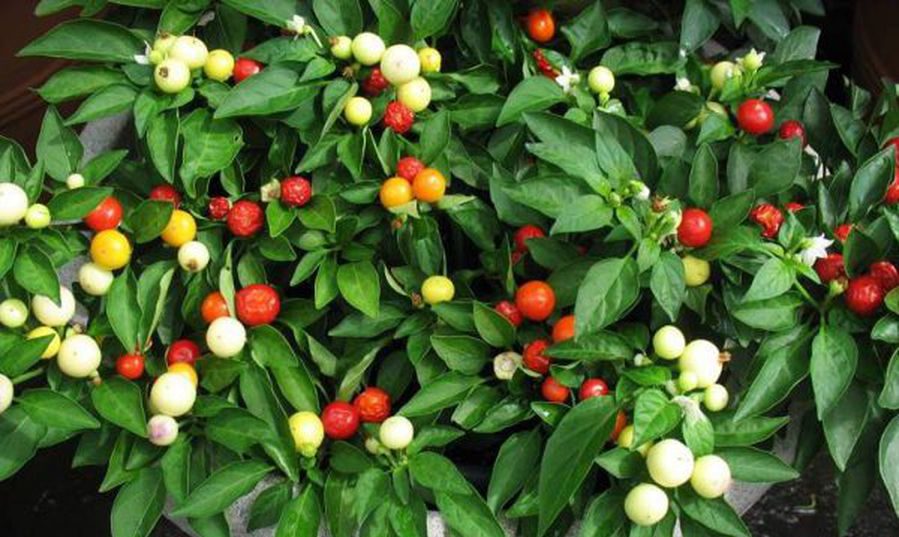
Ryabushka
Ryabinushka is an early ripe decorative hybrid, the fruiting of which begins 90 days after planting. The variety is characterized by high productivity.Fruits are represented by a spherical shape of red color, outwardly resemble mountain ash clusters. They are distinguished by a sharpness of taste and a strong aroma.
Alladin
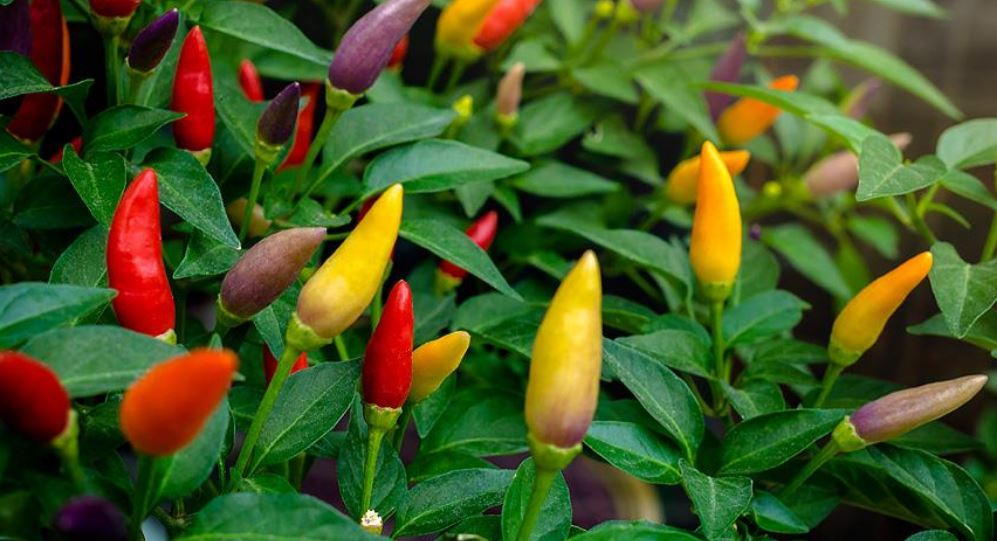
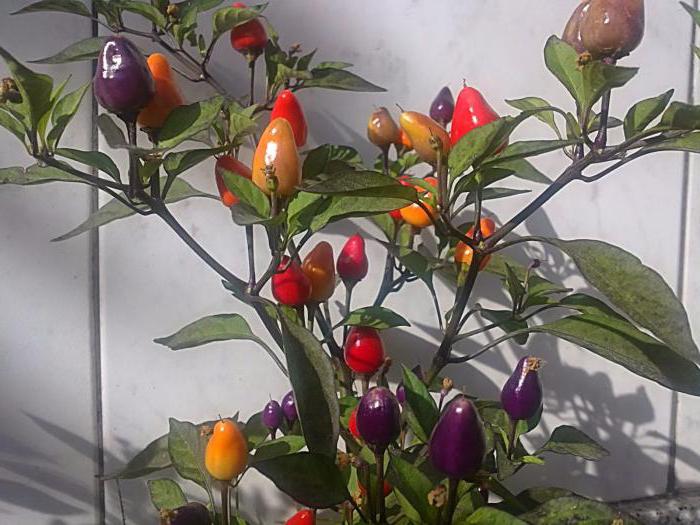
Aladdin is a compact pepper bush bearing small fruits weighing up to 5 g. Peppers have an unusual shape and color - bright conical fruits are directed upwards. On the same bush, lettuce, green, raspberry, cream, red and purple peppers can grow simultaneously. The fruits have a sharp taste and are suitable for canning.

Confetti
Confetti is a dwarf ornamental plant growing up to 35 cm. The hybrid is characterized by high fertility. Ripe peppers reach from 3 to 7 cm in length, have a classic conical shape. The color of the fruit is diverse and in the process of ripening, the color changes according to the following scheme: green - yellow - purple - red. Ripe peppers have a sharp taste and a pleasant pepper aroma.
Salute
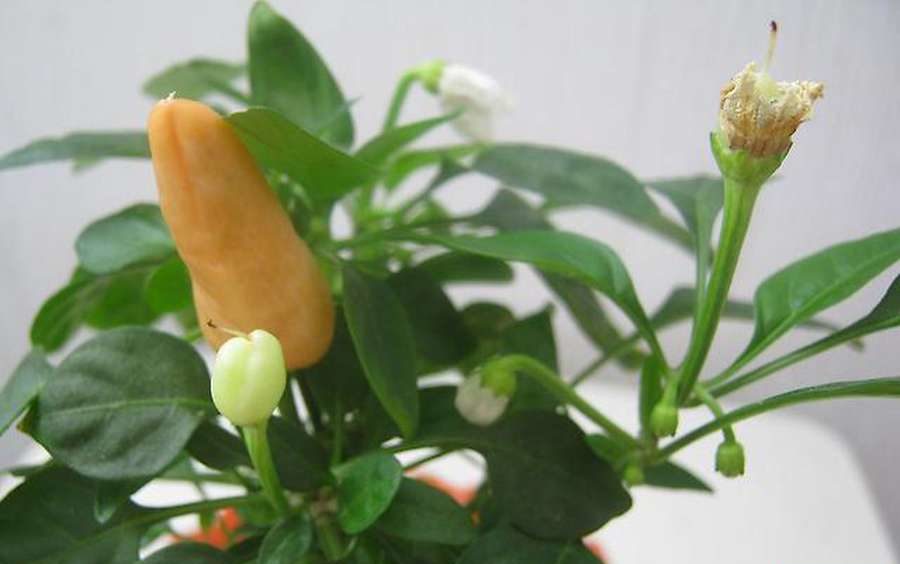
Salute is an early ripe variety of decorative pepper, the fruits of which reach full maturity as early as 95 days after planting. The height of the bush is small - up to 20 cm, but the plant is characterized by strong branching, so the pepper grows sprawling. The fruits are cone-shaped in varying colors: at the stage of technical maturity, they are bright green, and biologically mature peppers have a rich orange color. The fruits are used fresh and for canning.
General rules for growing pepper at home from seeds
Growing pepper indoors is a simple and somewhat fun process. But for the successful maintenance of bushes, the gardener must adhere to a number of recommendations for caring for the plant.
Seat and container selection
To provide the plant with the required amount of light, the pots are placed on the southeast or southwest side. East and west window sills are also suitable for growing, but on cloudy days, bushes may require additional lighting. On the north side, the plant definitely needs backlighting with phytolamps. On the southern windowsill, the pepper will have to be hidden from the scorching sun.
Adult plants are planted in pots with a volume of 3 to 5 liters. The material of the tank does not matter. Drainage holes must be present at the bottom of the pot.
 You may be interested in:
Preparing and planting seeds
Before planting the seeds go through several stages of preparation:
- Selection. Seeds for half an hour are poured with salted water, the pop-up ones are removed, and the drowned are prepared for planting.
- Disinfection. The selected seeds are soaked for 2-3 hours in a weak solution of potassium permanganate for disinfection.
- Food. For accelerated growth and higher productivity, pepper seeds are placed for several hours in an aqueous solution of wood ash.
- Soak. Immediately before planting, seeds must be soaked. To do this, they are folded into a damp cloth and left to warm. Soaking takes from 7 to 14 days.

Until the seeds hatch, the fabric should always be wet.
Seeds are buried in moist fertile soil by 1 cm. From above they are covered with a film and placed in a warm place. At the first shoots, the film is removed. With the appearance of the first 2 leaves, the sprouts dive in separate containers. When the seedlings get stronger, it is transplanted into permanent pots.
Watering and feeding
Water the bushes often, but in moderation. Watering is done under the root with further mandatory loosening of the soil. For irrigation use soft water at room temperature. To maintain the required high level of pepper moisture, plants are sprayed daily.
Temperature and lighting
Germination of seeds occurs at a temperature of + 23-25 ℃. On the 5th day of the appearance of sprouts, it is reduced to + 16-18 ℃. In this temperature regime, the seedlings are about 5 days. Then the temperature is gradually increased. Subsequently, the plants contain at a temperature of + 20-28 ℃.

Peppers are photophilous plants. For normal development, they need to provide a 12-hour light day. During the formation of ovaries, it can be reduced to 10 hours. Thus, a higher yield of the bush can be achieved.
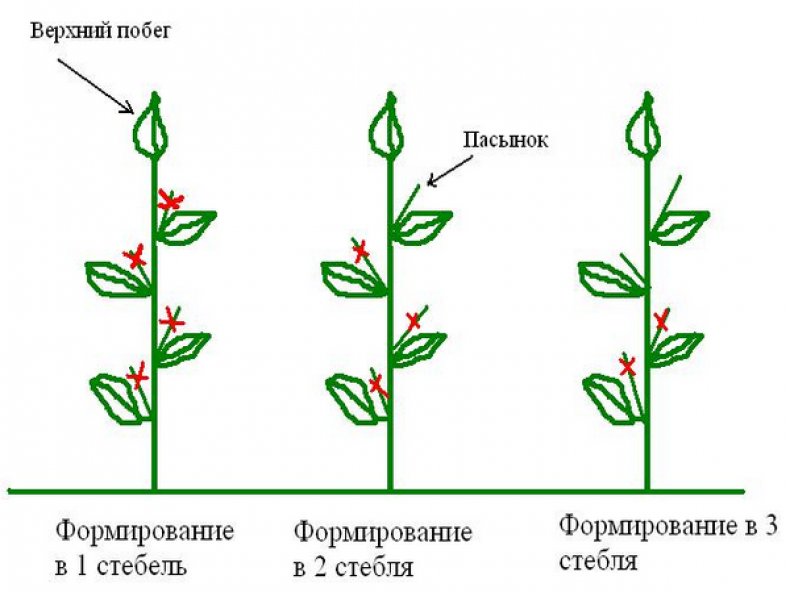
Formation (pinching) and pinching
The formation of a pepper bush involves pinching and pinching. You need to stepson the crown bud, which appears at the beginning of flowering. Otherwise, all the juices will go exactly to this bud, and the flowers located on the sides will experience a nutrient deficiency.
Pinch inwardly directed shoots, as well as branches that have already ceased to bear fruit. Every 3 years it is recommended to conduct anti-aging pruning, during which all old shoots are removed.
To form a uniformly growing bush, the pot with the plant should be periodically expanded. Otherwise, one side of the bush will look less attractive due to lack of lighting.
Major diseases and pests
Indoor varieties are less at risk of contracting diseases and pests than garden and greenhouse crops. Nevertheless, even pepper growing indoors can become a victim of such diseases:
- The black leg is the rotting part of the stem at the base of the plant.
- Gray rot - gray shaggy coating on all ground parts of pepper.
- Fusarium - rapid drying of the plant.
- Blight - dark growing spots on the leaves.
- Vertex rot - black rotting spots on the tops of fruits.
Bushes can also be affected by spider mites, aphids and whiteflies. You can treat a plant from diseases and pests using alternative methods or with the help of modern drugs.
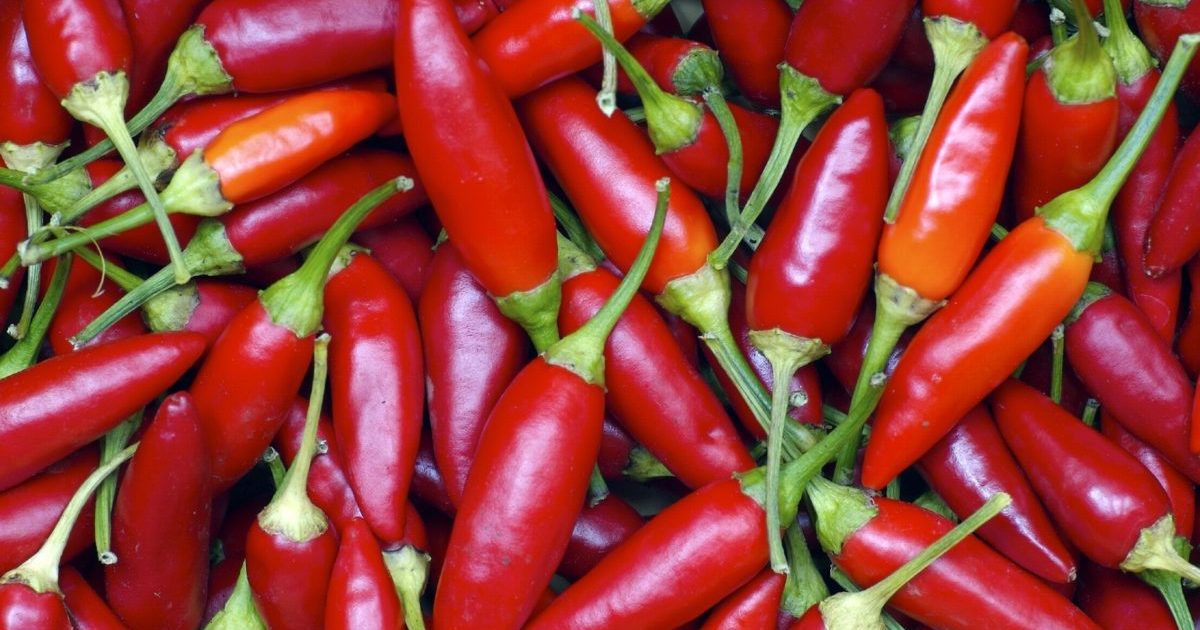
How to grow chili peppers at home?
At home, you can even grow the famous chili pepper. Some are suitable for indoor cultivation. varieties for open groundas well as adapted indoor hybrids.
Sowing dates
The timing of sowing chili depends on its variety. Early ripe hybrids are sown a little earlier, later hybrids 3-4 weeks later. Perennials are best sown in April. At this time of the day, daylight hours are long enough, which makes it possible to do without providing additional lighting.
While the seeds hatch and the released sprouts of pepper get stronger, a lot of time will pass. Roughly the last seedling transplant occurs 2 months after sowing seeds. Early ripening varieties are transplanted after 1.5 months, and late ripening seedlings can delay the last pick for up to 2.5 months.
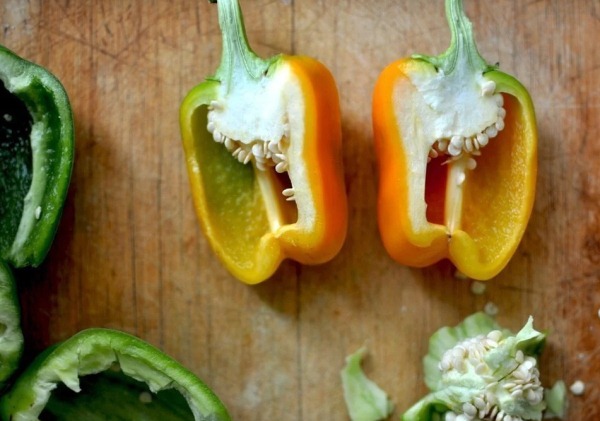
Soil and seed preparation
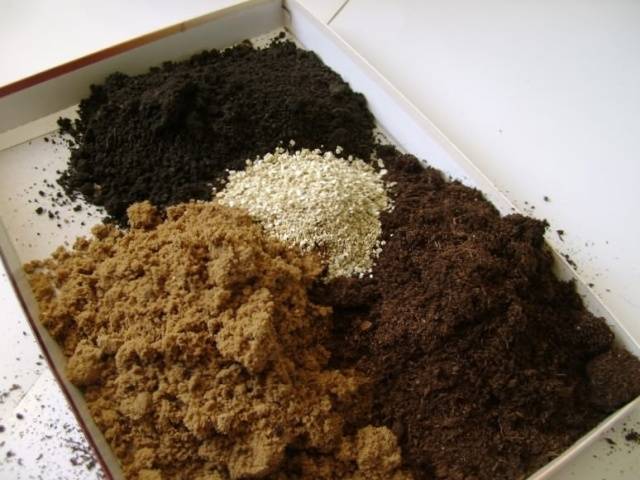
The soil for the pepper should be fertile and loose enough to allow air and moisture to pass through well. Highly fertile soil allows you to refuse to feed fertilizers to the final plant transplant.
The optimal soil mixture for pepper consists of the following components:
- leaf (turf) earth;
- coconut fiber;
- vermiculitis;
- vermicompost.
The preparation of planting material for chili does not differ from other varieties of hot pepper. It consists of calibration, disinfection, recharge and soaking of seeds.
Pick
From the container for seed germination to a permanent pot, the pepper goes through 2 stages of picking. To save soil and space, seeds are initially sown in a common container. As soon as 2 full leaves appear on the first shoots, the sprouts dive in separate containers, 0.5 l.
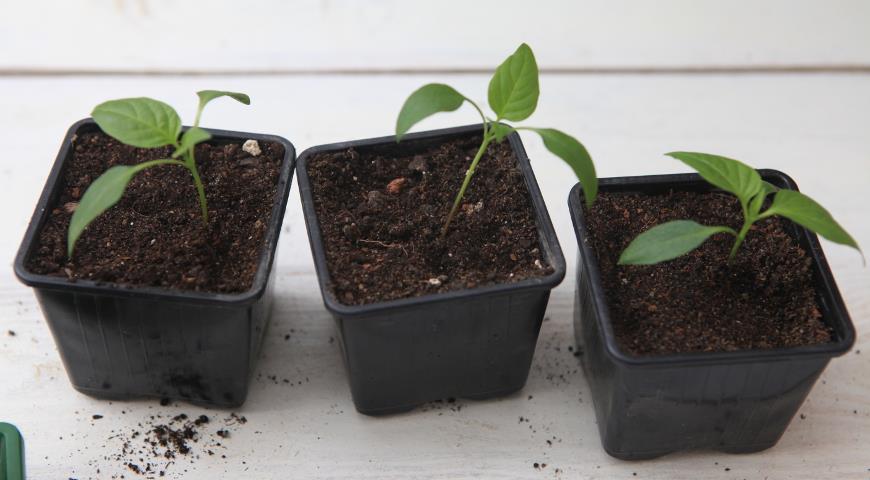
The second pick is carried out in permanent pots. Plants should be well-strengthened. As a rule, such peppers already have 4 full leaves. Pot size must exceed 2 liter volume.
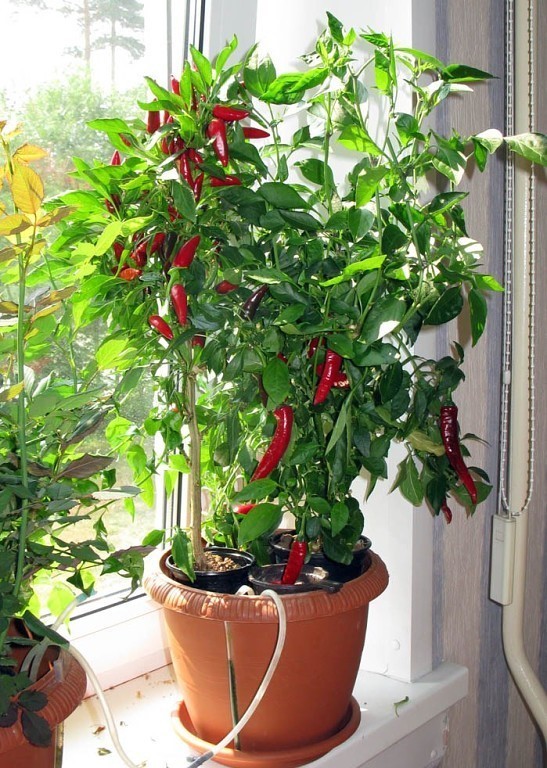
Pepper Twinkle on the windowsill
Spark - hot pepper, which can be consumed not only in its raw form, but also canned. For indoor cultivation, special low-growing hybrids were bred that are not inferior in their acuteness to large-fruited brothers.
Care Features
Caring for miniature pepper on the windowsill differs little from the conditions of detention of others decorative varieties this plant. The spark also loves heat, light and moisture. To maintain a high level of humidity, it requires constant spraying. After watering, the soil must be loosened, however, care for the Spark has its own nuances:
- Transfer. This variety grows as a perennial requiring annual transplantation. The best time to replace the soil is spring.
- Productivity
Unlike other indoor hybrids, the fruits on the bush absolutely do not interfere with the formation of new ovaries. - Additional lighting. The plant has very delicate leaves that get burns from ordinary incandescent lamps. Therefore, additional illumination is provided exclusively through phytolaps.
Variety Spark is highly decorative. In order for the bush to bear fruit evenly, it is rotated 90⁰ clockwise every 2 weeks.
Formation
With proper care in the first year of life, the bush does not need to be pinched, forming on its own. In the fall, extra side branches stop. This mainly applies to inwardly directed shoots.
Answers to Common Questions
Specially bred hybrids and some varieties of self-pollinated pepper can be grown on the windowsill. It is not difficult to maintain such plants if the gardener is guided by the existing rules for care.
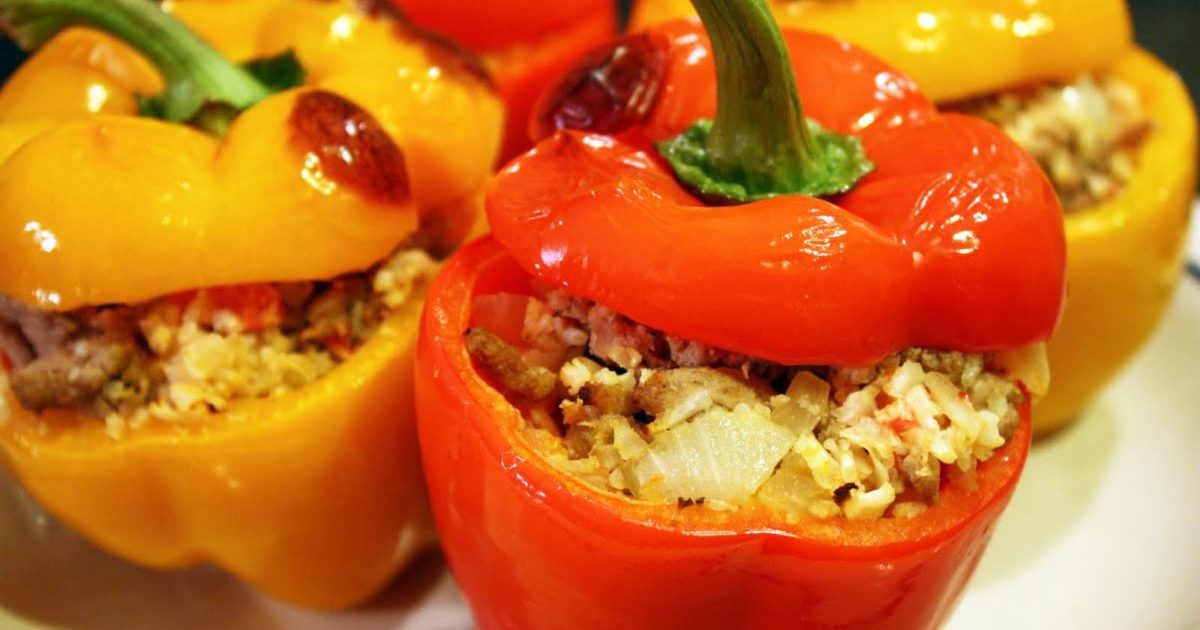 Calorie pepper stuffed with meat and rice - BZHU per 100 grams
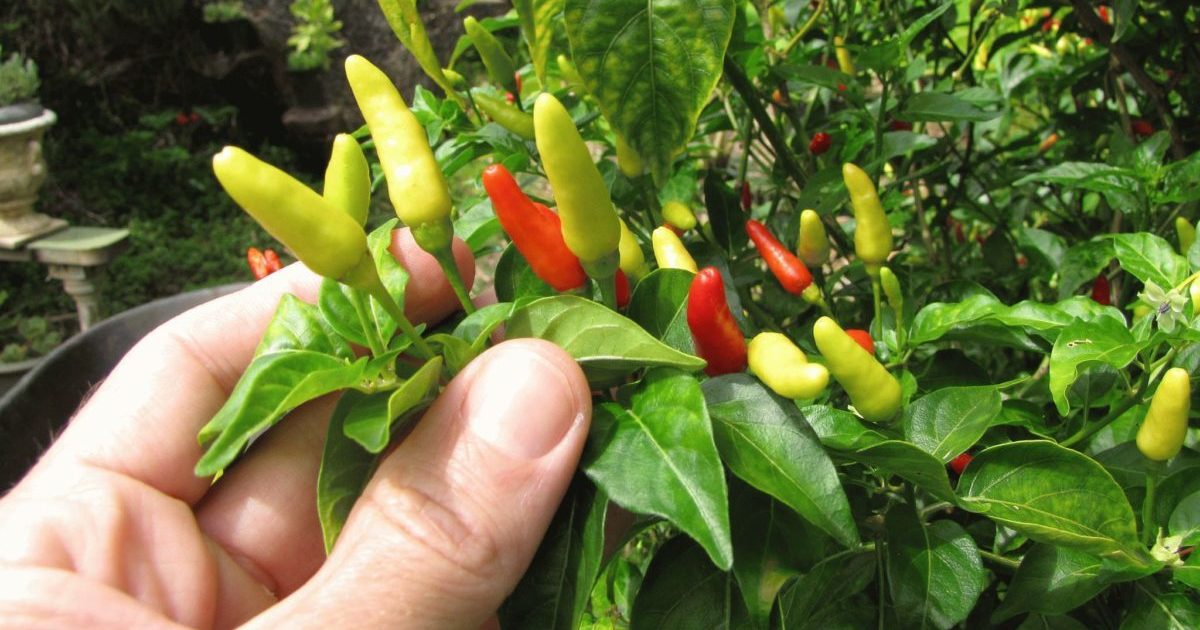 Gorky pepper - the best varieties for open ground
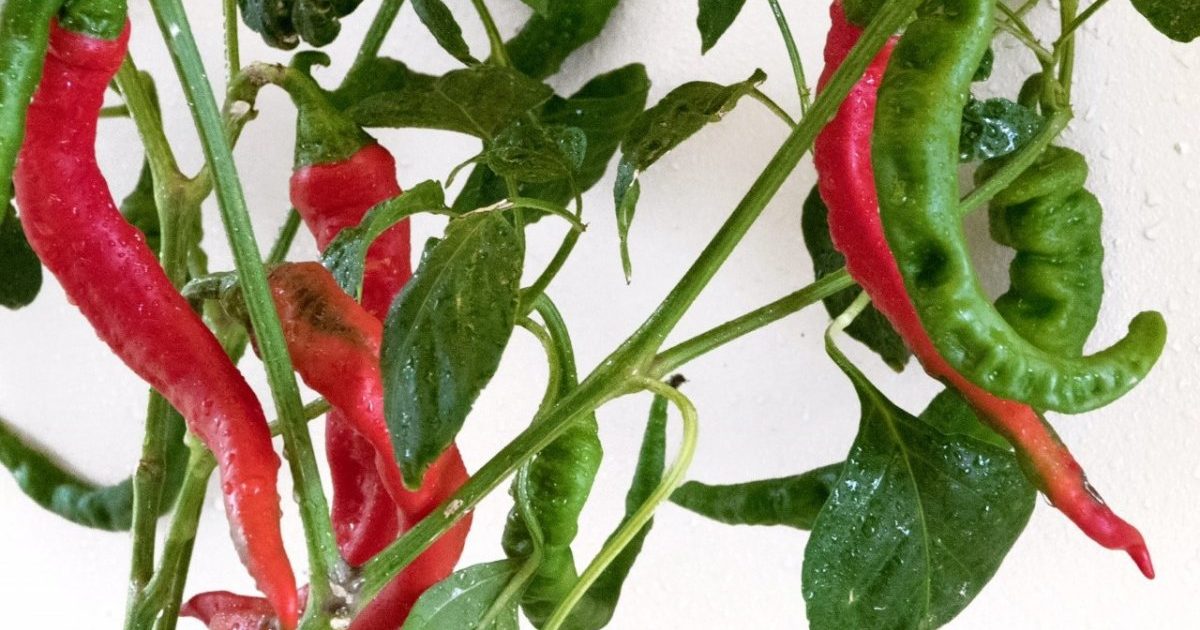 Hot pepper seeds - the best varieties for open ground and reviews
 Capsicum tincture for hair - how to use and reviews