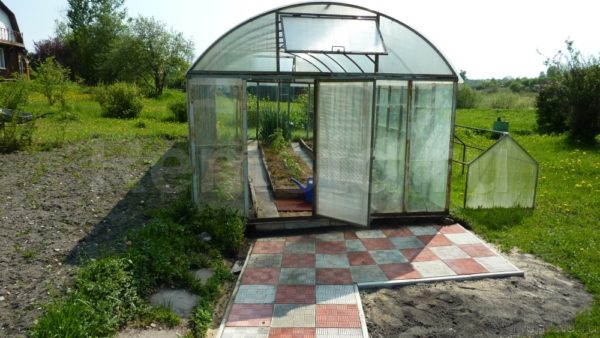
Paved paths organically fit into the carefully thought-out design of the summer cottage. For paving, paving slabs are suitable. It is inexpensive, but functional, it looks very neat. Working with such material is very simple. Therefore, to equip the paths do not need to invite specialists. All work is easy to do on your own.
Content
Tile selection
Before arrangement country paths you need to choose high-quality material. Now for the production of paving slabs use a variety of materials: plastic, wood, rubber, stone or concrete. Each has its own positive, negative qualities, purpose, functional features. They must be taken into account before planning a site or buying material.
Plastic tile
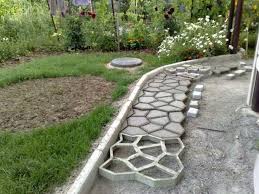
This is the cheapest track option. Such material does not need complex processing, does not require special laying technology. Its advantage is resistance to fungus, parasites, rot. It tolerates moisture well, does not break when heavy objects fall on it, which is very important for a summer residence. Mounting such a coating is easy. It is assembled by type of constructor. Therefore, the arrangement of the track can be dealt with alone.
The disadvantage of this coating is its instability to the vagaries of the Russian climate. From a significant temperature difference, plastic loses strength. Such a coating can destroy aggressive chemicals, acids and alkalis. In addition, it is quickly worn out.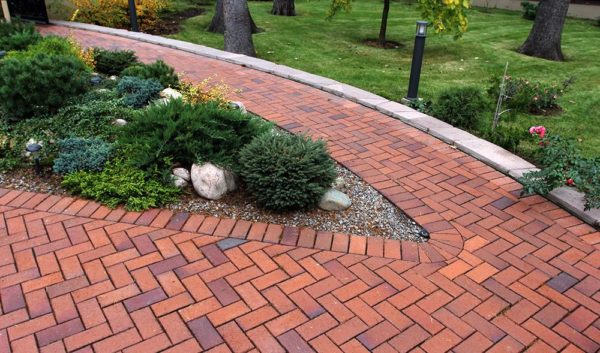
Rubber cover
Such material is made from used tires. Its advantage is high cushioning properties. Soft coating is especially suitable if children are often at the dacha or elderly people have a rest. Rubber is resistant to abrasion and will last a very long time. Mounting such a track is very easy. She does not need special preparation of the foundation. If necessary, individual elements are easy to replace.
 You may be interested in:
The disadvantage of this coating is its high cost. It is more expensive than plastic, some types of concrete or clinker tiles. In addition, the rubber burns, while emitting acrid black smoke. If it is of poor quality, the elements will quickly collapse.
A natural stone
Such paving stones are made from natural materials by crushing and subsequent shaping. Its main advantage is high resistance to any damage. The coating of the path made of natural stone will last for decades, able to withstand any mechanical stress and exposure to aggressive substances. Due to the variety of shapes and colors, when creating a stone path, you can not limit your imagination.
The main disadvantage of stone tiles is the high price. In addition, such material has a significant weight. Therefore, to work with him will require the efforts of more than one person. Another difficulty is that it is not easy to give the stone the correct geometric shape.Therefore, when laying such paving stones, it is difficult to achieve accuracy.
Brick tile
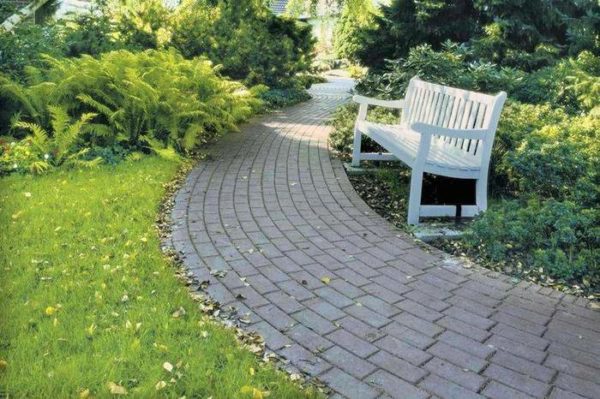
To produce such pavers, clay mixed with dye is used. It is fired at high temperature to obtain a durable, dense material. Such material is very durable, resistant to mechanical stress. In its durability, clinker tiles are not inferior to natural stone. It comes in different colors and shapes. Therefore, it is easy to make a track of any shape.
The disadvantage of this material is fragility. When a heavy object falls onto the coating, it often breaks. In addition, this is a very expensive material. It is appropriate to make clinker tracks in those places in the country where aesthetics are needed.
Concrete tile
For the production of such pavers, a cement-sand mixture with the addition of gravel and dyes is used. Its advantage is a variety of shapes and colors. You can even make parts to order. It is resistant to various loads, temperature drops. Such material is inexpensive, it is cheaper than natural stone and clinker coating. Therefore, for the arrangement of a summer residence, concrete paving stones will be an excellent choice.
Concrete deficiencies are few. This coating is less durable than natural stone or clinker, and begins to collapse a little earlier. When installing concrete paving stones, it is important to strictly adhere to the technology and avoid mistakes, since it is impossible to fix them.
Selection of materials
It will be more convenient for beginners to work with large dimensions of the tile, it is easier to install and repair. Therefore for independent arrangement of country paths it is worth buying concrete paving stones 5 cm thick and 50x50 cm in size. In addition, you need sand sifted from stones and other debris. Various impurities in it interfere with making a perfectly flat pillow.
To mark the boundaries of the path, stakes of wood and rope are required. Replace them with reinforcement rods. To level the surface, you need a long, flat board. To lay the tiles you need to prepare a rammer. Still need boards to use them as guides.
Site layout
First, make up a sketch of the site and mark out the tracks on it to understand the big picture. It is convenient to do this according to the photo, which shows all the buildings. It helps to make an analysis of the objects available in the country and helps to correctly position the paths. They should lie so that it is convenient to walk around the site and perform the necessary work. According to the plan, the approximate amount of work and the required amount of materials are determined.
When drafting the tracks in the country from paving slabs take into account their width. In places where there are many people, it is better to make paths 1 m wide, so that it is convenient for two adults to disperse. In areas where there are fewer people, it is enough to make tracks 80 cm wide.
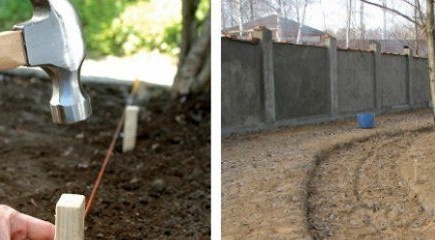
Then go to the layout of the site. To do this, they drive in pegs at the beginning of the future path and then put marks every 2 m. Between them pull the ropes. If the configuration has many bends, marks are placed more often so that the contour is more accurate. The cord is pulled at a height of 15 cm from the soil surface.
Foundation preparation
After marking the contours of the future path, they begin to prepare the foundation. First, all rubbish and stones are removed from the working area. If the grass grows there, they mow it. Then proceed to the excavation.
Digging is performed in the following sequence:
- With a bayonet shovel they pierce the soil vertically along the intended contour.
- Remove soil from the entire area, controlling the depth.
- They clean the bed with a shovel.
- Ram the ground with a log.
Sand cushion device
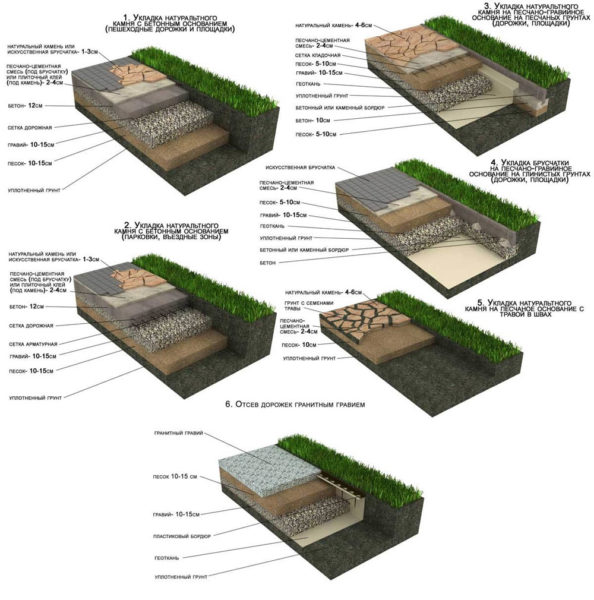
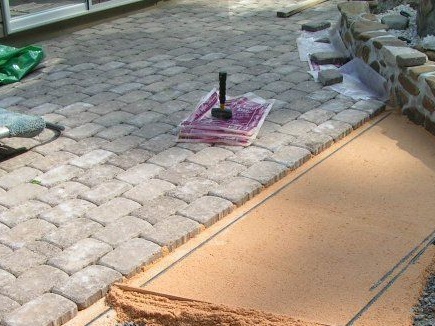
To begin with, guides from the boards are laid along the path contour. In this case, the width of the border is laid. Sand is poured inside and evenly distributed on the surface. If the path passes close to the building, they make a small clone so that rain water does not collect on the track when it is ready.
Sand consumption will be large. For a given depth of excavation, it is necessary to make a sand layer 5 cm thick. Therefore, 1 cubic meter of sand will go to the foundation device on an area of 21 m2.
Stacked sand is compacted with a professional gasoline compactor. For the same purpose, you can use a homemade tool from a bar with a base of 15x45 cm attached to it. To protect the top layer from erosion, the sand is sometimes moistened with water from a shallow watering can and again compacted.
DIY paving
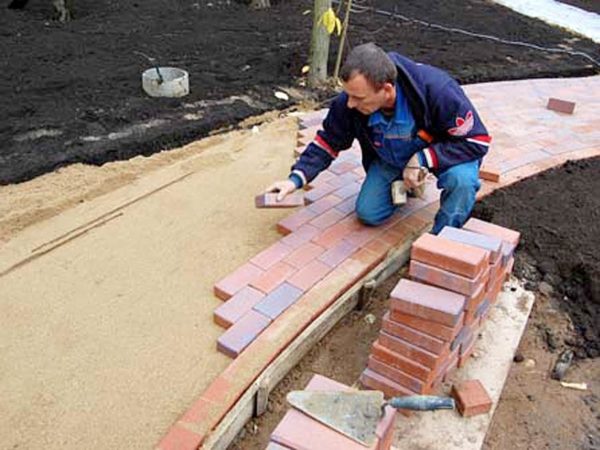
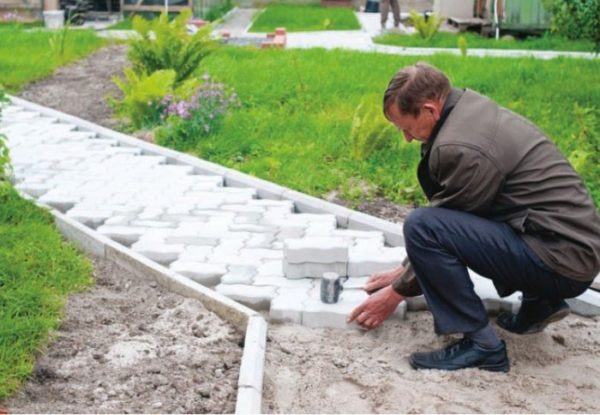
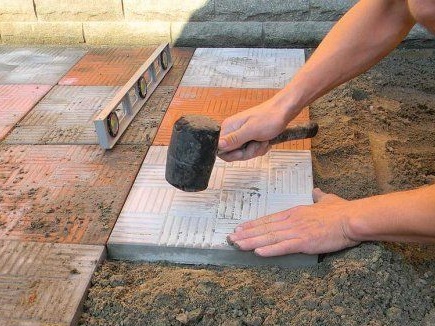
Each tile has its own pattern. It is selected according to the size and shape of the parts. Paving stones are laid close to each other on a sand cushion and are upset with a rubber mallet. If necessary, they are leveled with a wide spatula, they add or remove excess sand. From time to time, the stacked parts are checked with the usual liquid level. But there is no need to achieve perfect evenness here. The laying of parts continues until the entire track is full.
If some parts are chipped, it is difficult to lay them close to each other. Then leave small gaps up to 5-7 mm wide. A path paved in this way will look neat, attractive. Even if individual parts will be flawed.
Edge reinforcement and curb installation
If the track width was incorrectly calculated, the defect can be corrected. In this case, to strengthen the edges, pour the earth, extracted earlier. It is tightly tamped with a suitable-sized beam.
A small trench is dug for the installation of the curb. Its depth should be slightly greater than the height of the curb itself, and the walls are made inclined. The bottom is covered with a layer of sand 5 cm thick. After that, with a slight slope, the curb itself is installed. At the same time, its upper edge should be parallel to the paving stones. A rubber mallet besieged the curb in the sand.
Sealing the gaps between the paving stones
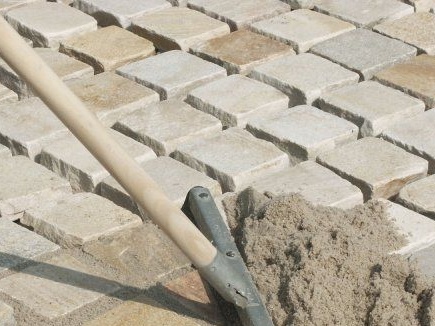
When all the tiles are laid, the space between them is filled with sifted sand. This is done using a metal mesh or a special screen. Only dry material is used to fill the seams. If the sandy mass is wet, it is dried and only then used to fill the gaps.
After sand is scattered over the surface of the pavers, a brush with a stiff bristle is taken and swept into the space between the individual tiles. For a more snug fit of sand into the seams, it is periodically watered with water from a hose. It is possible that after some time the sandy mass will settle, since it is difficult to fill the gaps qualitatively the first time. Then you will need to add more.
Finally
The proposed method makes it possible in a short time to build a path in the country from inexpensive concrete paving stones. At the same time, all work is easy to do independently. No need to attract outside workers. When properly executed, the track will last for many years.

 Why is a greenhouse open top?
 Greenhouse "Butterfly", is it worth it?
 Do-it-yourself landscaping of an area of 8 acres: features of planning and zoning
 Shed greenhouse, pros and cons