
When planting horticultural crops in early spring, gardeners face great risks. Spring frosts always accompany early sowing. Vegetables and greens need protection and warmth in order to fully grow and develop. This protection can be achieved using compact greenhouses made of cellular polycarbonate (SEC). All models open the top, they are easy to assemble and install on a summer cottage. Growing vegetables in greenhouses is the key to their protection from the cold and a good harvest.
Content
What are greenhouses from the SEC, their purpose
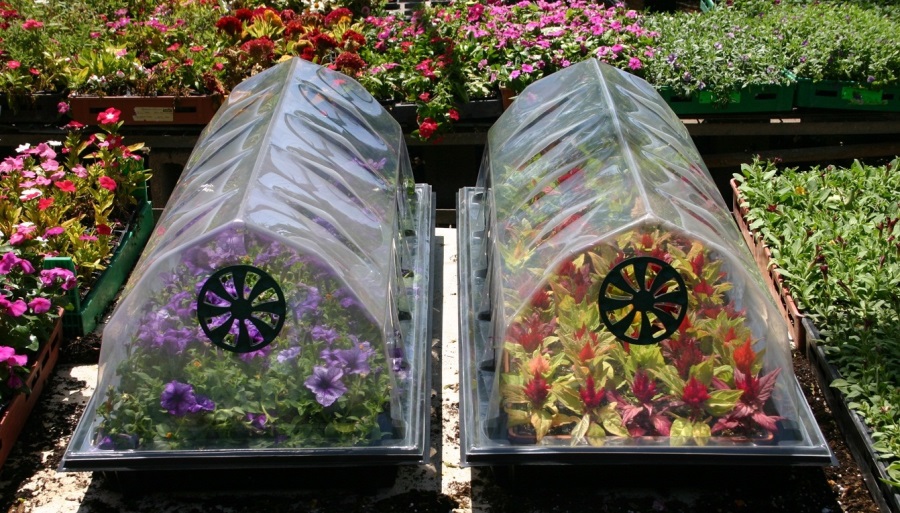
Greenhouses Designed to grow small seedlings in them - in closed ground conditions. Cellular polycarbonate is a transparent and durable material. It transmits sunlight well. The sun penetrates through the cellular structure of polycarbonate, warming seedlings and earth. The greenhouse retains heat for a long time, and the temperature inside it is always stable. If you fertilize the beds with decomposing organic substances, they emit carbon dioxide into the atmosphere.
It is important to understand the differences between greenhouses and greenhouses. A greenhouse is smaller than a greenhouse. Its size does not exceed the height of a person. In greenhouses do not install heating equipment and an automatic watering system. In such a building, you can grow:
- flowers
- greens (onions, garlic, sorrel, parsley, salads);
- berries (strawberries, strawberries);
- small vegetables (beets, carrots, cucumbers, tomatoes).
Greenhouses are not intended for growing large crops. The length of any model is 1.5 -4 m, width 1-3 m, height - from 1 to 1.5 m.

The greenhouse gradually accumulates heat. When it gets hot outside, it is fraught with overheating of plants and their death. In hot weather, you must always open the wings of the structure and ventilate the seedlings.
Design advantages

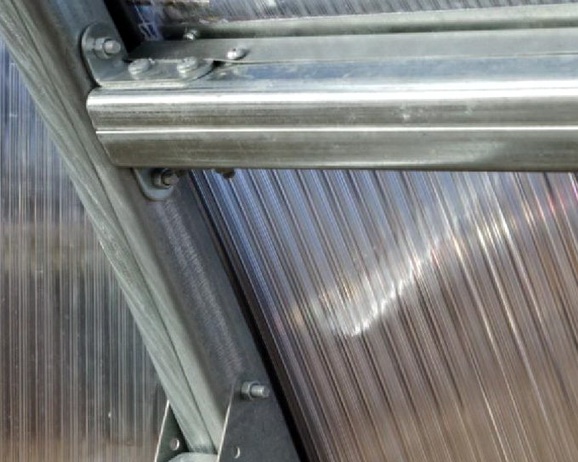
The greenhouse from the SEC is durable, withstands rain and wind well. At the same time, he weighs a little, and he is moved anytime, anywhere. If the gardener does not like factory models, he can assemble such a greenhouse on his own - from materials that he will choose. Hinged lids - a unique invention, thanks to which it is convenient to care for plants when watering and weeding.
In the gardens you can see the greenhouses of their polyethylene, but cellular polycarbonate lasts longer. It is stronger than glass and can withstand even mechanical damage. The impact strength of polycarbonate is higher than that of glass, therefore, such structures are found more often in summer cottages.
Choosing a place to install
With the choice of place there are no problems when it comes to installing a greenhouse in a small summer cottage. Its area is limited and there are few alternatives. Another thing is a large land plot. With a large area, you need to approach the installation of the greenhouse correctly, choosing the place that is most convenient for plant crops. There are conditions that must always be observed:
- greenhouses set on the south or east side. This will provide the plants with sunlight. You can not install the structure in the west or north;
- the structure should not stand in the shadow of a fence, trees or a house;
- you need to take care of protection from the winds. It is better if a fence or other building is located a few meters from the greenhouse.

Do not install the structure in a lowland or in a wetland. If the site is located in such a place, it is first strengthened in bulk and work is carried out to drain the territory.
Foundation construction
Greenhouses from the SEC - light and mobile facilities. They do not need a strong foundation, but if they plan to put them for a long time, it is necessary to build a suitable foundation. As the material for the foundation use:
- timber;
- concrete;
- brick.
The foundation performs a heat-insulating function. It prevents freezing of the soil in the cold season. The base holds the thermal energy inside the greenhouse, which is formed as a result of the decomposition of organic compounds in the beds. Construction begins with the layout of the land - around the perimeter of the future structure. After marking, they dig a trench 10-25 cm deep and fill it with sand by one third. A wooden box made of timber is laid on top. If you have a red brick, you can use it instead of a box of their timber.
 There will be space between the masonry and the walls of the pit. It is covered with soil or gravel. The foundation and the greenhouse are fixed to the ground with long metal pins, driving them 50-70 cm into the ground. This depth will provide stability to an easy construction and it will not be carried away by a strong gust of wind.
Varieties of greenhouses and their assembly
There are three types of open top greenhouses:
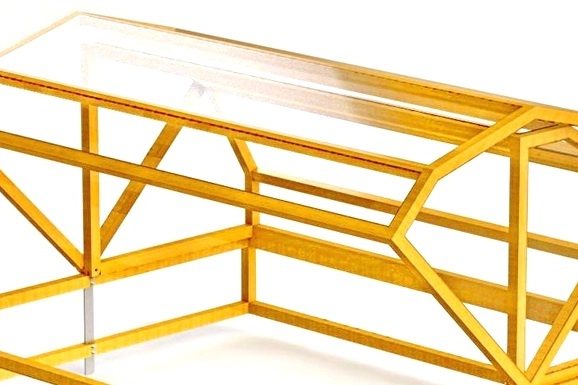
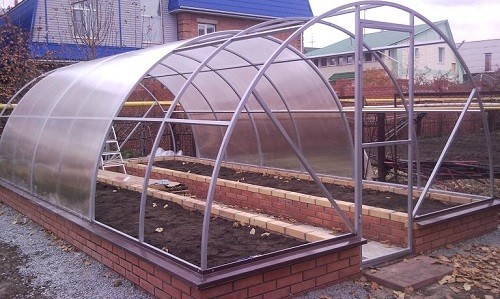
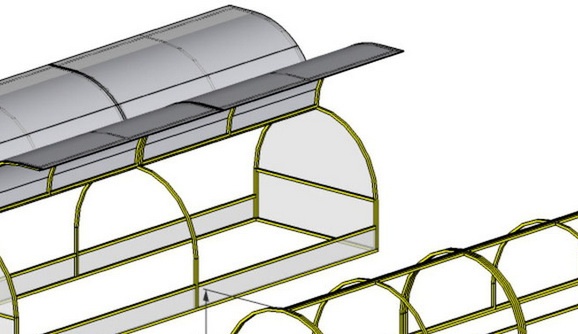
- bread box - arched construction with one or two wings. They can be lifted and moved in the same way as the flaps of an ordinary breadbasket;
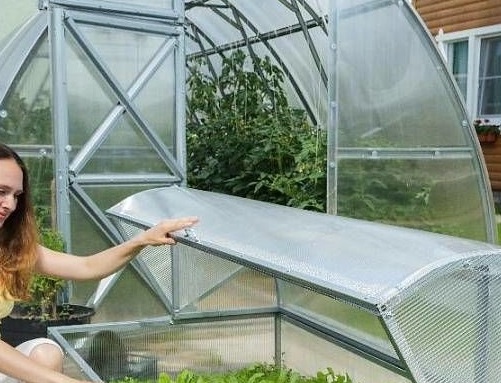
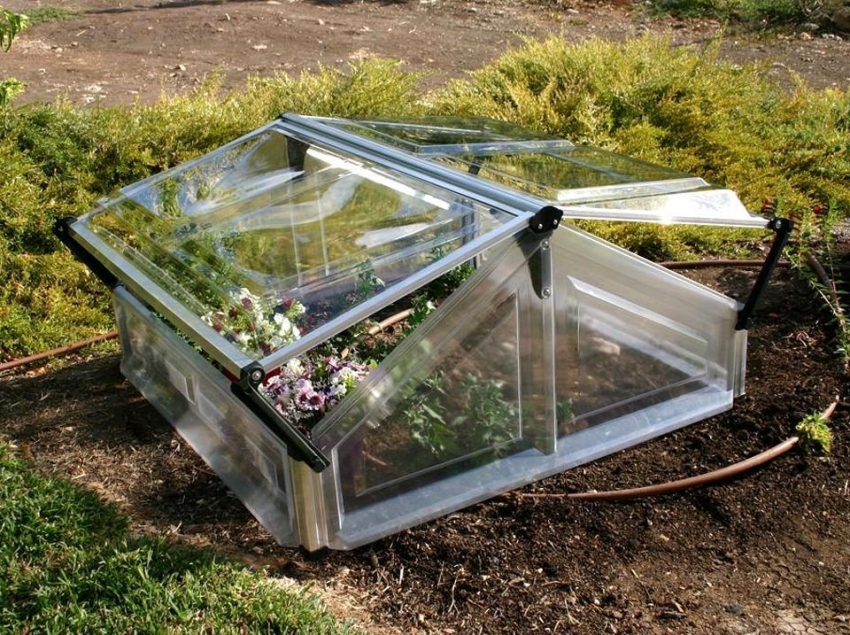
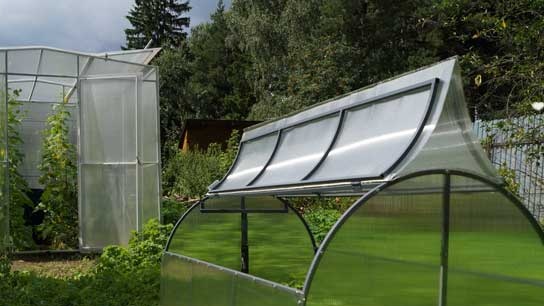
- butterfly - greenhouse with arched section. It has two wings. They are lifted up like the wings of butterflies or birds;
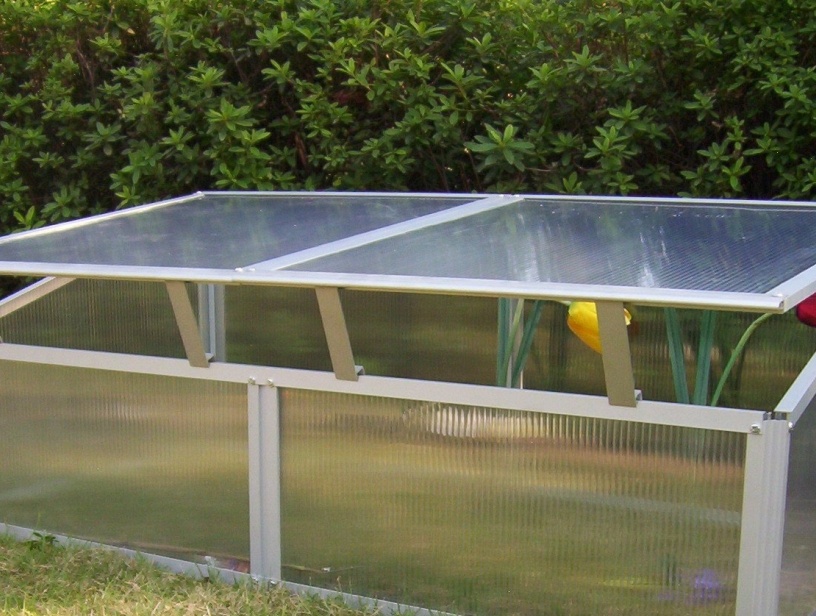
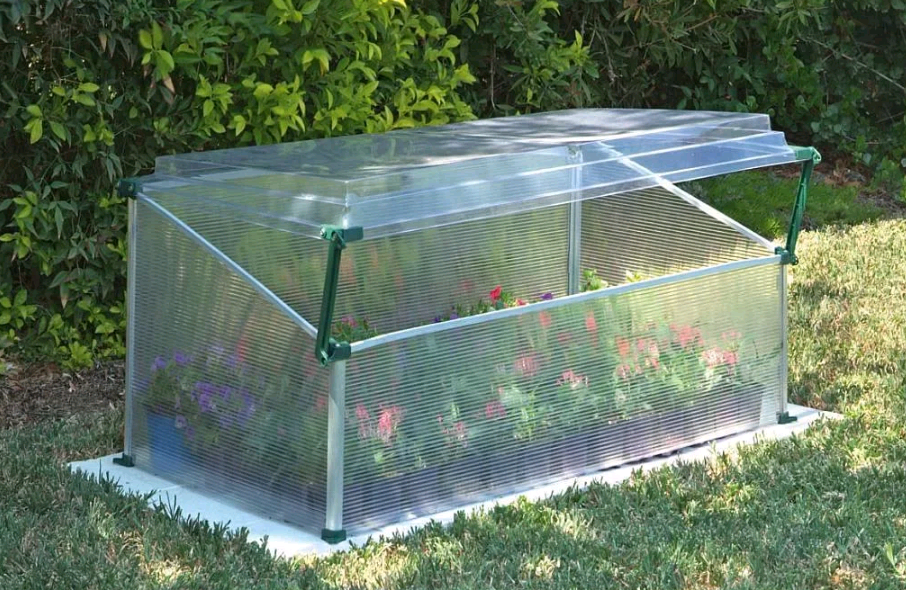
- Belgian - model with a gable or gable roof. She is also lifted up, and the greenhouse looks like a box or chest.
The type of greenhouse should be selected, taking into account the area of the site and the location of other structures on it. The assembly instructions for each of them are different, but the installation does not take much time.
Assembly instructions for the greenhouse-bread box
A bread box can have two flaps or one. During opening, they are shifted, and the moving parts are fixed by a mechanism on simple hinges. The thickness of the sheets of cellular polycarbonate intended for skinning the frame is 4 mm. The frame is made of metal with a section size of 20x20 mm. Wooden frames for bread bins are not used: it is impossible to give a tree a shape of an arch or bend in the right direction.
Initially, the site is prepared for the installation of the greenhouse, cleaning it of weeds and debris. If necessary, lay the foundation. After installing the basics, they begin to install the metal frame. The frame is sheathed with sheets of SPK, connecting one sheet with another, and set on the site. There is an Innovation company that manufactures convenient and practical “bread bins”. They can be put even on the smallest site.
Assembly instructions for such a greenhouse are given as an example:
- the ends of the structure are unpacked and removed separately. These are arches, in the center of which there are vertical racks. Racks are designed for the stability of the greenhouse;
- SPK sheets are exempt from packaging. You need to understand on which side the protective coating is;
- one sheet of SPK is placed on the end and fixed to the metal profile with roof dowels.It is better to use thermal washers instead of self-tapping screws. This will prevent deformation of the material and its swelling in high temperature conditions;
- the end face of the sheet is cut around the perimeter. For work use a construction knife;
- the second end of the greenhouse is harvested in the same way as the first;
- assemble the frame by connecting horizontal ties with ends;
- proceed with the assembly of the sash. It is longer than the frame, with ends that are reinforced with jibs;
- a polycarbonate sheet is placed on the sash and fixed with self-tapping screws;
- on the frame base install the lid and check its operation;
- attach a handle to the lid.
 You may be interested in:
When connecting polycarbonate sheets, you must use a tape sealant with perforation. Polycarbonate is a material with a cellular structure, so it must be protected from the penetration of dirt and moisture into the cells. Between the hinged lid and the metal frame there should be a small space for free access of air into the room.
The inside of the frame must also be protected from moisture, so that the metal does not become rusty from the inside. To do this, use plastic plugs, closing them with the ends of the metal profile. Fixing points and damaged areas are treated with cold zinc. Such measures contribute to the long life of the building.
The internal space can be equipped by making warm beds. Before installing the greenhouse, dig a hole. Its depth is 50-60 cm. The pit is filled with organic residues. At the bottom put a few thick branches or corn leaves. Small leaves, the remains of bushes and sawdust of any fraction are laid on large branches. The pit is covered with a layer of soft nutrient soil from 15 to 25 cm. The organic layer is pre-watered with an effective composition on a microbiological basis. This composition promotes a quick decomposition reaction. Decaying substances will constantly heat the bed from the inside, providing the plants with the nutrition necessary for their growth and development.
Assembly instructions for a butterfly greenhouse
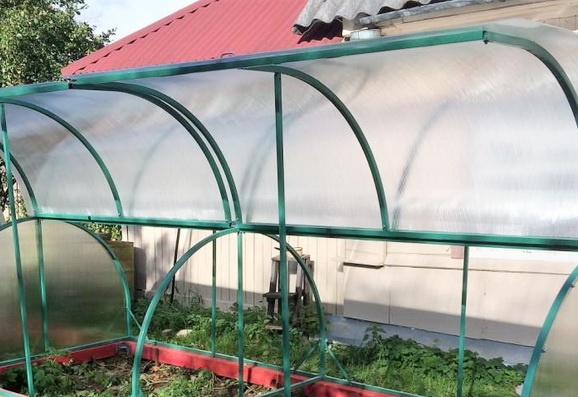
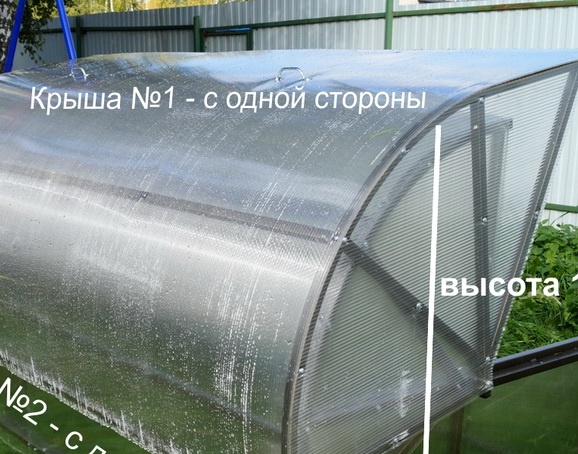
The top of the butterfly can be opened from two sides. Raised sashes provide an influx of fresh air when ventilating plants and access to them during grooming. Collect the butterfly in this way:
- prepare the site, cleaning it from debris and weeds;
- lay the foundation, if necessary;
- remove the packaging from the sheets of the SEC and the frame;
- on the SEC sheets determine where the protective coating from ultraviolet is;
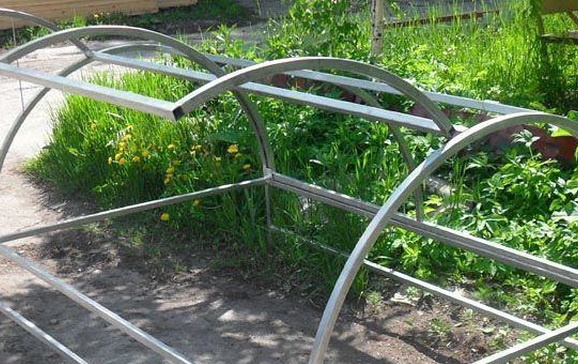
- collect both ends. They look like arches on uprights;
- collect hinged covers. When assembling, use rounded parts and screeds. Screeds are installed in a horizontal direction;
- the ends are connected to the screed with bolts or a welding machine;
- the covers are attached to the frame with hinges. Each lid should have two loops;
- fixing racks are added to the covers. They will keep them open when ventilating the greenhouse;
- check if the fasteners are connected securely;
- SPK sheets are sequentially applied to the ends of the building and fixed with dowels or thermal washers, gently cutting along the edges;
- after installing both ends, the sheets of the SEC are laid on the frame and hinged covers. A small visor should be formed at the edges from 5 to 8 cm long;
- sheets are fixed on a frame basis and covers with self-tapping screws;
- the skin of the folding racks is cut with a construction knife;
- check the operation of the system;
- attach handles to hinged covers;
- set the assembled greenhouse into the ground using a building level.
To glue the ends, use a sealant tape at the top, and perforated tape at the bottom.
Assembly instructions Belgian greenhouse
The Belgian greenhouse is a simple model. It does not have round or curved elements, like butterflies and bread bins. A homemade box is assembled from wood or metal. The assembly instructions look like this:
- make a simple blueprint for future construction. It indicates the parameters of the length, height and width of the frame and the greenhouse as a whole;
- free the land from garbage and weeds and build a foundation, if necessary;
- cut a metal profile or bar into parts of the required length;
- assemble the frame base. When assembling, you can use corners made of metal. The metal profile pipe is fastened with nuts and bolts, and the beam with dowels and metal corners;
- racks are attached to the frame, placing them vertically;
- rafters are located between the racks;
- collect the lid;
- put it on the hinges and fix it to the base;
- mount holders: they will support the lid when ventilating;
- proceed to sheathing the base with polycarbonate. They take it out of their packaging and determine where the protective layer is;
- apply sheets to the ends, fasten with screws to the frame and trim. So, sheathe all the walls;
- sheathed with a polycarbonate lid, attached to a frame base and trimmed;
- install the structure on the foundation or in the ground.
Reviews
Marina (Kostroma):
“We have a small summer cottage, only 6 acres. The area is limited, so a large greenhouse on it just does not fit. We have chosen a breadbox model. It is compact, durable, easy to use. I appreciate the sliding sashes, which when opened, shift with a slight movement. Sashes do not take up space on the site, and if you open them completely, access to seedlings appears. We bought our greenhouse in the store, unassembled. At first they were afraid that we would not be able to assemble it ourselves, but we sorted it out quickly and put it in a day. It stands on the south side, where there is a lot of sun. For the second year in a row we have been growing greens, cucumbers and tomatoes in it. For the winter, we carefully disassemble the structure and put it in the barn, and in the spring we collect it again. ”
Yuri (Moscow Region):
“I made a simple and convenient Belgian box myself. I did not bother with metal pipes and complex models of hotbeds. He took a strong bar, made a frame for a box out of it, and bought sheets of cellular polycarbonate in a store. When assembling, there is nothing complicated, the main thing is to find the hinges and the lock for the cover. When unpacking polycarbonate, it is important to understand which side the protective coating is applied to. During operation, the sheets must be fixed so that the coating is facing the street. The result was a small greenhouse for greens and flowers. ”
Valery (Saratov):
“We live in a large country house. At first we thought about how to equip a full-fledged glazed greenhouse on our site. After calculating the costs, we came to the conclusion that we could not afford such pleasure. It is necessary to pull the wiring and organize the irrigation system. This is troublesome and costly, so we decided to limit ourselves to a greenhouse. We liked the butterfly greenhouse in that it can organize a large space for growing various vegetables and plants. Access to them is always on both sides, and if it gets hot outside, we open both wings and ventilate the seedlings. "A greenhouse cannot be compared with a full-fledged greenhouse, but the butterfly has become a good alternative for us."
 You may be interested in:
A greenhouse is not a greenhouse, but it can be a worthy option for growing garden crops. You can assemble a simple model yourself or buy in a store and quickly install it on the site. Cellular polycarbonate lends itself well to processing, the main thing is to do everything carefully so that the model lasts for a long time.
 Why is a greenhouse open top?
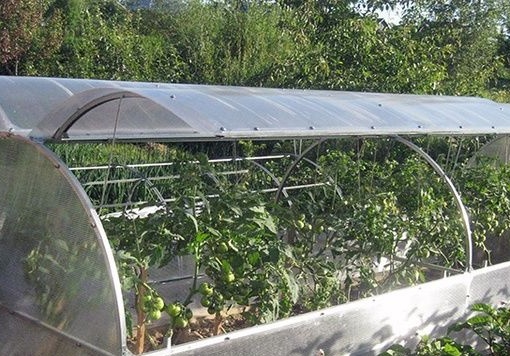 Greenhouse "Butterfly", is it worth it?
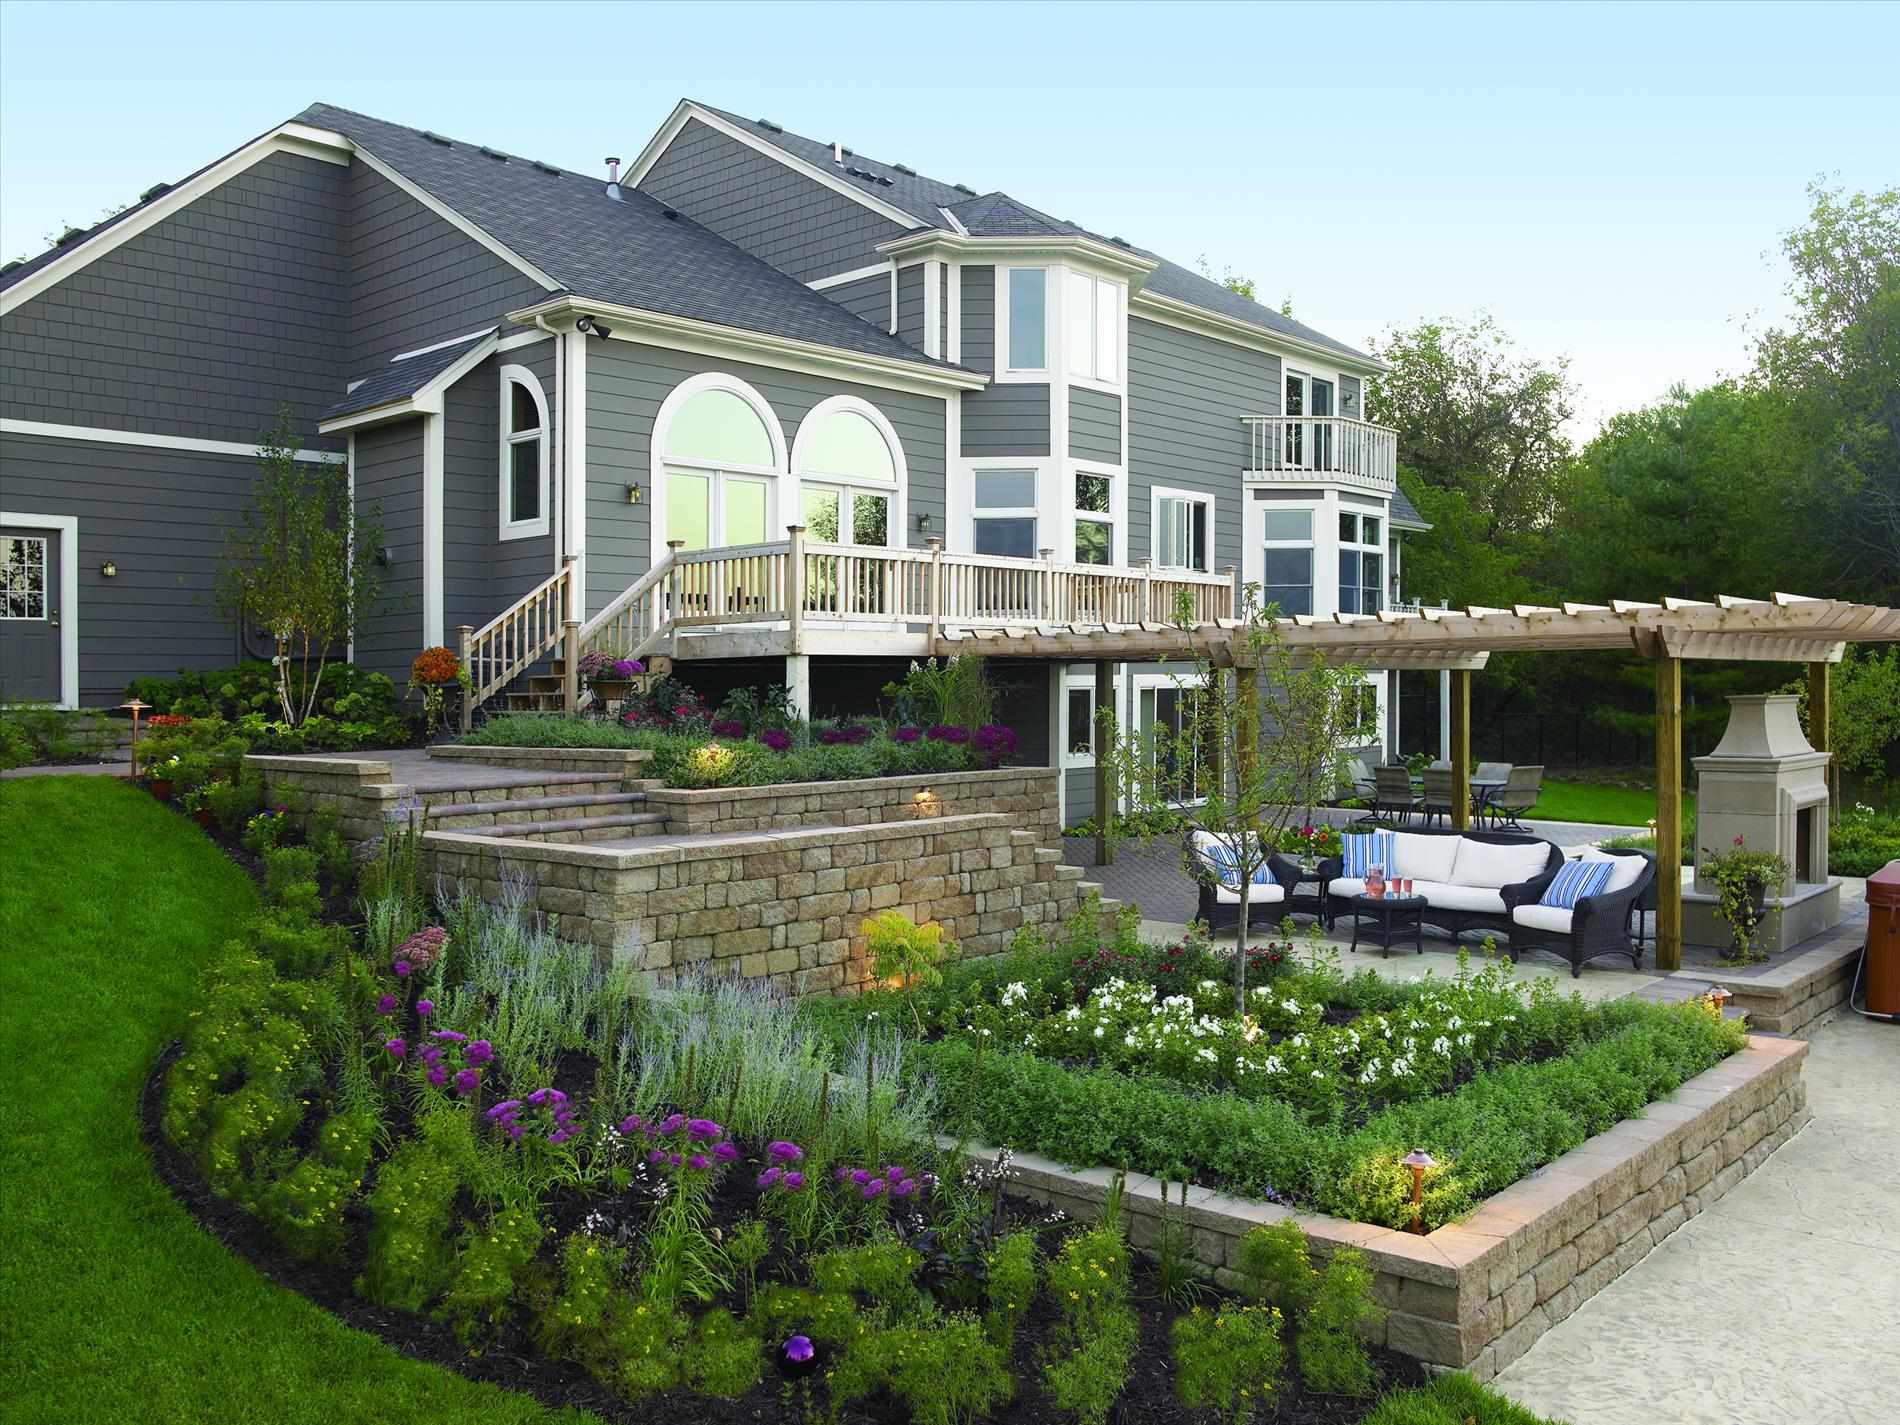 Do-it-yourself landscaping of an area of 8 acres: features of planning and zoning
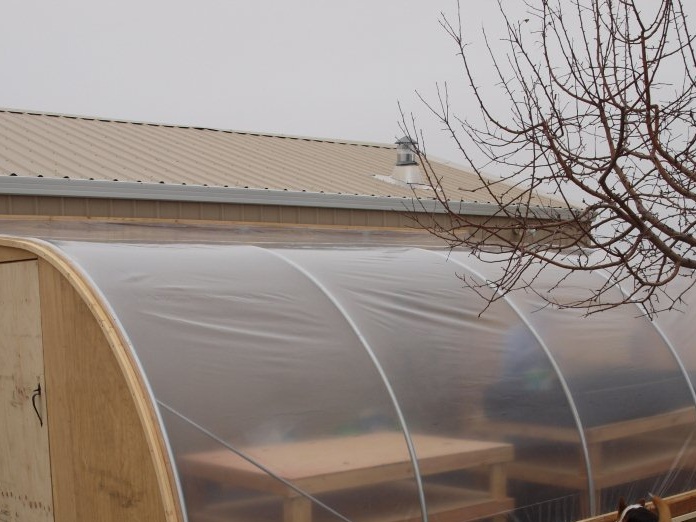 Shed greenhouse, pros and cons