
It is beneficial to build greenhouses with a pitched roof for many reasons. Costs of building materials are reduced. If the frame of a greenhouse is attached to the south side of a house or other building, the occupied area will significantly decrease. In winter, less money is spent on heating, no need to go far while caring for plants. Part of the daylight is lost due to a blank wall, but this disadvantage can be eliminated by installing artificial lighting equipment.
Content
Design features
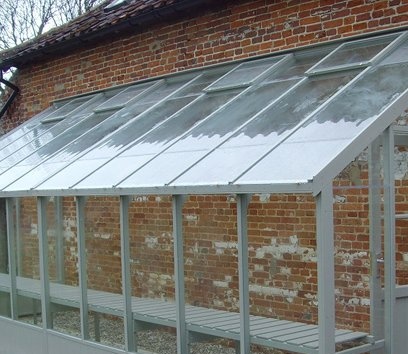
 One side of such buildings is adjacent to the wall of a brick house, garage or barn. Brick is not as susceptible to damage due to moisture as wood. It dries faster and does not rot if the joints and the entire surface are treated with special hydrophobic agents Siloxil or Funcosil. These drugs are environmentally friendly, water-repellent and not harmful to animals and plants.
The general view of a single-slope greenhouse resembles the integral design of a separate greenhouse, but as if cut in half in length. The gardener himself selects the material for the construction of the extension:
- wooden frames from timber or boards:
- polyethylene pipes;
- metal corners or fittings;
- whole window frames with glazing and windows.
 Coating materials are also diverse:
- glass;
- cellular polycarbonate;
- PVC film;
- a combination of all these shelters.
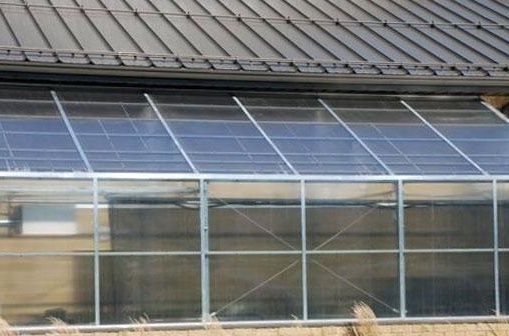
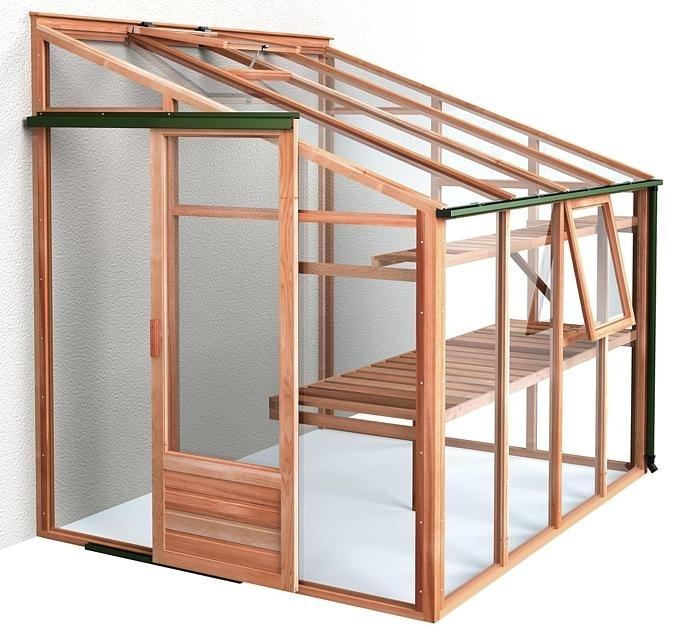
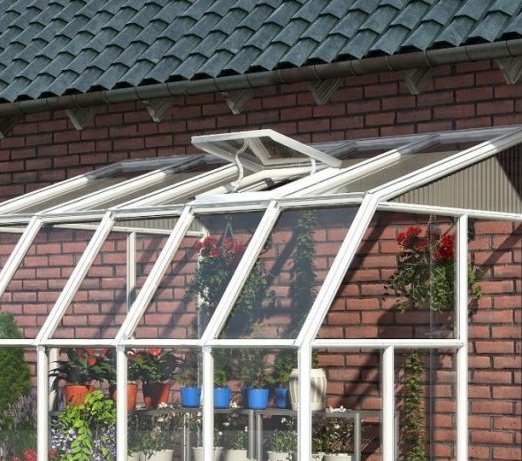
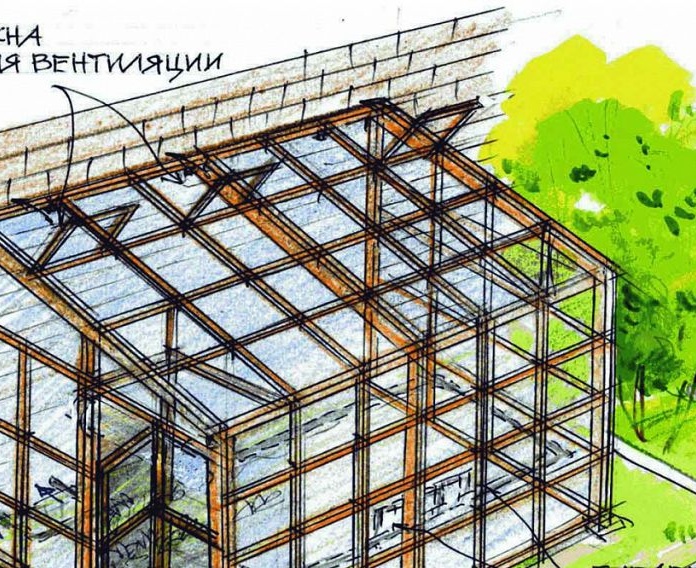
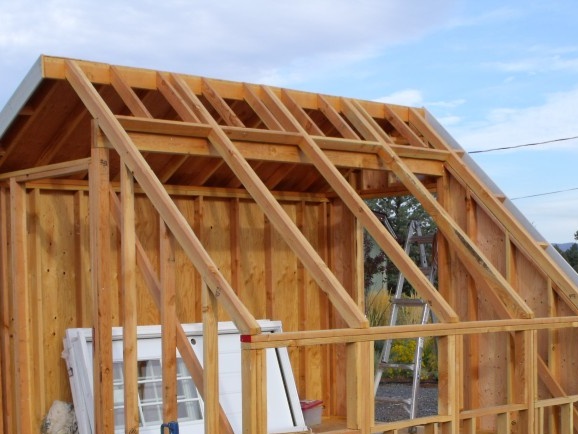
The type of construction depends on the material selected. The roof of wooden greenhouses made of timber and structures from old windows looks like a rectangular triangle. Its highest part is adjacent to the blank wall of the fence. The presence of opening windows is convenient for ventilation of the greenhouse.
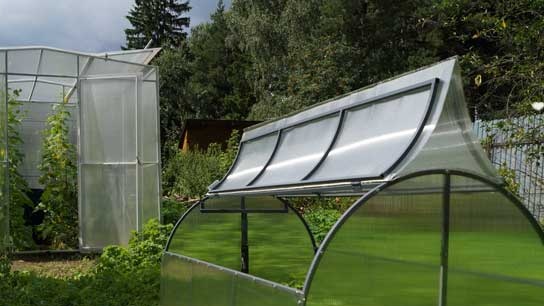
Roof polycarbonate greenhouses can line up similarly or be rounded in the form of a hemisphere. A plastic film coating is used for many types of extensions.
Gain and loss
 Before the start of construction, the owners evaluate many of the nuances: the choice of location, the purpose of using the greenhouse, suitable materials.
|
pros |
Minuses |
|
Small size |
Lack of useful space (for experienced gardeners) |
|
Small area for basic plant care training (for beginners) |
Loss of natural light. Sunlight does not illuminate all areas of the greenhouse. |
|
Separate room for growing seedlings |
Proximity to a residential building. Risk of damage to house communications |
|
Savings on building materials, heating, lighting and the design of an automatic watering system |
— |
|
Protection of the extension from wind and cold from the side of the main wall |
— |
|
The stability and reliability of the entire attached structure is ensured by wall mounting |
— |
Polycarbonate Coated Greenhouse Assembly
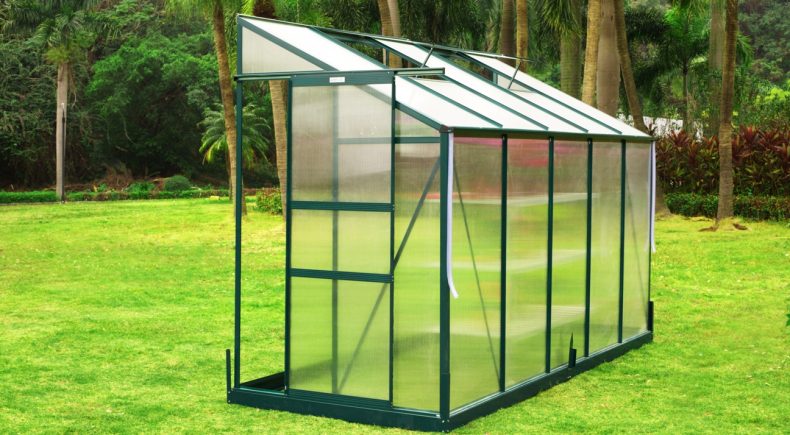
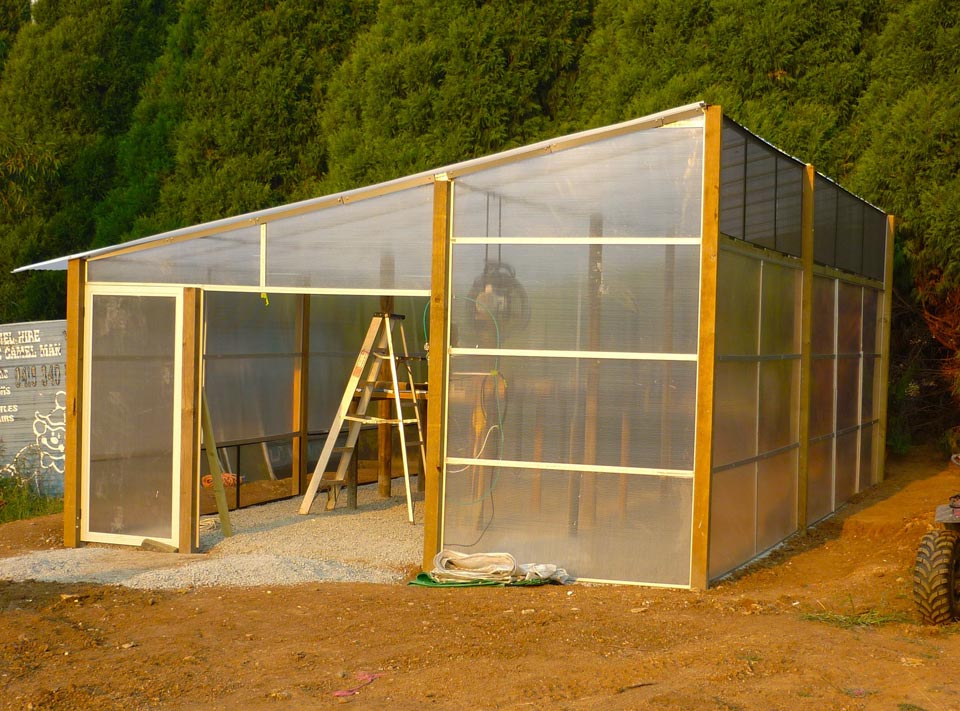
For a greenhouse with a pitched roof, cellular polycarbonate will be the best coating. This is a strong and durable material from which it is possible to form both a triangular and a hemispherical shape of the roof.
Step One: Prepare

The necessary tools should always be at hand during assembly work, so prepare a set in advance, which includes:
- one straight and one Phillips screwdriver;
- 8 mm socket wrench;
- electric drill or screwdriver;
- sharp cutter for cutting blanks from polycarbonate;
- fasteners: bolts, screws, nails, nuts;
- additional tools: twine or cord, construction level, hammer and shovel.
All parameters are marked on the scheme developed by the owner or designer. According to the dimensions plotted on the plan, the amount of the required material is calculated.
Step Two: Build
 Beginning summer residents experience some difficulties in organizing a step-by-step installation procedure. We offer the following sequence of work:
- Choose a place for an extension. A brick wall on the south side of the house, fence or barn would be the best option. You can install a greenhouse near wooden buildings, but keep in mind that due to the humidity present in the greenhouse premises, the tree is quickly destroyed.
- Prepare the site. Level the land for building, mark it according to the size of the greenhouse using a tape measure, pegs and twine.
- Treat the supporting walls with agents that protect them from moisture. It is better to do this twice with an interval of 2 days.
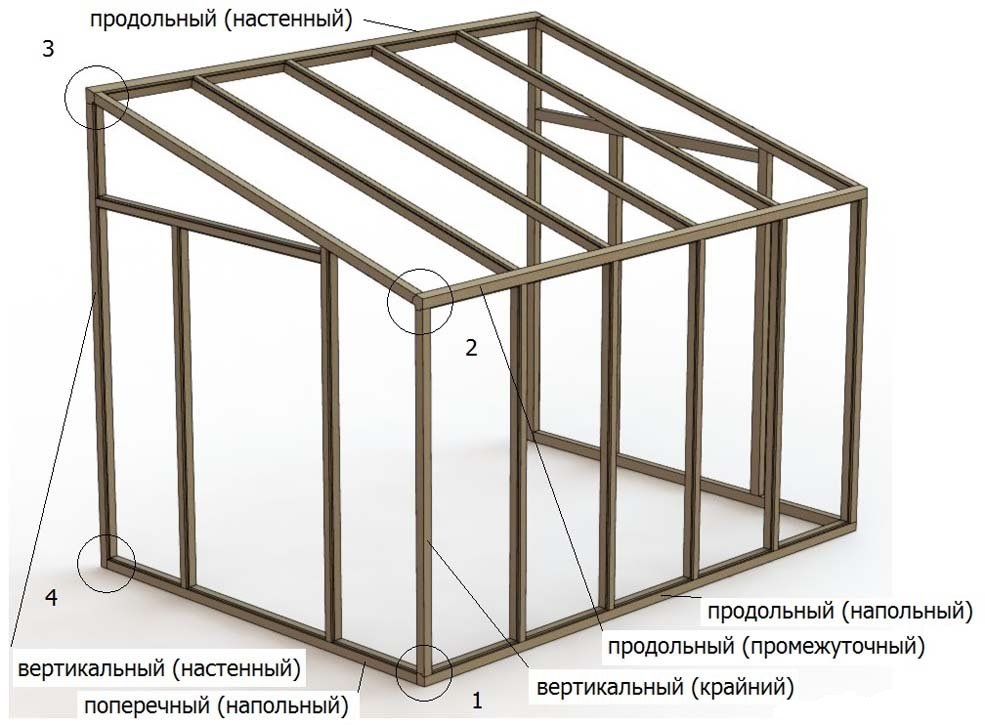
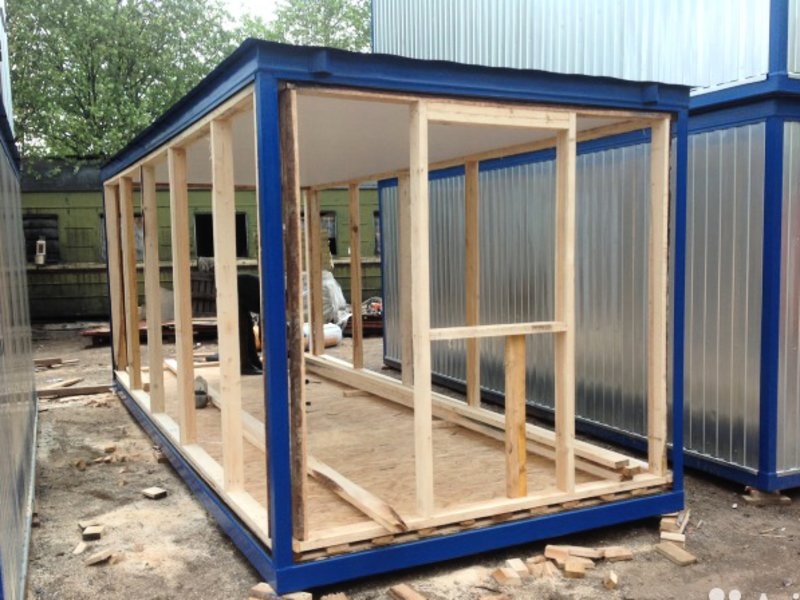
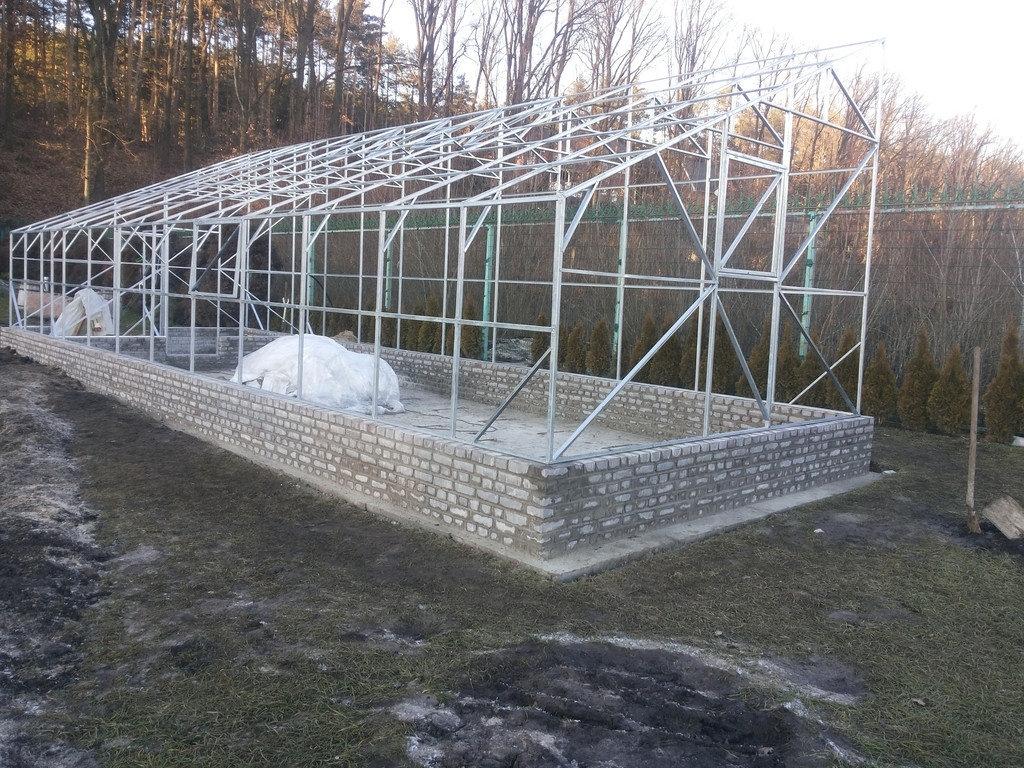
- Assemble the frame from prepared materials: wooden bars, metal corners or plastic profiles. All sizes are checked with the project and fixed between each other with fasteners.
- Fix the frame to the wall. Check the reliability of the design. Check the accuracy of the assembly with a building level.
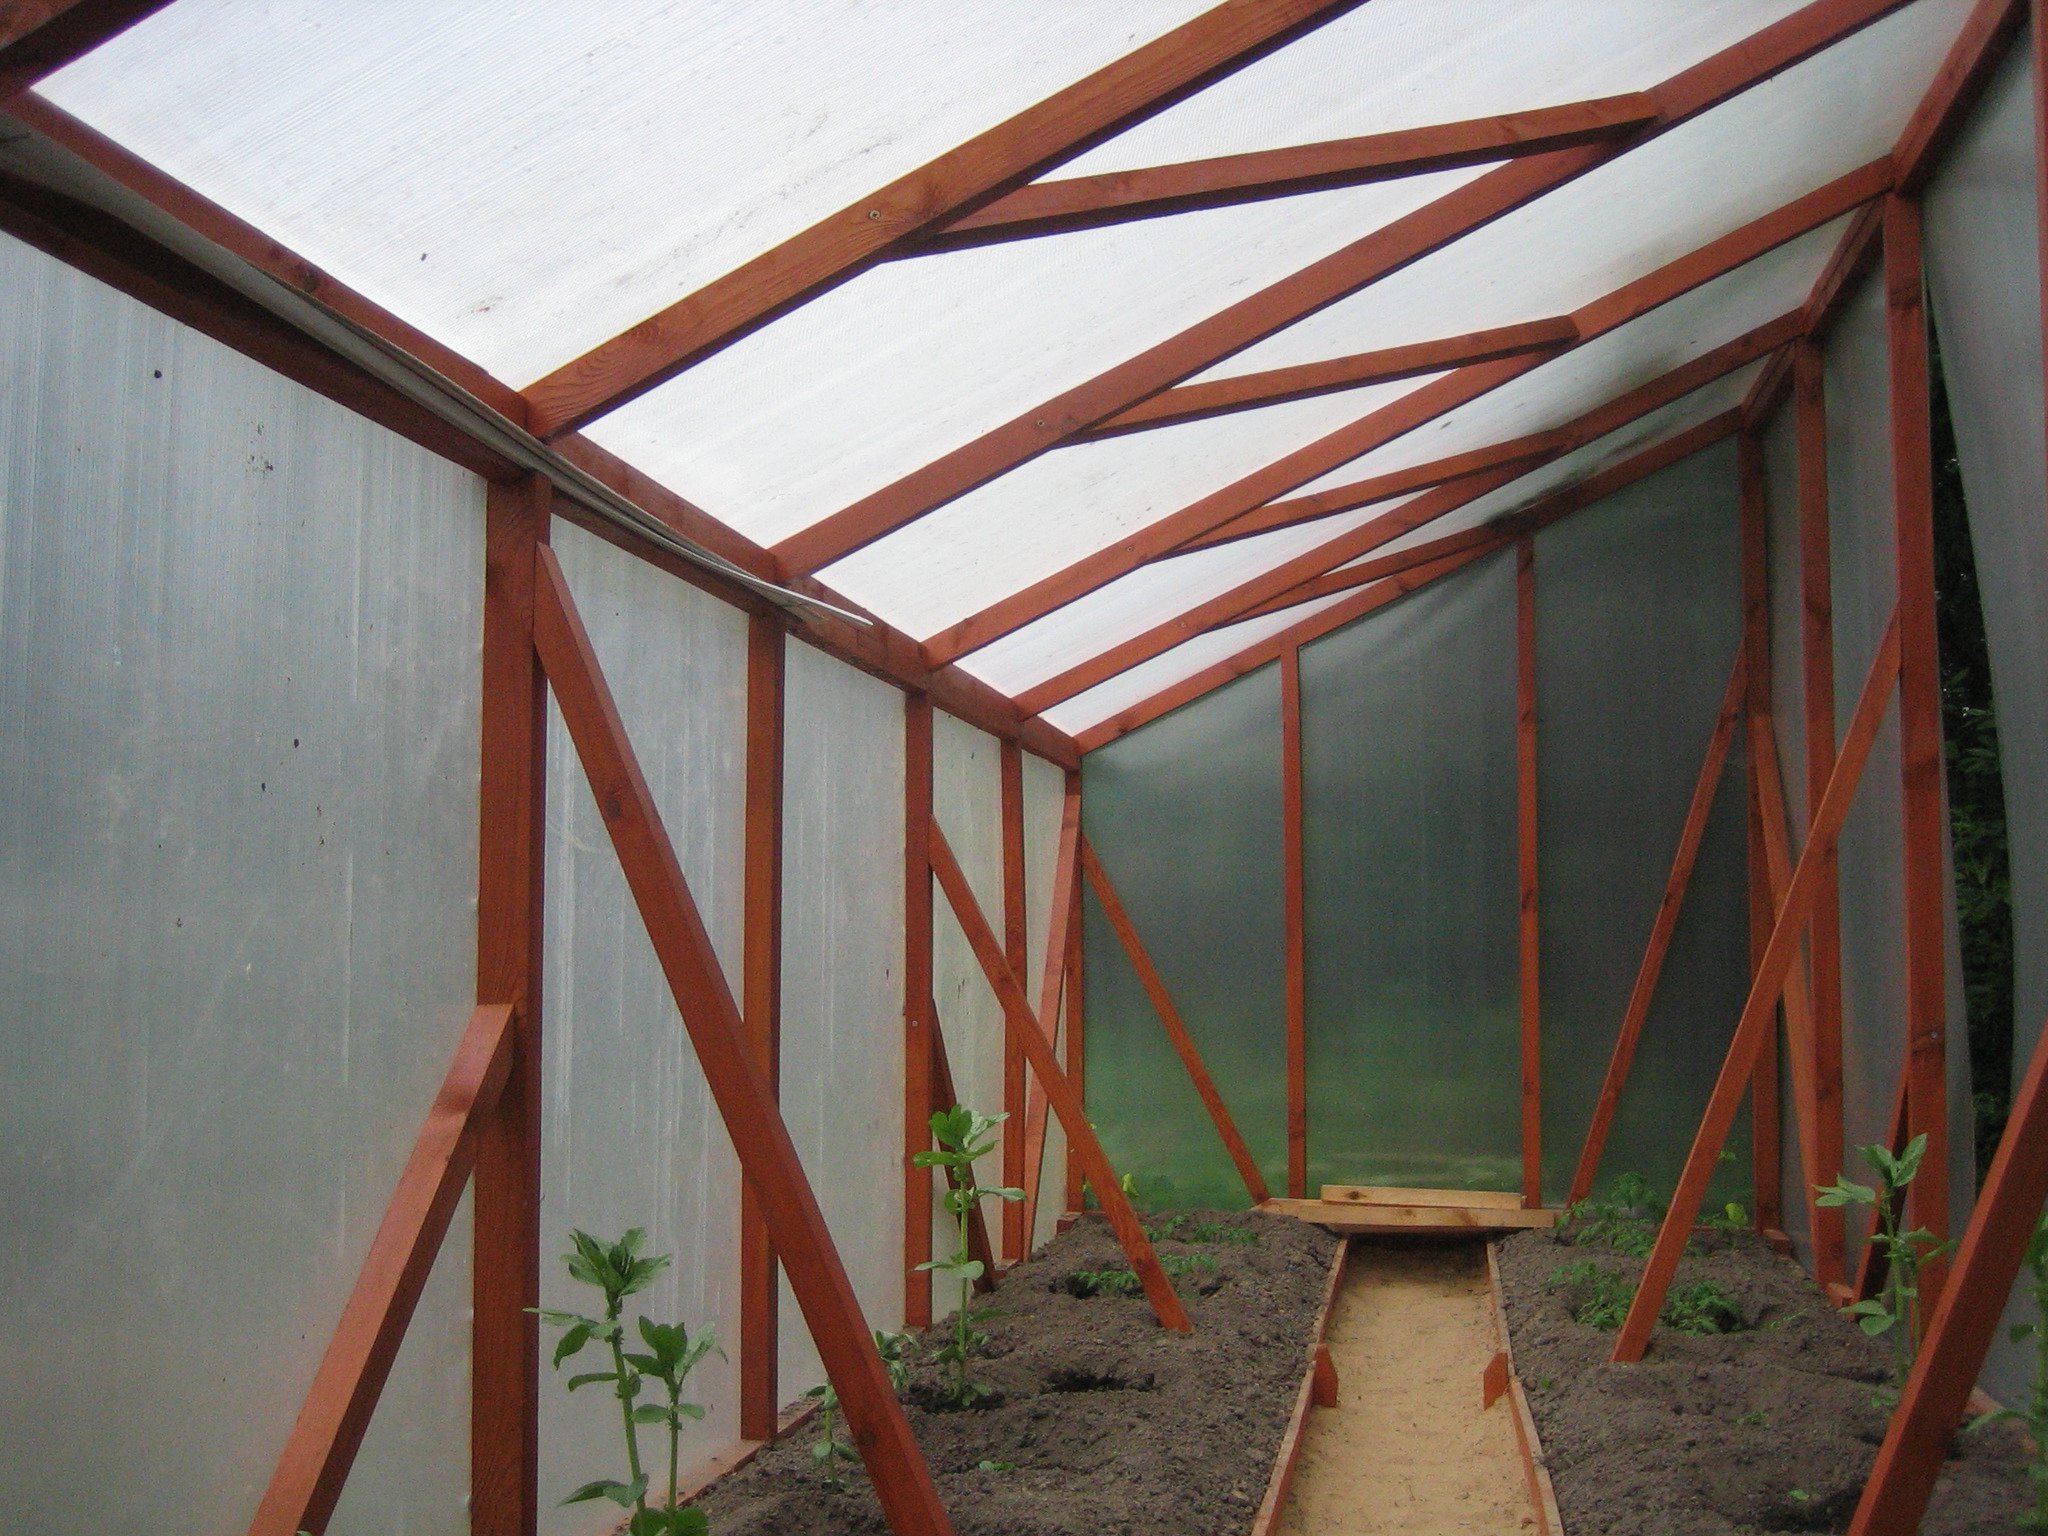
- Made of polycarbonate sheets cut fragments of the skin of a single-slope greenhouse. Their sizes should be indicated on the diagram, but it is better to check everything according to the actual parameters. During assembly, small variations may occur.
- Secure all fragments to the frame with bolts and a wrench.
- Seal butt joints with sealants.
Tips & Tricks
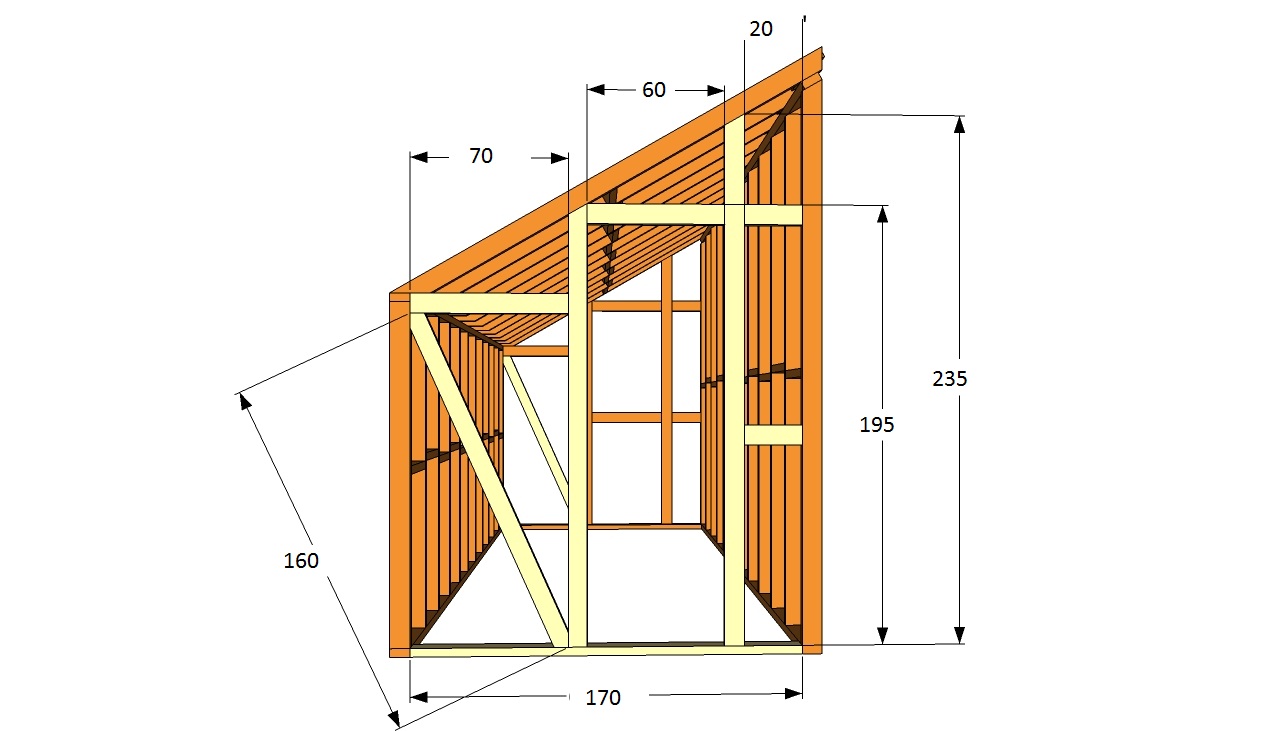
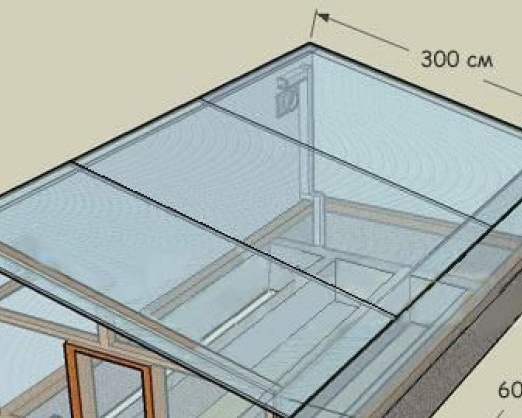
 The following optimum sizes for single-pitch greenhouses are recommended:
- height - 1.8 - 2 meters;
- frame length - 3-4 m, beds - up to 0.8 m;
- width - 1.7 - 2.5 m, the passage between the beds - up to 1 m;
- roof tilt angle - from 30 to 60 °;
- windows for ventilation (2-3 pcs.) square or rectangular - 50x50 or 50x70 cm.
The foundation is made depending on the mass of the structure, as well as seasonal or year-round use. It can be:
- soil base for small light extensions that are used only in summer;
- block base of wooden timber for greenhouses for spring-autumn use;
- concrete monolithic strip foundation for heavy structures with continuous operation throughout the year.
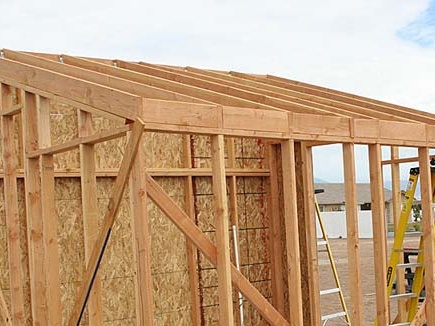
The assembly of single-pitch greenhouses begins with the lower harness from a bar with a section of up to 100 mm. Then install and fasten the side vertical racks from a bar of 50 mm. The roof is collected separately from boards and battens, sheathed with polycarbonate sheets. Raise the roof and fasten first to the supporting wall, then to the upper trim of the frame of the greenhouse.
If the wall dimensions for the extension are minimal, but there is still a need to build greenhouse for growing seedlings, you can make it very small, in the size of one or two window frames. The assembly of such a design takes no more than 2 hours, there are no difficulties during installation, the costs will not exceed the budget.
To do this, the area near the wall is cleaned, leveled and rammed.A board is fixed to the wall at a height of 60 cm. A beam of 50x50 mm is laid at a distance of 80 cm from the wall. Two glazed frames from old windows are placed on these supporting elements and hinges are installed. The lateral triangular ends are closed with plastic wrap.


An extension to the house in the form of a single-slope greenhouse can be used in winter. Heating systems, additional lighting and water supply are connected to the general communications. The costs are minimal, and the benefits are huge. This is providing the family with fresh herbs, vegetables, as well as a kind of decoration of the garden.
Shed greenhouses attached to the walls of the house serve as an element of the house exterior. Hanging boxes and flowerpots can grow flowers and climbing plants. They diversify their beauty monochrome winter landscape.
Conclusion
The construction of single-pitch greenhouses does not take much time. Such buildings combine benefit and beauty. Plants are grown here, which revitalize the site with their appearance, delight the eye. Summer residents receive satisfaction from their work. The skills acquired during construction will be useful to them in further work on landscaping the garden and the entire adjoining area.
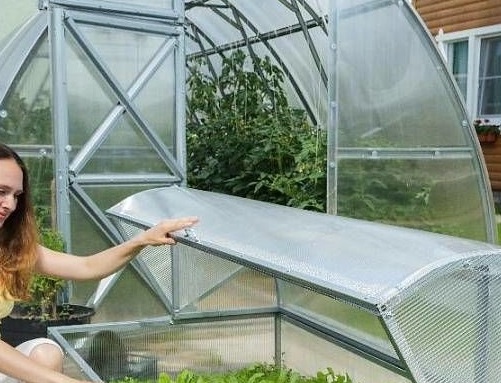
 Why is a greenhouse open top?
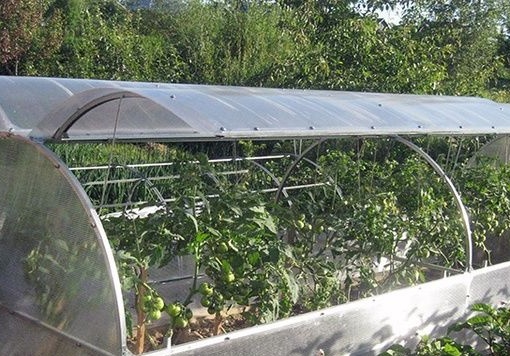 Greenhouse "Butterfly", is it worth it?
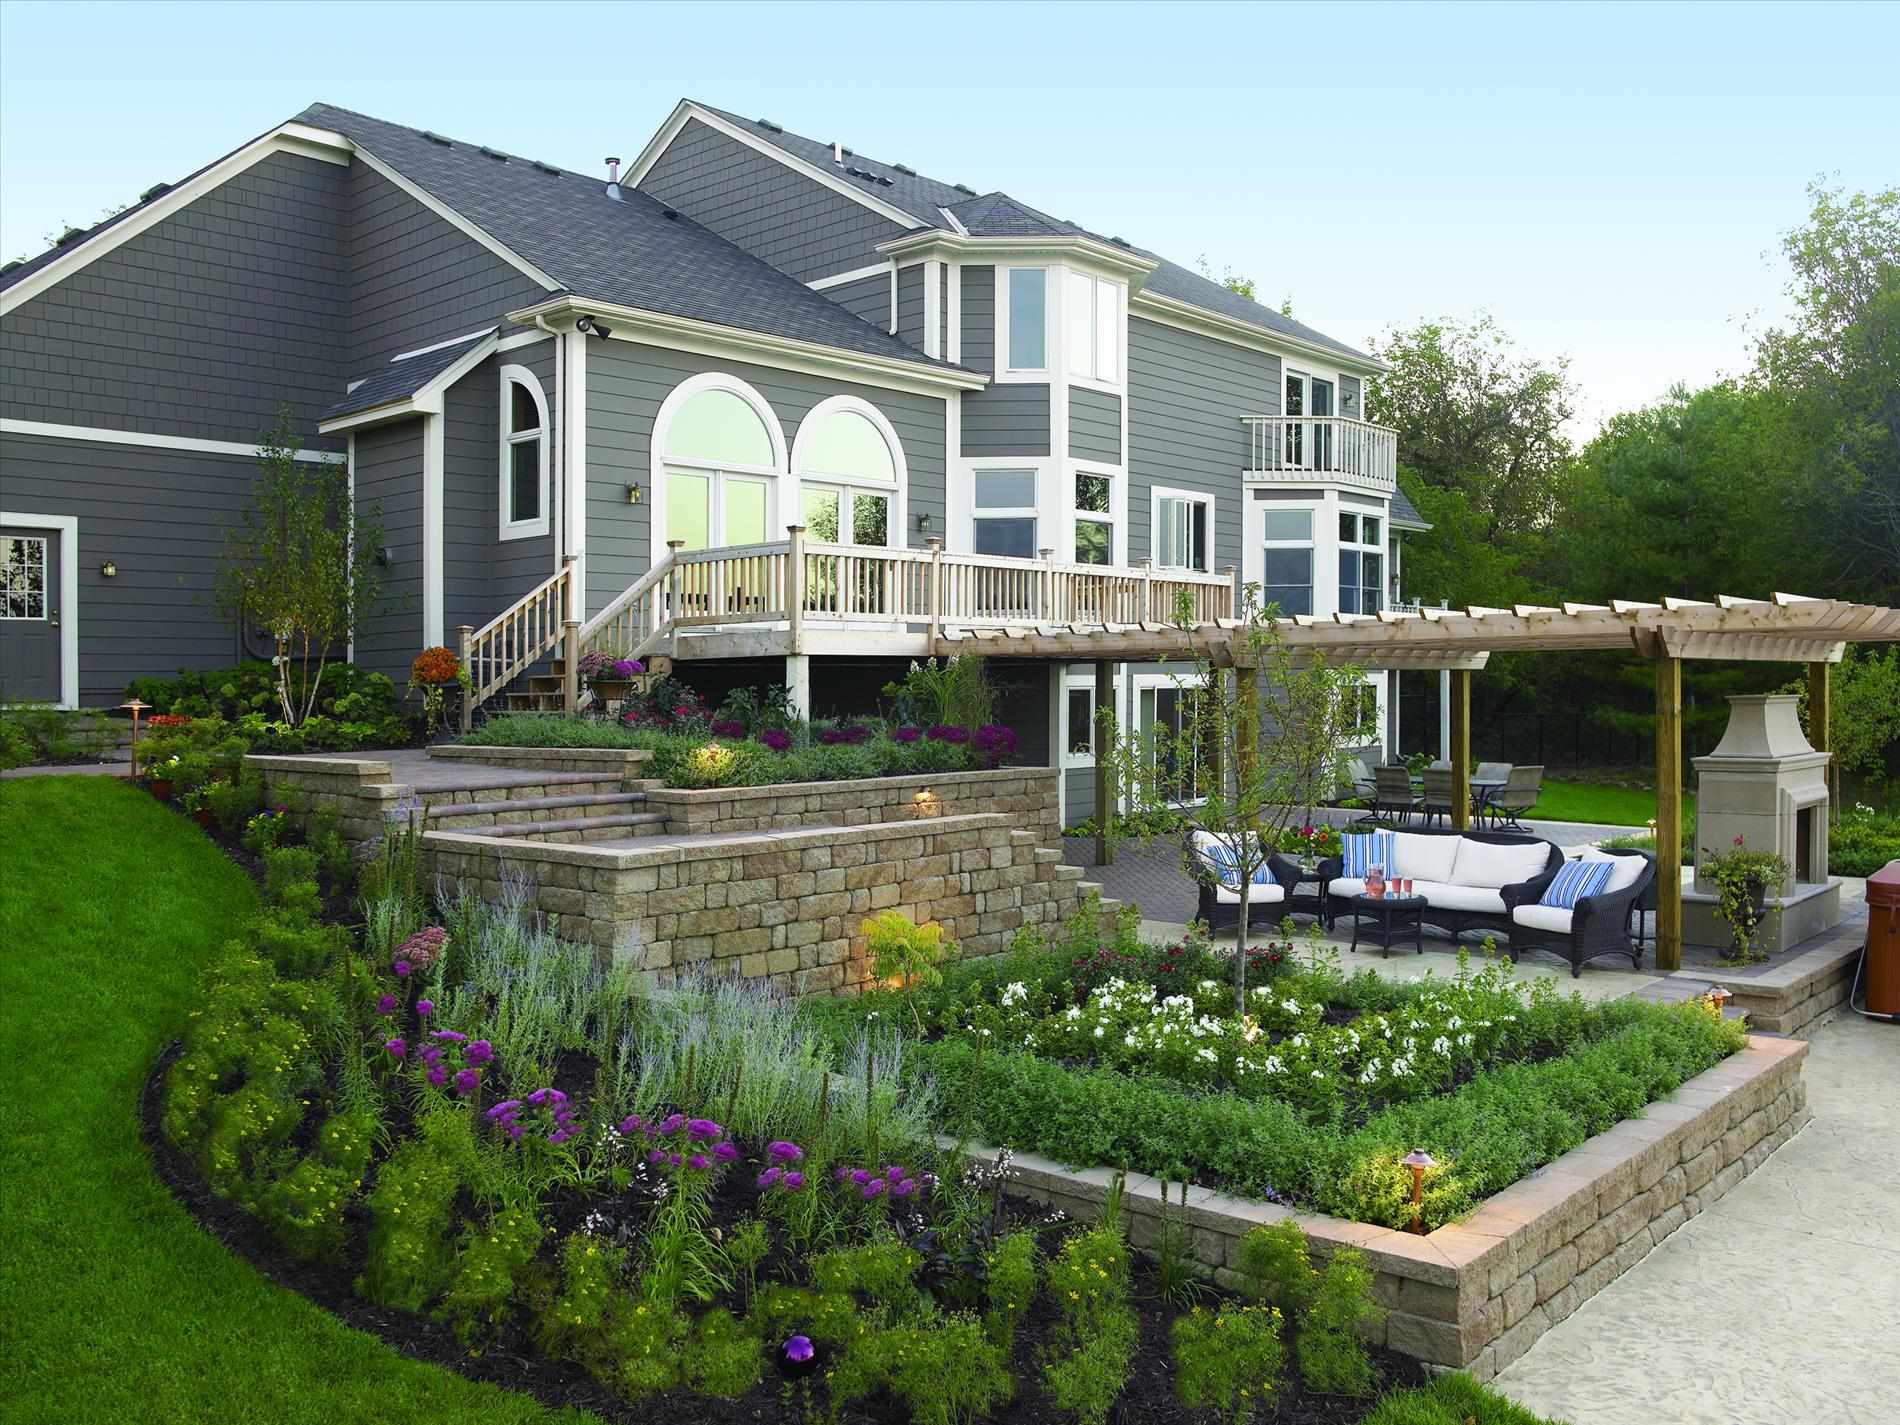 Do-it-yourself landscaping of an area of 8 acres: features of planning and zoning
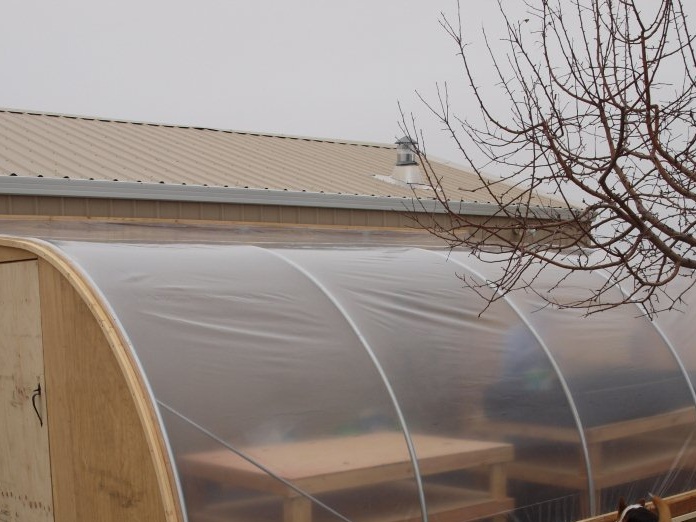 Shed greenhouse, pros and cons