
Orchid is a masterpiece that nature has presented to people. Flowers attract the eye with their grace and tenderness. But to grow such beauty, especially from seeds at home, is difficult. This is a complex, time-consuming process. But with the right approach, this is possible.
Content
What is culture?
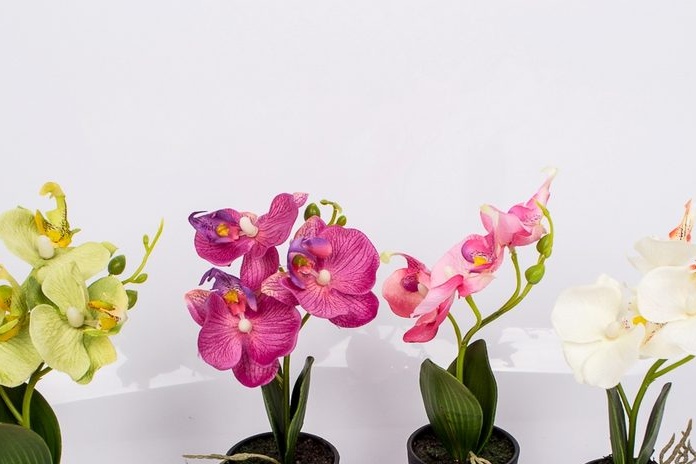
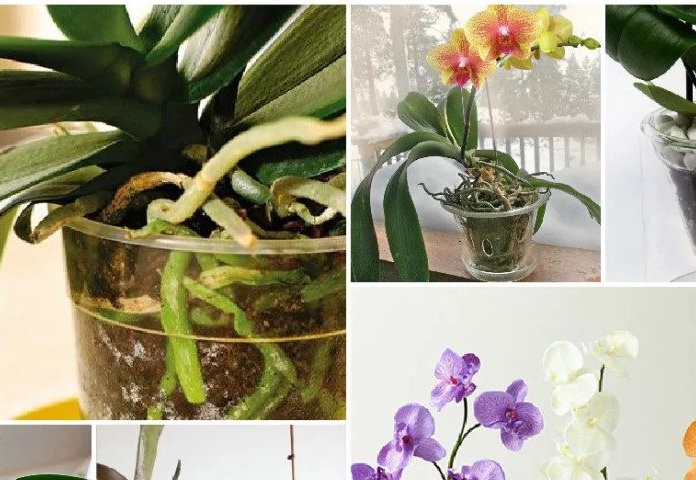 The orchid has more and more fans every day, and there is no point in explaining what orchids look like. Despite the difficulties of growing a flower, many acquire sprouts and seedlings. But not everyone can afford to buy an adult plant.
The history of the appearance of this flower is ancient. The earliest references to orchids were found approximately 130 million years ago. This plant used to be a medicinal crop.
It has become possible to grow an orchid at home thanks to the effective work of nerds. They developed varieties that can grow and multiply at home. Orchid is a very capricious home culture, you can get abundant beautiful flowering, fully observing all the requirements and conditions for growing.
Orchid is an indoor culture propagating by seeds, processes, bulbs. The most difficult way is growing from seeds.
Care Features
 Orchid care procedures bring a lot of trouble to a beginner grower. But professionals argue that it is easy to get a beautiful flowering at home, if all the conditions and rules are followed.
It is very important to provide the correct lighting, which is of great importance for the flower. It is necessary to provide bright light, but it must be diffused.
For abundant flowering orchids temperature differences are useful. The temperature can range from 18 to 27 degrees.
In the active period of growth, plentiful watering is important, and in winter, the flow of moisture should be reduced. The drought for the orchid is not as bad as the excess water. It is best to water according to the principle of the shower, or pour into a plate and place a pot in it for 15 minutes.
In the dormant period (from autumn to spring), you can not shade the flower, since there will be few rays. They are enough to form new shoots and buds. During this period, reduce the temperature of the content to 13-18 degrees.
Orchid seeds what are they
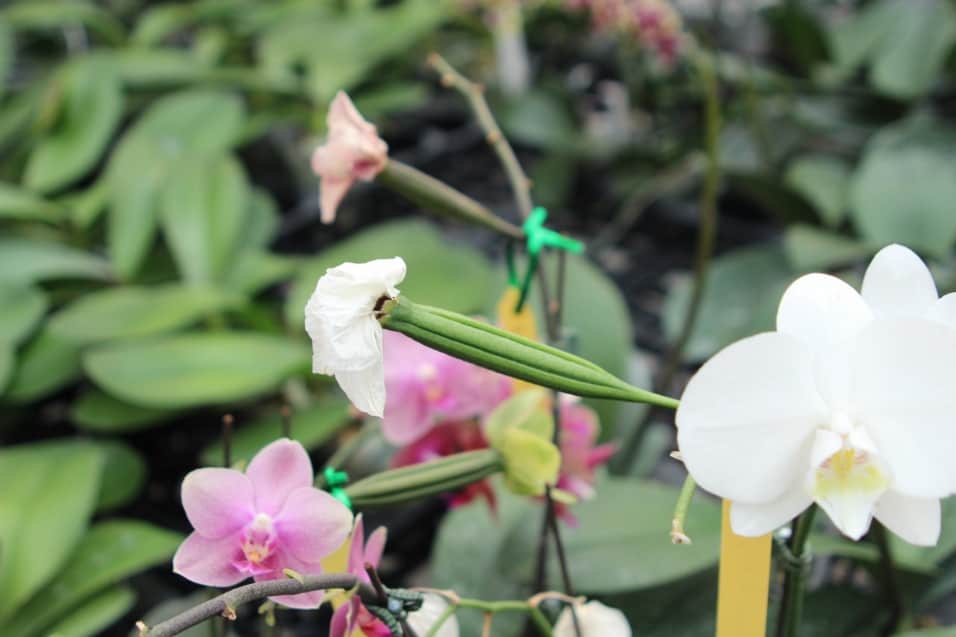
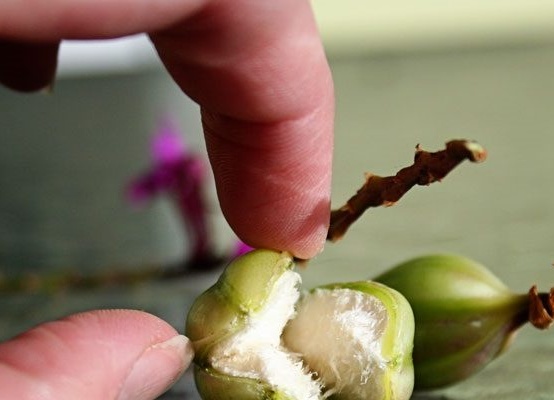 Orchid seeds (phalaenopsis) ripen in a box with 3 or 6 leaves. There are up to 4 million, the length of one reaches from 0.3 to 3.3 mm. Only ripened seed can be used after the box has dried. Orchid seeds look like dust or sand due to the large number and small amount. Dust from seeds has not a black, but a yellowish-cream hue.
Collecting seeds is very difficult. But nature compensated the size of the seeds with a large number in a box. Under natural conditions, orchids reproduce by seed. The wind carries seed dust, the seeds fall on the bark and leaves of the trees and germinate.
It takes about 2.5-3 months to fully ripen the seed.
Seed collection
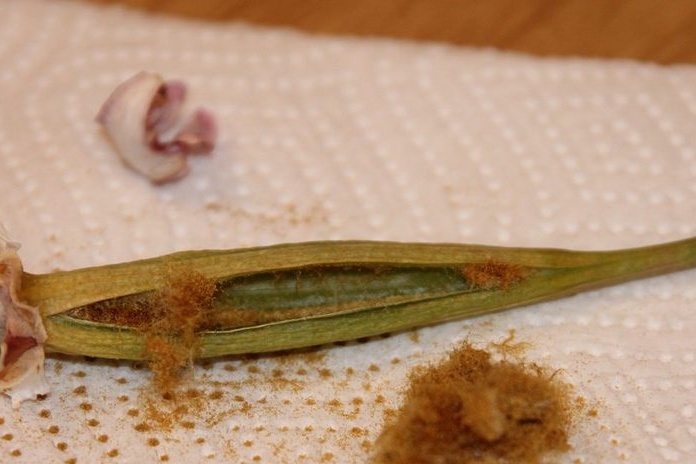 Harvesting seeds is difficult, but real. During the growth of the box, a napkin in the form of a pocket is tied to it so that the dust does not scatter when the walls begin to crack. A mature box turns brown (in rare cases, it remains green).
When the box is dry, it is cut off and the seed dust is transferred to a piece of paper. To plant such small seeds is very difficult. This is another reason seed propagation often crashes.
Orchid seed cultivation
Orchid seeds are not able to germinate under normal conditions, like other plants. Since they do not provide for special nutrient reservoirs (endosperm) that feed the embryo in the early stages of growth.
What is required
To grow orchids from seeds, you need to take care of the availability of:
- 300-400 ml glass containers (flasks or jars with lids) where seeds are sown;
- a small glass jar for the sterilization procedure;
- corks made of rubber or cotton;
- disposable syringes;
- litmus strips;
- 2% hydrogen peroxide solution.
 Lids are also prepared before use. They are placed on a thin tube of glass, the upper hole of which is closed with a cotton ball. A second similar hole is also made, it is closed with an adhesive plaster (through it sowing is performed).
Tool preparation
All materials, tools and containers are sterilized before use. This will help protect young sprouts from damage by pathogenic bacteria.
If at the very beginning of the experiment to violate the elementary rules of sterility, then you can not continue the experiment. Seeds will cease to be viable.
Soil preparation
 For germinating orchid seeds, you can use a ready-made nutrient medium or make it yourself. At home, grow an orchid from seeds with large flowers can be exclusively in a special composition. Sowing seeds into ordinary earth will not work, they will die immediately.
Ready mix options
To grow an orchid from the seeds of the house, you can buy a ready-made nutrient medium Knudson. It is dissolved in accordance with the instructions. To grow orchids from seeds in this composition should be due to the special composition:
- agar-agar (a polysaccharide that helps the composition achieve jelly density);
- sugar;
- salts that are included in the composition are in a balanced volume.
Using a litmus strip after preparation, the acidity of the resulting medium is checked.
After preparation, the nutrient mixture is heated and poured into jars (no more than 60 ml of a jelly-like composition is placed in 200 ml).
Making the mixture on your own
 You can make a breeding ground for germinating an orchid seed on your own, following a simple step-by-step instruction.
- 10 g of fructose glucose and 8 g of agar-agar are introduced into a half liter of boiling distilled water.
- Blend options on low heat, agar agar should dissolve.
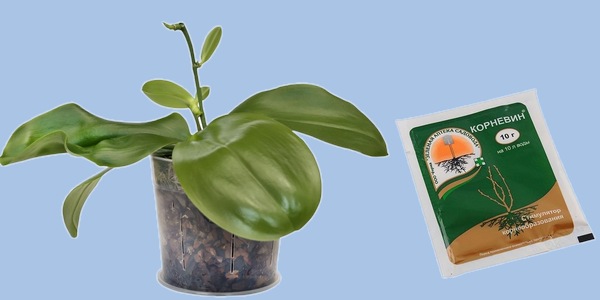
- In the second tank, another 0.5 l of water is heated and 1.5 g of fertilizer (nitrogen, phosphorus, potassium), 5 drops of a phytostimulator for root formation are mixed into it, 1 g. activated carbon.
- After all the components have dissolved, both solutions are combined and mixed.
- If necessary, you need to reduce the acidity to 4.8-5.2 pH. Reduce the rate by the introduction of a solution of potash, and increase - phosphoric liquid.
- 30 ml of prepared liquid is poured into each sterilized seed container.
- Flasks with a special medium are closed and sterilized for about half an hour.
- For 4-5 days, the nutrient medium and containers are left. If mold forms, you will have to re-prepare the composition for growing.
You can use folk recipes to make a nutrient medium.
- 450 ml of potato juice, 40 g of powdered sugar, 7 g of special fertilizer, 20 g of agar-agar, 1 tsp. lemon juice.
- 200 g of starch (from potatoes), 500 ml of coconut water, 20 agar-agar, 1-2 ml of fertilizer for orchids, freshly squeezed puree from 0.5 kg tomato.
- 460 ml of distilled water, 1 tab. activated carbon, 5 g sugar, 40 ml pineapple juice, 5 g honey, 100 g starch, 2-3 special fertilizers.
To prepare a properly favorable substrate, you need to be very careful, compliance with sterility requirements is the main and important condition.
Seed Processing and Direct Sowing
Before planting orchids with seeds, you need to sterilize them. First, wipe the box with seeds with a cotton swab dipped in alcohol. Then the seed dust is poured into a small glass jar and covered with a lid. Using a syringe, a little 2% hydrogen peroxide solution is injected into the seed container.
Seeds in the container are about 5-10 minutes. The fluid in which the seeds are taken using another syringe. Pour through a hole sealed with adhesive tape into a jar. The liquid is neatly distributed over the surface of the culture medium.
If germinating seeds do not adhere to sterility conditions, then within a week colonies of microorganisms form on top. These containers must be discarded.
Conditions of detention
After transferring the seeds to the nutrient medium, the jars provide the necessary conditions. It is important to monitor temperature and lighting.
Sown seeds require a temperature in the range of 20-23 degrees for germination. Important 12 hours of lighting. At the same time they provide diffused light.
Features of sprout care
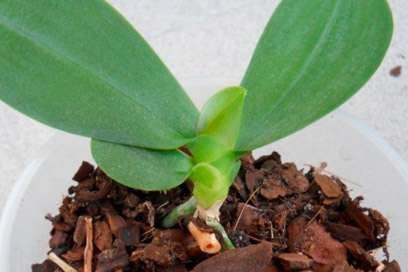
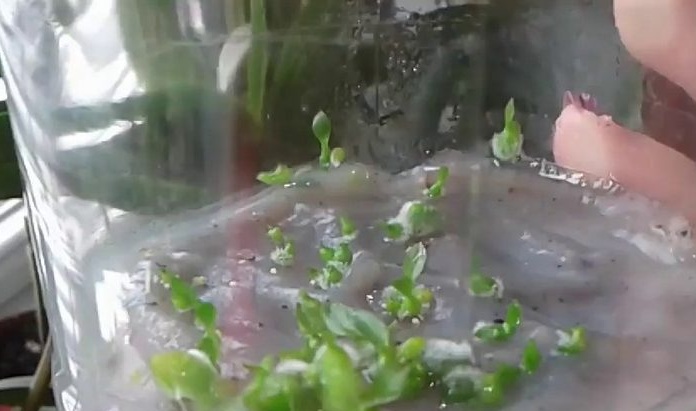
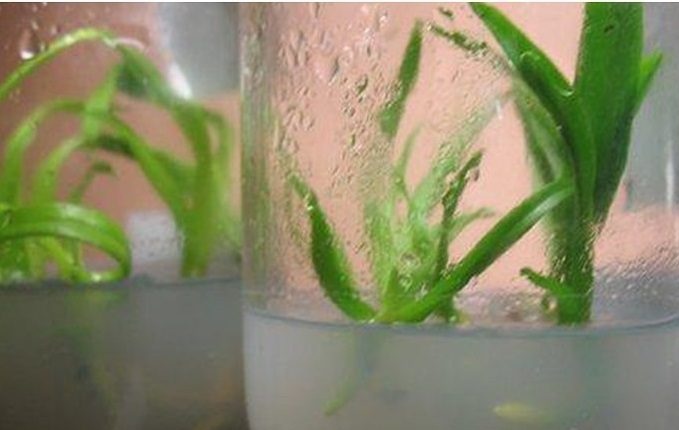
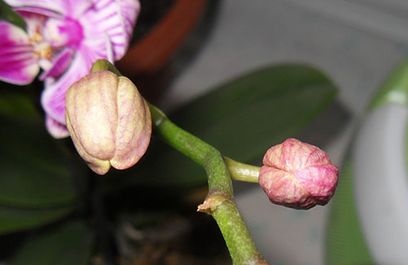
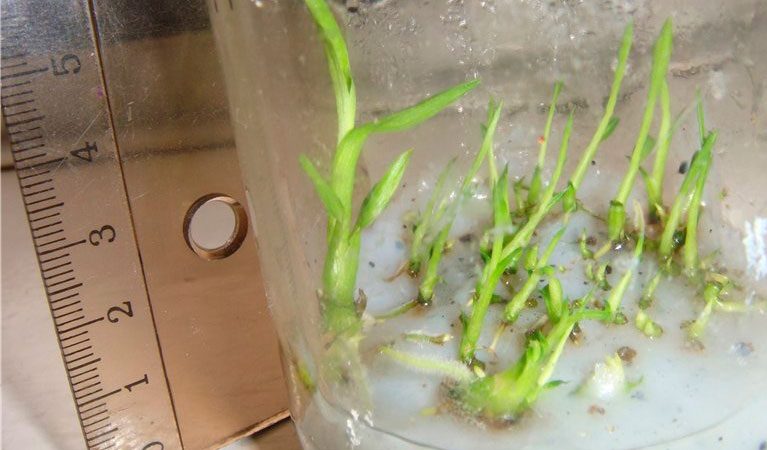 The duration of emergence for different varieties varies. The first sprouts can appear after 4-6 weeks, and sometimes wait up to 6-9 months. First, a small ball is formed with the threads of the processes. They hold onto the surface and consume the necessary components for further development. The first leaves will appear next, and only then the real roots will begin to form.
While the crops are located under sterile conditions, special care is not required. It is important not to open the jars while they are in glass containers, violating sterility.
When and how to transplant sprouts
 From sowing seeds to the moment of transfer to the substrate, it takes up to a year. For transplantation, the following composition is prepared:
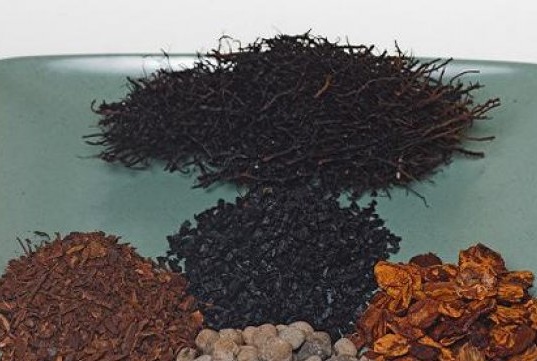
- 1 part of crushed bark of coniferous tree, sphagnum moss, fern rhizome;
- 10 tab. activated carbon (pre-ground).
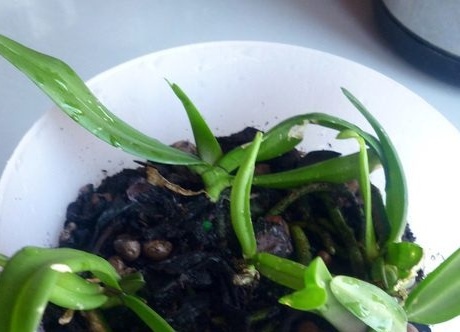
A layer of classic drainage is placed at the bottom of the plastic cups, then placed prepared soil. Seedlings from the original container are removed in a circular motion, the roots are washed. Gently sprouts are transferred to cups with a substrate. At first, small orchids do not water, but simply perform spraying, making sure that the soil remains moist.
For half a year they do not touch the orchid, and then transplant it into the usual traditional soil for orchids.
Care for young orchid sprouts
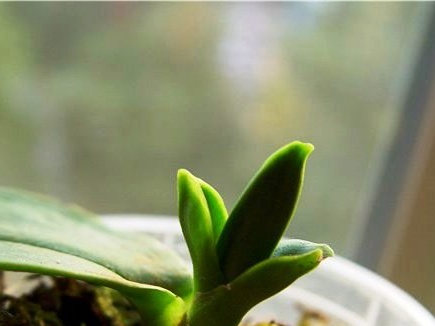
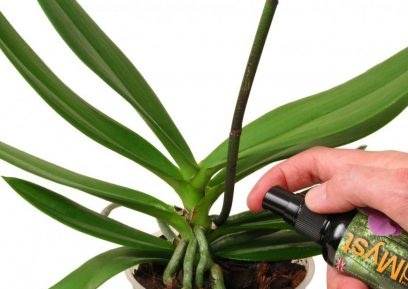
 After transplanting, young orchids are closely monitored, providing the necessary care. Watering is carried out by spraying a useful substrate.
Over six months, the sprouts will grow stronger, they begin to be transplanted into the classic ground for adult specimens and begin to care for in the traditional way. Flowers will appear after transplantation in 4-5 years.
Challenges to Meet
Meet difficulties with phalaenopsis cultivation from seeds at home can be at any stage of this procedure.
The reasons for poor germination are many:
- poor seed:
- non-compliance with humidity indicators and lighting conditions;
- flaws in creating sterility and so on.
 As a result of any mistake, seeds or seedlings can be destroyed, and the plant can grow, but not bloom.
Seed material
This is the first problem you may encounter. With self-assembly it is difficult to guess when the seed box is in full maturity.
Buying ready-made germinating seed material is even more difficult. Get it by ordering on Chinese sites. But upon the arrival of the parcels in them, in addition to a bag of seeds, there is no instruction, date of collection, name of the variety, and so on. It is highly probable that instead of the coveted orchid seeds of a simple lawn were obtained.
Sterility
Its violation can be judged due to the appearance of mold in containers. Germinating seeds can be saved by trying to change the substrate.
- Prepare new jelly from the culture medium.
- The flask is filled with warm water and shaken slightly.
- The pent-up is poured into a small container. To the mass add any 1% solution of fungicide (1-2 drops).
- After 15 minutes, the sprouts are placed in the prepared substrate.
Further, the container is closed again, providing the sprouts with sterility.
 You may be interested in:
Rot formation
After transplanting young plants into the ground, the plant can be affected by a pathogenic fungus that provokes the formation of rot. Often the cause is excessive watering.
To save an orchid you need:
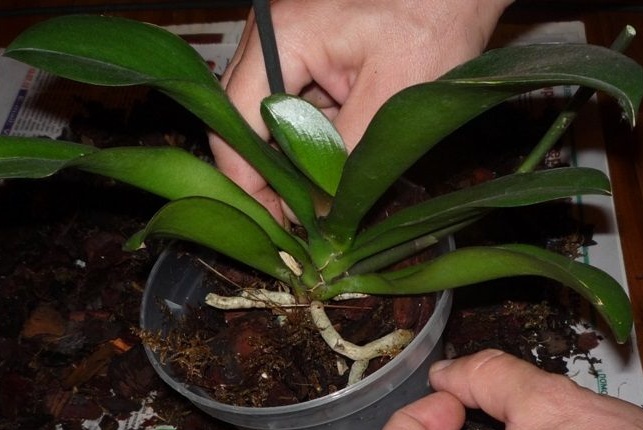
- They clean the roots of the extracted plant from the soil.
- Remove all decayed and affected areas with a knife (it is important to pre-disinfect it). Similarly, check the leaves.
- The roots are soaked in a weak solution of potassium permanganate for about 25-30 minutes. You can take a fungicide solution for such purposes.
- Leaves at the place of cuts are treated with cinnamon, crushed charcoal or chalk.
- The pot and new substrate are sanitized.
- Granules of Trichodermin or Glyocladin are added to the soil during transplantation.
- When watering alternate plain water and a solution of Baikal-M, Maxim or Alirin-B. When diluting the drug, the dosage is halved.
After the rescue procedure, it is important to monitor watering. There should not be much moisture so that the development of the disease does not happen again.
Before deciding to grow orchids from seeds at home, you should really evaluate your time and capabilities. To obtain seedlings, and later flowering plants will require a lot of strength and patience. Not only need to be planted correctly, but also especially looked after. Orchid itself is a very capricious culture, and its sprouts require even more attention and care.
 Reasons why orchids fall flowers and what to do
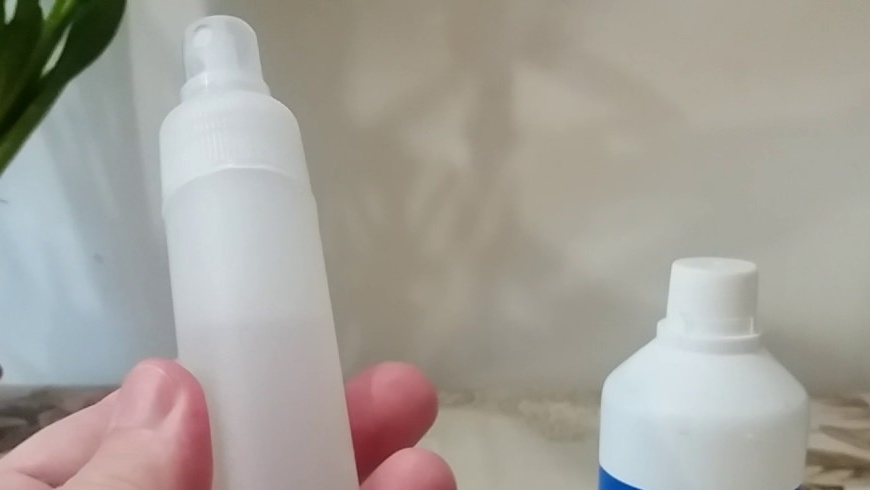 How to use hydrogen peroxide for orchids and why
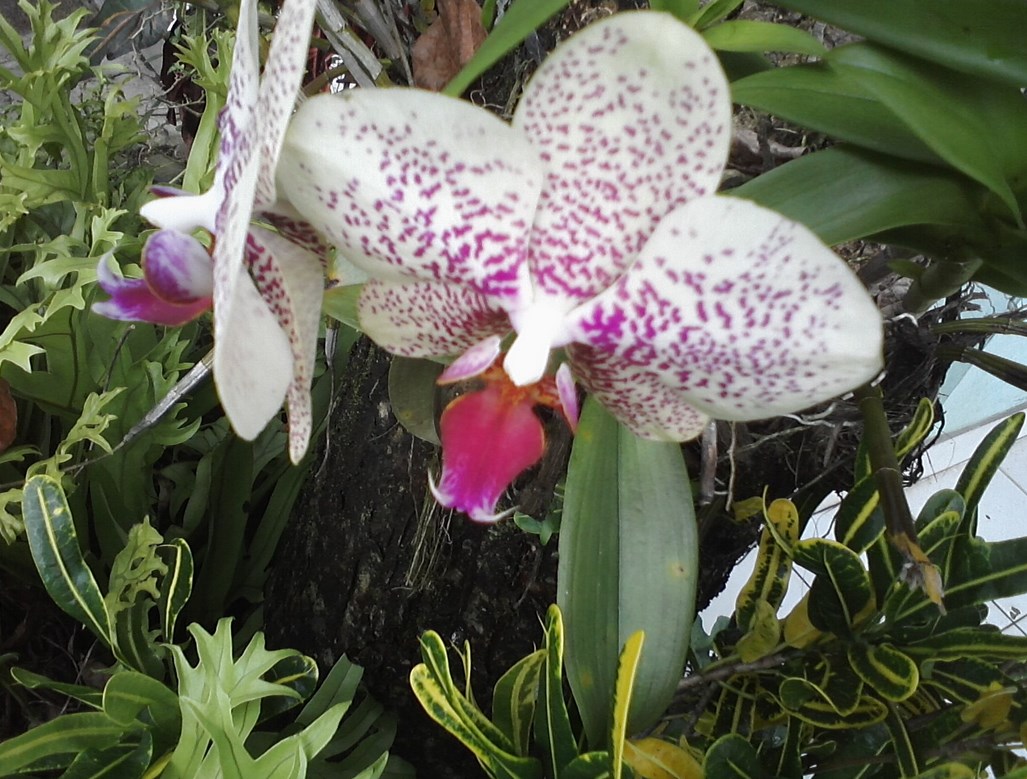 Midges are wound up in the orchid: effective ways to get rid
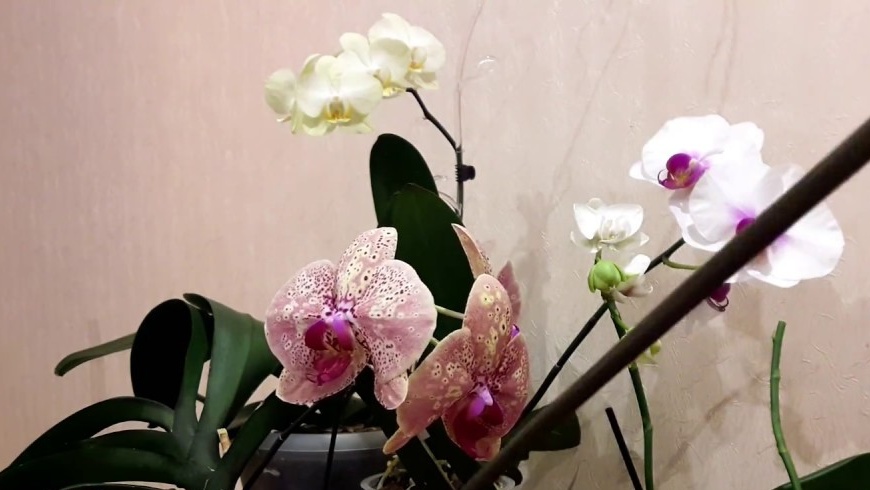 Is it possible to transplant an orchid during flowering
Helena
people do not make any holes on the covers, the mixture is moldy !!!!