
 Hulled vegetables (such as potatoes or corn) is not an easy task. Of course, you can do this with a chopper or a manual hiller, but it will take a lot of time and effort.
Therefore, vegetable growers are increasingly resorting to the use of a special tool - a hiller for a walk-behind tractor.
This device helps to cut the furrows for planting, and then hills them. It can be of several types - lister hiller, disk, propeller. How to make and use each of them correctly, you will learn from this article.
Content
Rules for the use of the hiller when cultivating soil
First of all, you need to prepare the walk-behind tractor itself: fasten the wheels, the hitch and the hiller on it. Then you should correctly configure the parameters of the depth and immersion angle. The walk-behind tractor must be installed on level ground, the hiller should be lowered and fastened with a hitch. It should be ensured that the stand remains strictly vertical: this will help to easily set the desired angle.
If you are using an earthing machine with disks, you must configure 2 more parameters: the distance between the disks and the rotation angle (relative to the horizontal axis). There is another important parameter - the angle of inclination with respect to the vertical axis - but most often it is automatically configured and does not require adjustment.
It is believed that the best performance of the wheels of the walk-behind tractor are as follows: 0.7 m in diameter and 10-14 cm in width. With other parameters, the walk-behind tractor can damage the landing, so you should carefully consider the selection of wheels.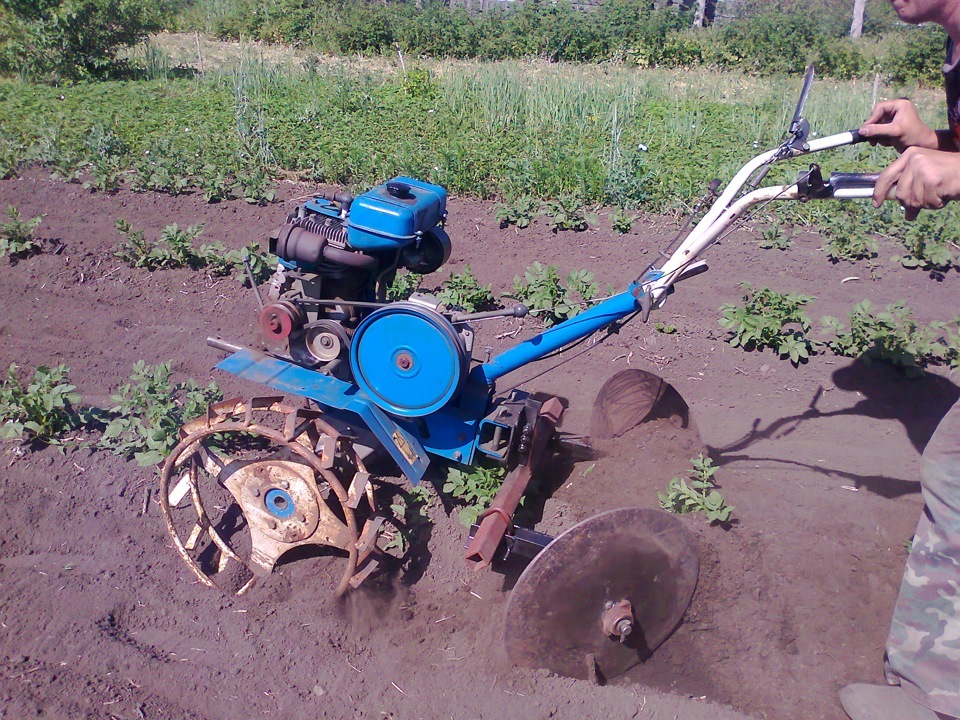
Next, follow the instructions. The only advice: if during the work the hiller deepens deeply into the soil or, conversely, leaves it, then you need to tilt the stand in the right direction. The rest of the equipment for working with the hiller is simple: after 1-2 samples, even a beginner gardener will learn how to control the device.
How to make a hiller for a walk-behind tractor with your own hands
The shops offer a wide range of hills. However, many gardeners prefer to make them on their own. Let's look at how to properly make 4 different types of spouts.
Instruments:
- welding machine;
- gas burner to help harden parts;
- grinder and a set of discs (cutting, peeling);
- high quality drill or drill press;
- whetted;
- bench workbench;
- fastening tools, files and vice;
- metal;
- blueprints.
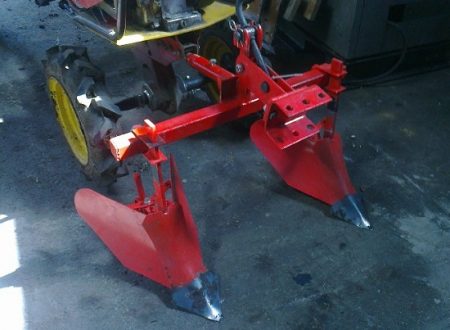

Lister with fixed and adjustable angle
The easiest way is to make a fixed lister hiller. These are 2 bent sheets of metal connected and fixed among themselves. Below are step-by-step instructions for use and drawings of this hiller.
- Weld the base of a sheet of metal with a thickness of more than 3 mm.
- To make an arm from steel with a thickness of 4 mm, after molding it is recommended to harden the part.
- Make a spring of steel 5 mm thick - first “release”, and then harden.
- To make a rack, steel thickness - from 8 mm.
- Wings - steel thickness of approximately 2 mm. The desired bend can be given using any template.
- Weld in 2 passes, on each side of the joint.
Refer to the drawings: they contain all the information about the details.
The lister hiller, from which the angle can be adjusted, can be done according to the same scheme as indicated above, you just need to change the fastenings of the wings and the rod. The wings should be hinged to the base.The rods needed to adjust the angle are located at the rear of the nibbler.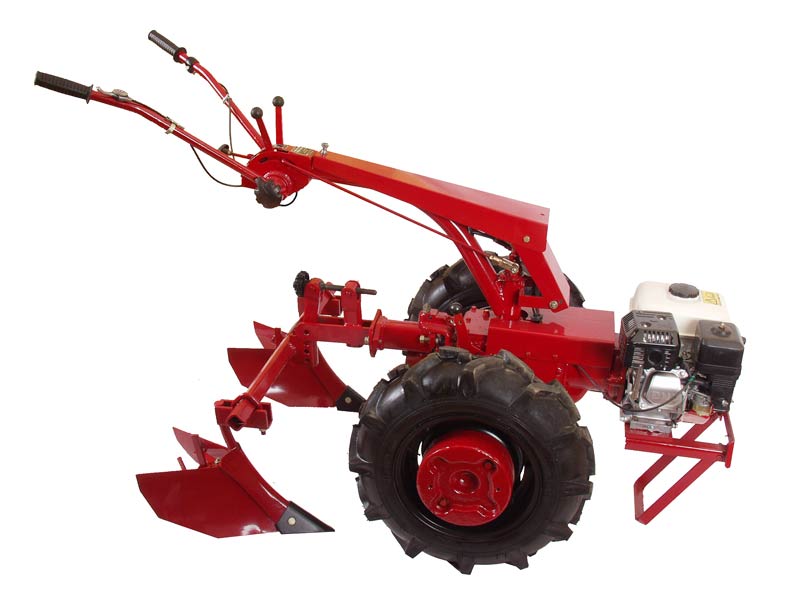


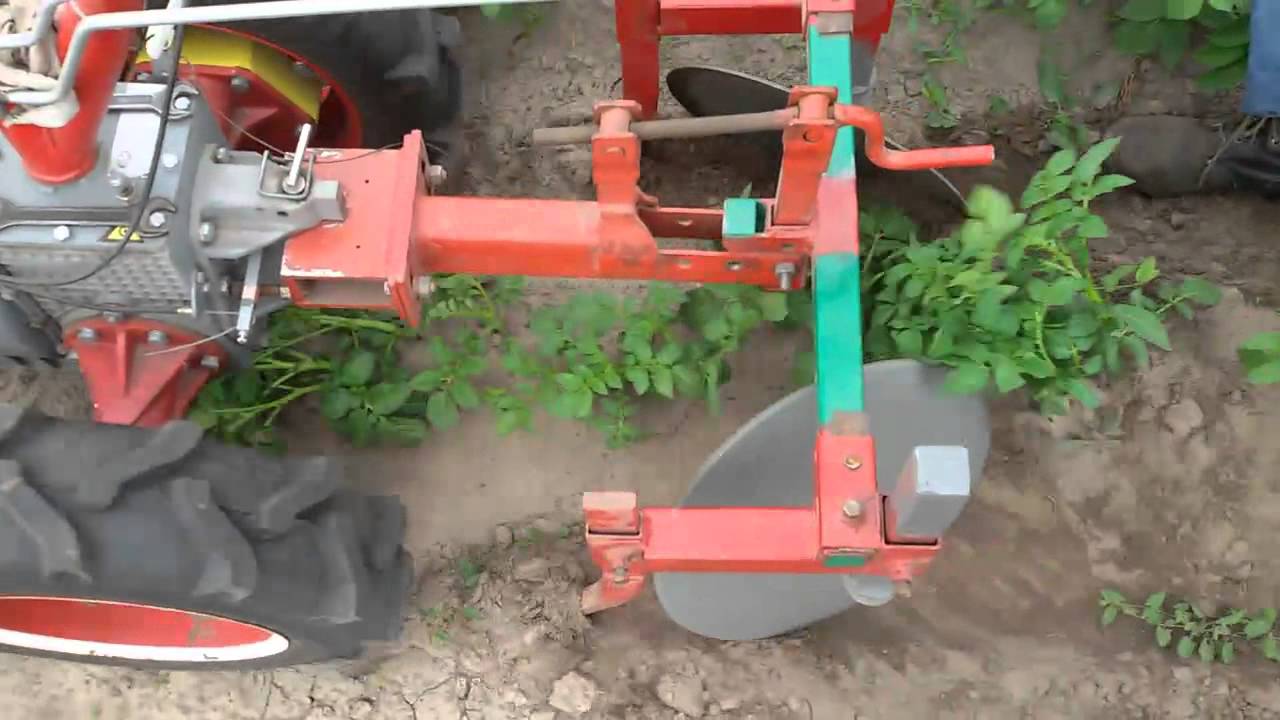
Disc hills
The design of this type of hiller is shown in the diagram. Here are some manufacturing recommendations:
- for forming discs, old cutters from a collective farm seeder or worn circular saws are perfect;
- mount the discs best on bearings on which the seals are installed;
- the bracket should be equipped with movable elements, bolted;
- bearings are useful for axles.

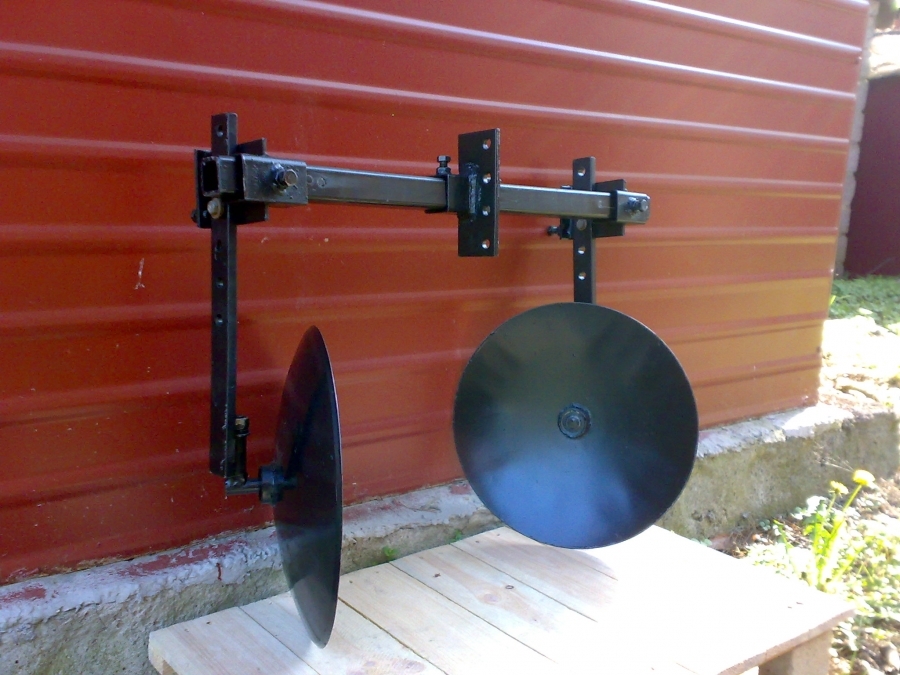
Many gardeners especially like hacks from circular saws. They need to select bearings for the axis, otherwise the mechanism will simply row the soil, and not rotate. This model allows not only to raise the soil, but also to loosen it.
Propeller hills
Making a propeller ridger is easy enough. It is necessary to adjust the axles to the walk-behind tractor, and to weld other parts by arc welding. Only high-quality metal, a welding machine and a grinder will be required.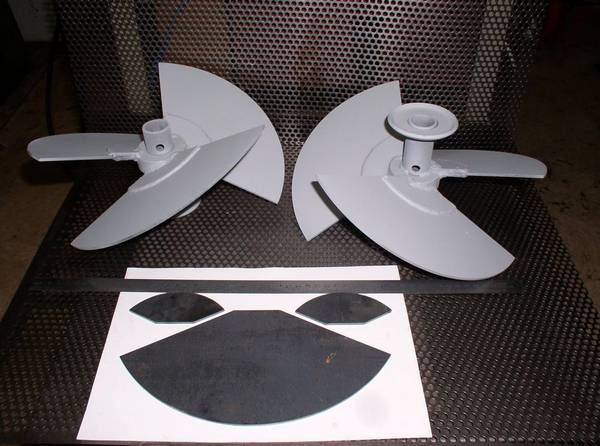
The main advantage of this model is that it simultaneously loosens the soil between the rows and discards part of it in rows. Also, it does not need to be regulated: only the gap between the nozzles is adjusted.
For the propeller hiller to work effectively, several bushings with brackets and different blades for each type of hilling should be made to it. This will allow you to get various devices for the garden without unnecessary expenses.
How to set up the hiller mechanism on a walk-behind tractor
Typically, instructions for motoblocks and hills are written so carefully that even a novice will understand them. However, some difficulties may arise in the process. Here you will find some tips on how to work with the hiller.
- Before you begin to work, pass the hiller through the soil around, do not immediately proceed to the garden. This will allow you to see the effectiveness of the mechanism and try your hand at working with it.
- Carefully adjust the speed of work. Even during training, take a look at how the soil behaves under the hiller at different speeds. Adjust it most efficiently. A lot depends on speed: if you choose it correctly, then even an old and poor-quality walk-behind tractor with a hiller can work perfectly.
- Before work, carefully check the integrity and quality of the hiller and walk-behind tractor. If something breaks during operation, plants and nearby people can be seriously damaged.
https://youtu.be/DHlMebQNH_Q
Reviews
Gardeners, who independently made hobbyists for motoblocks, are actively discussing the advantages and disadvantages of these devices on the Internet. Here are some snippets of discussions.
Nikolay, Astrakhan:
“I have everything my wife chopped wool in the garden. And then the grandson brought the walk-behind tractor - say, hold on, grandfather, use and develop) I thought, I found an old magazine, where the drawings were, there was a drawing of a disk hoe. Made simple contraption. I drove away my wife from the garden, I had to arrange a hammock for her to let her get potatoes with appliances. And the result is good, very good! The earth - that fluff, potatoes grows better, has become larger. Yes, and fuss has become less, all the more pleasant. For 3 years now I’ve been using only disk homemade products, and it doesn’t break, it does not spoil the garden. And then I started to sit on the Internet, it turned out that you can download all sorts of schemes, so by the next spring I’ll try to build a propeller. ”
Vladislav, Samara:
“Made a double lister hiller. I will not say what is convenient - you have to constantly adjust the angles on both plows, but the work efficiency is much higher. Now I work with a disk model, I think it is even more efficient and much more convenient. I think that everyone needs to try different types - here everyone will like their own. My neighbor, for example, does not recognize anything but a lister hiller, and his soil and yield are excellent.For lovers to work with their hands, you can make a hiller manually, and for the rest you can buy it. In general, I recommend that even the simplest hiller will save a lot of time and effort, which is important for difficult maintenance of the garden, garden and home. ”
 Cover material for plant care: features of use
 Types of winter covering material for plants
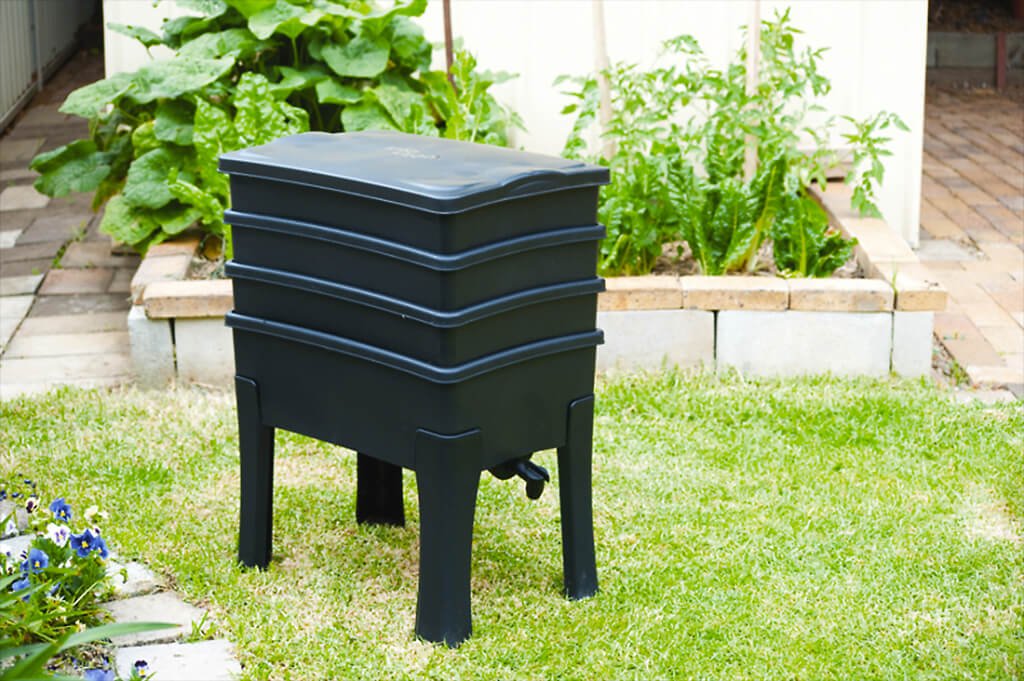 Biohumus Farm
 What covering material to choose for a greenhouse?