
Agriculture is developing at a tremendous pace, as well as other areas of home and industrial technologies. Potato - the king of all vegetables, is considered the most popular crop that is grown in gardens.
And he himself has good nutritional properties, a variety of cooking methods and excellent taste.
To get a good result, you need appropriate care. Hilling - the process of sprinkling soil to the bottom of a plant. Reasons to use this procedure:
- additional tubers grow from the powdered part;
- more air comes in;
- weeds are destroyed.
Spud potatoes with choppers - the last century. This method takes a lot of effort and time. Today, new hobbyists have come to replace the beloved tools, which allow you to cope with the process much faster and easier.
Content
Hand hoe for potatoes: purpose
Okuchnik for potatoes is an indispensable assistant in the household of everyone who has a garden. With its help, you can quickly spud a large plot of several hundredths. Its main advantage is that it can be done independently.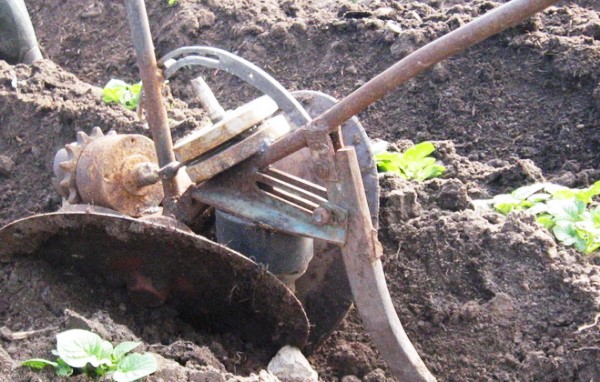
In regions with high temperature and low humidity, such a procedure, on the contrary, is carried out much less frequently. After all, all moisture is removed from the soil, which might not be enough without it.
Useful tips for proper hilling:
- The procedure must be done at a specific time. Ideally - 2 times in 1 season. The first time the potato grows by about 10 cm. The second is already somewhere around 20 cm. The flowers should not be opened.
- Prefer cloudy weather. If this is a rare occurrence in your area, then choose early morning and late evening. Ideal - after rain or watering.
- Forget the rake and the chopper. Trust in the modern tool - a potato tiller.
So, without such a procedure, you will not see a good result. And without the right device, you can’t make it as easy and effective as possible.
Types of cultivators
First you need to determine the type of device. Most Popular:
- plow;
- disk type.
The manual disk hiller for potatoes is a frame on wheels to which disks are mounted. The device includes the presence of:
- leash;
- lanyards - regulate the mobility of the disks;
- racks;
- disk dumps.

This type of tool is suitable for planting potatoes or after harvesting, and hilling the earth between the beds. Disk type design allows you to change the distance of rotation of the disks, so that you can comfortably work in small areas.
A manual plow for hilling potatoes is a fairly comfortable type of attachment. Allows you to process large areas in a short time. It is used for motor-blocks, in the process of work you fix in a furrow. You can work quickly even if the winters are dry. You can adjust the depth and width of plowing.
Most summer residents prefer the disk type due to easy control and even beds. But their price is appropriate. The plow type wins with its value, but not inferior in functionality.
Other types of tool:
- To the tractor - automation of the process.This design can immediately remove all weeds from the cultivated area. In practice, it is proved that after working with this type of potato yield increases.
- for walk-behind tractor - also for automation of work. In principle, this is not a separate view, but the tool can be installed on this vehicle.
Which device is best is up to you. It depends on your goals, the desired speed and functionality of the devices.
Operating principle
It is very easy to understand the mechanism of the work of manual cultivators. Two people grab the tool front and back. The one in front focuses on the handle and moves the device forward. The one on the back presses the discs into the ground with the handle.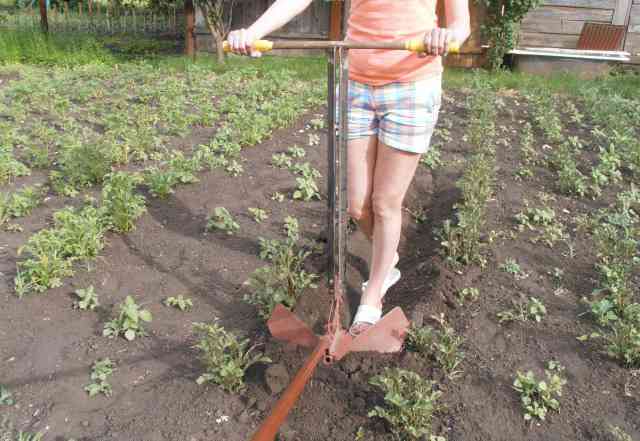
At this time, the discs pass through the soil, spudding the plants nearby. The distance is also adjustable.
In the case of automated devices, it all depends on the type of transport. Standard - you just need to control the machine.
The advantages and disadvantages of home-made designs
Homemade potato okuchnik has such advantages:
- Availability. Almost every gardener can do it. For this, special knowledge and any skills will not be required. It is enough to understand the basic tools and be able to use them.
- Saving. Turnkey solutions always cost more. And given that a person does not pay for his own work, then here we get a free option.
- Performance. A self-made device is not inferior in its effectiveness to automated analogs.
The only drawback is that safety and quality are up to you. Therefore, do not be lazy to pay due attention to each stage of the work, even if it seems insignificant. For quality products, use the appropriate details.
How to make a doormat do-it-yourself
How to make a dozer for potatoes with your own hands? To do this, we need the presence of such tools:
- hollow water pipes: length - 10 cm, diameter 1 inch .;
- another same pipe, but with a diameter of 3/4 inch;
- sheet steel 1-2 mm .;
- lanyard or steel plate;
- pipe bender or gas burner;
- welding tool;
- grinders.
This is an approximate list of tools, depending on what type of cultivator you want to do, it can vary.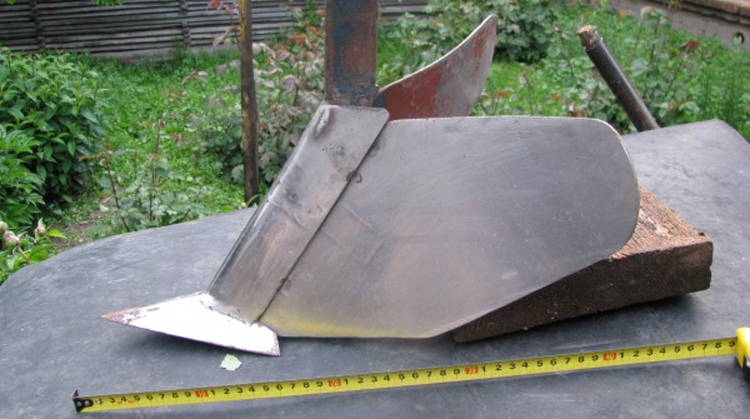
You can adjust the device in several ways:
- In height. Due to the telescopic mechanism in the center. A smaller pipe will be mounted in the pipe of the central rack, which will fulfill the role of the rear link. This design is very comfortable to use, because it can adapt to any height of a person.
- We change the angle of attack by tilting the central rack with respect to the ground. We will get this opportunity if we change the angle between the front link and the upright. If your design does not have a lanyard, then you can change the angle by changing the position of the plate.
We begin to make home-made manual potato hoe with vertical racks
We take a 10 cm pipe and measure about 4 cm from the end. At this distance, we should make a slight bend. Approximately 15 degrees. It is more comfortable and easiest to do this with the help of a pipe bender - a tool specially designed for this. Of course, not everyone can find such a device, so we will tell you about a more affordable way to complete this step.

We fill the pipe tightly with sand or earth - which is freely available. We insert the plugs so that the whole mixture does not spill out. Using a blowtorch or any other heating element we make the bend we need. Due to the fact that there will be a mixture of sand or earth inside the pipe, it will not bend and retain its ideal parameters.
We turn to the manufacture of traction
A rear link is built into a homemade hand-made potato hiller. It has the shape of the letter "Pe." In our design, it will be of such sizes: 5 cm. In width and 2 cm. In length. Note that if you change this value for one mechanism, you must do the same for others.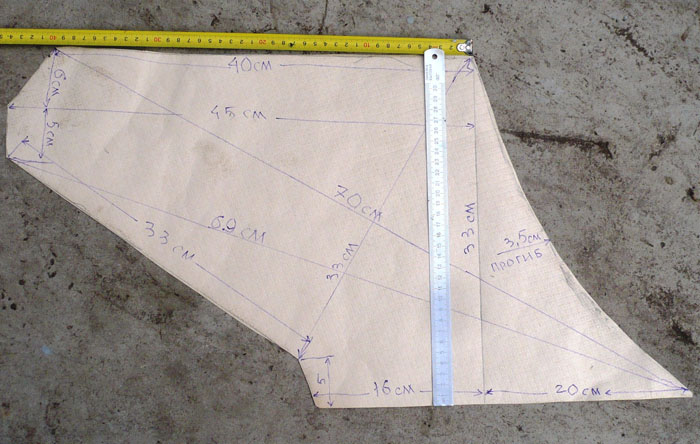
In the center of the fork we attach a pipe 3 cm long, vertically. We then insert it into the vertical rod.
We now need to bend the pipe with a diameter of 3/4. This can be done by the method already discussed above. If you have other options, then you can use them. In this case, the main thing is one result.
We will take care of the ability to change the height. We make a hole on top and in the vertical part of the mechanism. And now, by changing the bolt, we can adjust the height. So, a person with any height will be comfortable working with the tool.
We made the rear thrust, now we need to move on to the manufacture of the front. It is made in the form of a fork, as the rear link, differs only in size. The handles should be so long that a person can comfortably stand between the handles.
For ease of use, we add an elastic belt that can be worn on the shoulders and chest. This design will reduce the load on the hands and retain the strength of the one working with the tool.
Dimensions: handles - 6 cm., Vertical part - 7 cm. On the vertical part of the plug at its end you need to make a hole with which it can be fixed to the rack.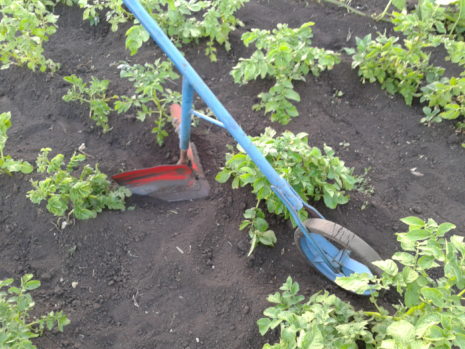
We proceed to adjust the angle of attack. The best option is a lanyard.
We count 3 cm from the bottom of the vertical stand and mount a corner of 25x25 cm in this place. We count 0.3 cm from the position of the plug and here we do the same. And repeat the procedure to the vertical stand over our first corner.
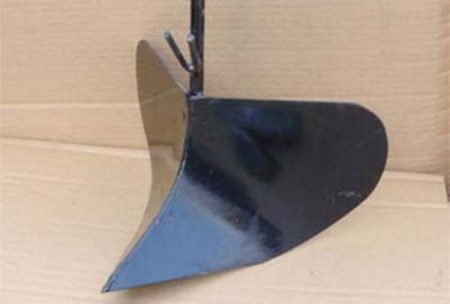
The last step is a pruning knife
It is this mechanism that takes all the load and reduces the resistance in the soil during operation.
For carbon, choose carbon steel. You need to cut the arrows and sharpen them at an angle of 45 degrees. Such parameters allow our mechanism to remain sharp and fully cope with its tasks.
Now you need to do the welding of the knife to the bottom of the upright. Our do-it-yourself handcrafted potato hoe is now ready!
Reviews
The device for hilling potatoes is very popular among summer residents, and especially if it is made by hand. Proof of this is numerous reviews. Here are some of them:
“A homemade okuchnik for potatoes is probably the best we have among all the devices for the garden. This design saves so much effort and time. Previously, they even wanted to abandon the garden, because it requires great returns. A neighbor advised us to be an okuchnik. Accordingly, they wanted to buy, but the husband made it himself. They also added a special belt, so now it’s generally comfortable to work. From practice: this year we got 2 times more harvest than in the past, when we used a chopper and, accordingly, did this work in bad faith. ”
“I would never have thought that a device for hilling potatoes would cause me so much joy! We recently discovered this device, which we regret: how much time we could save. Our garden is very large, for all the work we had to ask our children and grandchildren, because they themselves could not cope. Now they have solved at least one problem - the earthing up of potatoes, which was very difficult if you use a shovel or chopper. We looked at how to make a homemade hud for potatoes and the next day we already tested our invention. It seems to me that our mechanism is even better than the store one. After all, we designed it taking into account our own characteristics. ”
I can’t imagine how we managed before without such a design. Manual potato hoeing plow significantly saves time and effort. Of course, there are many outstanding inventions in the world, but for gardeners and gardeners this mechanism is probably the best that they have come up with in recent years.There are a lot of professional equipment on the market, which is worth it. A tool for hilling potatoes can be done independently, which is what we did. Already the second season can not do without it. The last time I noticed a good progression in increasing the yield.
Remember that manual potato maker should be of high quality. Therefore, in all honesty, carry out all the stages of work and do not forget to select good parts and materials.
 Cover material for plant care: features of use
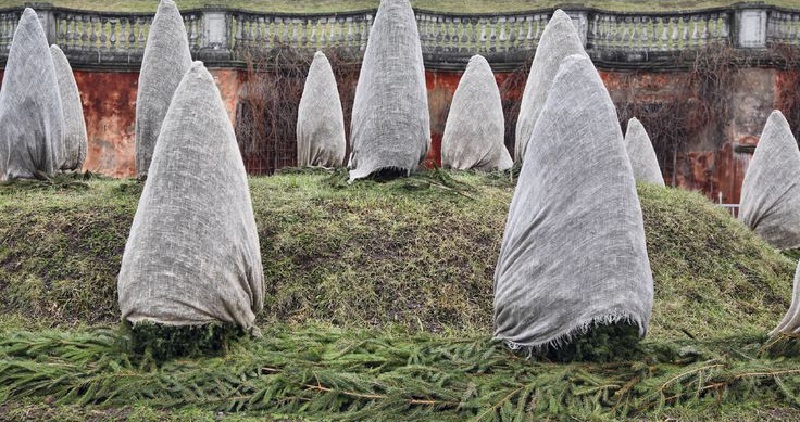 Types of winter covering material for plants
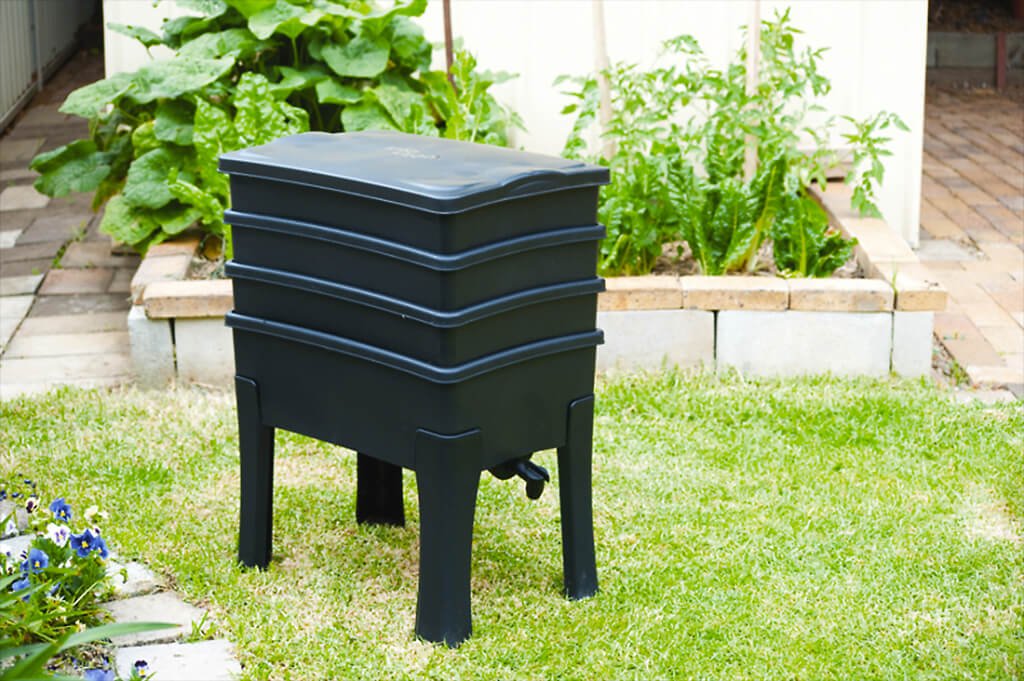 Farm for the extraction of vermicompost
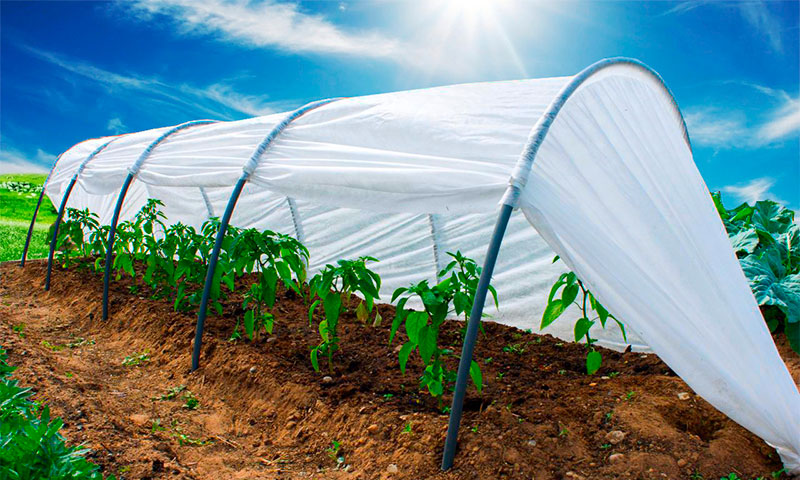 What covering material to choose for a greenhouse?