
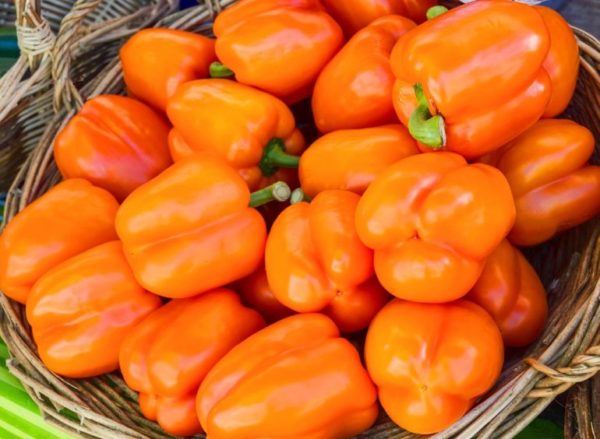
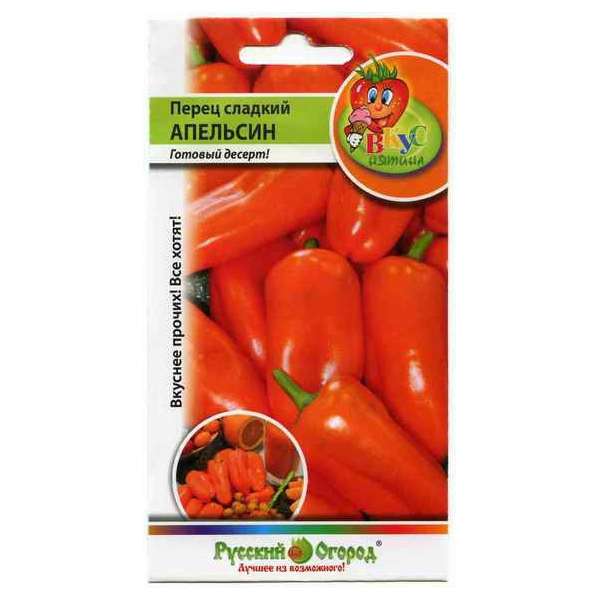
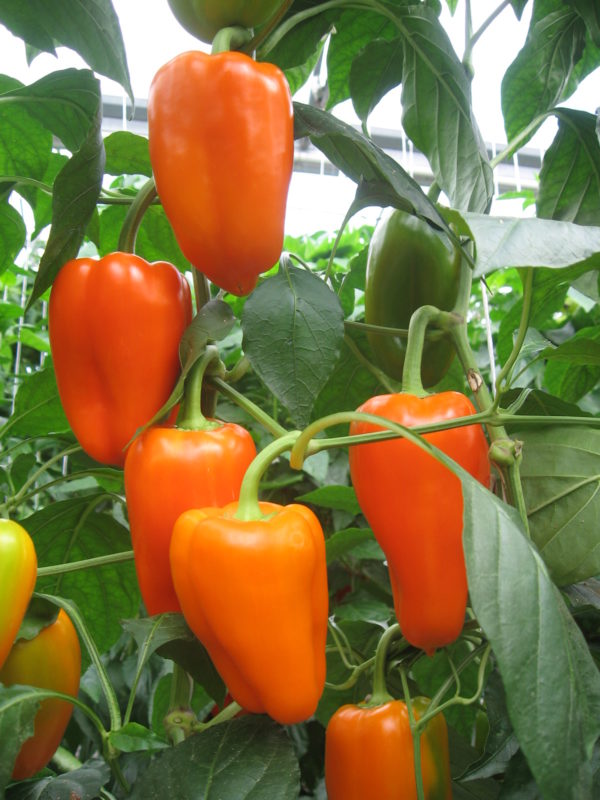
Sweet pepper “Orange”, which got its name because of the brightness of the peel that really resembles a tropical fruit, and also due to its high sugar content, can be used not only for salads, but also as a basis for jam or other desserts. Due to these properties, it attracts the attention of gardeners who want to diversify their beds with a new culture.
This variety differs from ordinary bell pepper in that it was created specifically for the central and northwestern regions. Therefore, Orange pepper is grown not only in greenhouses, but also in open ground, withstanding sudden changes in the environment. According to reviews, the fruits can fully ripen in short daylight hours. Such features are not surprising, because breeders from the company "Russian Garden" were engaged in breeding.
Content
Agrotechnical characteristics of a grade
Bushes of pepper grow compact and miniature, do not exceed a height of 45 cm, which is why per 1 sq. Km. m. grow up to 5 bushes without loss of productivity. The variety belongs to mid-ripening plants, so the fruits fully ripen after 90-100 days after planting the seeds. It is grown mainly using the seedling method, since if you use the planting of seeds in open ground, this can affect yield and germination.
Characteristics of ripe fruits:
- length up to 10 cm;
- wall thickness 4–5 mm;
- the weight of ripe fruits is 40-50 g;
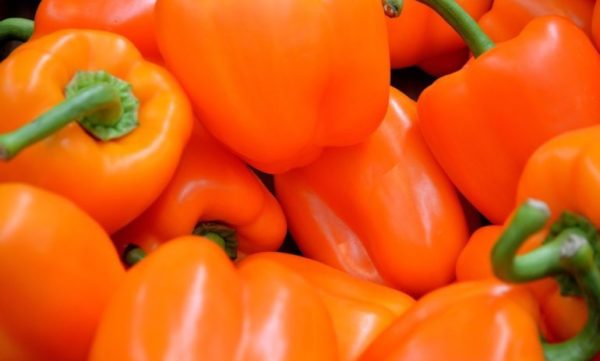
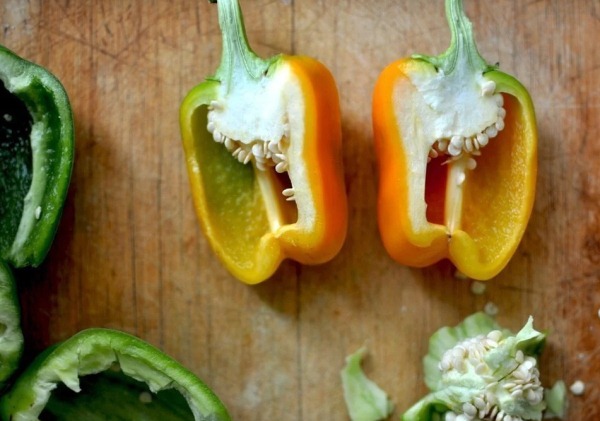
- the skin color varies from bright yellow to orange-red;
- sugar content reaches 6%.
Due to the fact that on one bush 30-35 pods can grow, with 1 square. m. collect about 7.5-8 kg of pepper. In greenhouses, this indicator increases if the plant has enough nutrients in the soil. Despite the fact that this species is sweet, with a high sugar content, it has a low energy value, only 26 kcal is contained in 100 g. Because of this, the fruits are an ideal treat for those who need diet food.
Pepper growing conditions and seed quality
In the middle lane and southern regions, pepper grows well in open ground, and does not require additional insulation, but for the northern regions plastic greenhouses may be needed. And also, at the onset of autumn, it is necessary to warm the soil with a special film in order to prevent freezing of the plant roots due to sudden night frosts.
Even in greenhouse conditions, planting in the soil reduces germination by 1-2 times, and at the same time the plants turn out to be weak and painful. In open ground, pepper sprouts very weakly, due to the lack of heat and top dressing necessary in the primary stages, the bushes grow too low. They have weak vegetative organs, which slows down the formation of fruits. Due to the late development and poor conductivity of nutrients from the root to the shoots, the pods ripen more slowly, and there is the possibility that they will have to be harvested unripe.
Checking planting material
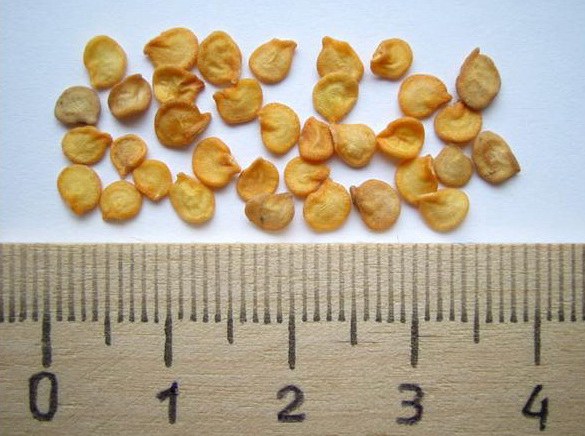
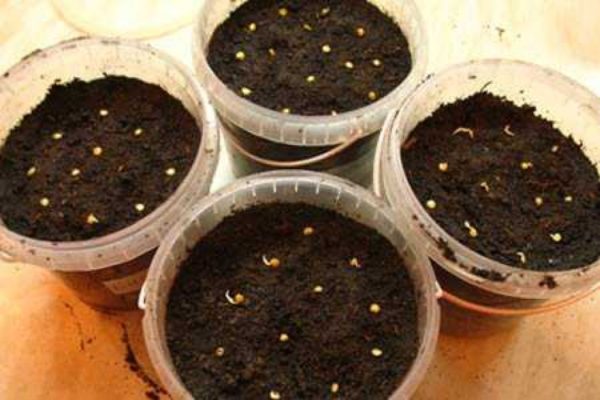
To get the right amount of seedlings, and in the future also bushes, you must first check how good planting material is. To do this, shake the container in which the seeds are located, and take 3-5 pieces for testing. This method allows you to move seeds among themselves, which will give a more accurate result, preventing the selection of seeds extracted from only one fruit.
Control seeds are lowered onto a piece of dense soft tissue that has been abundantly moistened with water. The planting material is covered with its second end, after which the bundle is placed in a tightly closed container. After that they put in a dark warm place, it is possible under the battery. The main thing is that the temperature is uniformly high, but does not exceed 23-25 degrees.
If all the verification rules were followed, then after 4-5 days, most seeds should sprout in the tank. If this does not happen, then seed must be replaced. It is also important to remember that if the container was tightly closed, the seeds could begin to rot. Therefore, a stream of fresh air is necessary to remove excess moisture, but it should not be very large, otherwise there will not be enough water for seed development.
It is advisable to check every day how wet the rag is and whether it is dry. At the same time, you can not raise it so as not to violate the conditions for seeds. If the matter seems too dry, then water cannot be added in bulk, it must be sprayed. It is best to use an atomizer for indoor plants for this, if it is not there, then you need to wet your fingers and drip water droplets. These methods of adding moisture will prevent both drying out of the seeds and filling them with liquid, which may impair the purity of the results.
Selection of seeds for planting
Before laying seeds in containers with soil, it is necessary to select those that do not sprout. Such are sometimes called hollow because of the lack of nutrients in them necessary for the normal development of the embryo and plant sprout. Even if they hatch, in the future the bushes will be very weak due to violations in their early development. Therefore, it is important to choose high-quality seeds.

To verify you will need:
- 1 liter of boiled water;
- 30 g of salt (about 1 tablespoon with a slide);
- jar or deep bowl.
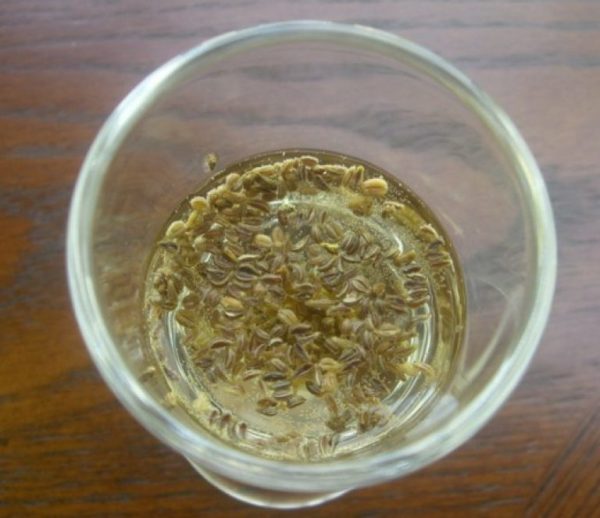
Water is poured into the vessel and the salt is poured, after which it is thoroughly mixed, waiting for it to completely dissolve. The liquid may be at room temperature, or slightly warmer, it is important that it is not too cold or hot. After all the grains have disappeared, the seeds fall asleep inside, and make 3-6 circular movements with a spoon so that all the grains get wet.
Within 1-2 minutes, the seeds will be divided into fractions, one of which will settle to the bottom, and the second will float to the surface. The latter must be carefully collected and thrown away, because it consists of seeds unsuitable for planting, and the one that dipped is washed with cool water and used to remove seedlings.
Growing seedlings
First you need to determine the time of laying the seeds in the soil. To do this, you need to know where they will grow, if in the open air, it is recommended to plant from February 20 to March 10. This time is optimal for the middle band so that the ambient temperature at the time of planting is above 13 degrees. It is best to plant seedlings in February, in order to have time to annoy the second batch, if part of the seeds does not germinate. For greenhouses, grains are laid earlier, due to the fact that the desired temperature appears faster in them.
When seedlings are bred in the house, it is best to purchase soil in special stores, because homemade will smell unpleasant enough. But if you plan a separate room, then you can make land for seeds yourself.
Optimum soil for seedlings:
- 2 parts of peat;
- 2 parts of humus obtained from foliage;
- 1 part of ordinary land.
The soil is laid in peat or thin plastic cups. A 5 mm pit is formed in the middle, where 1 sprouted seed is laid. The hole is sprinkled with soil. The main thing is not to tamp the earth, otherwise the seeds will not be able to break through it. The containers are covered with a film or transparent plastic, and put in a warm place.
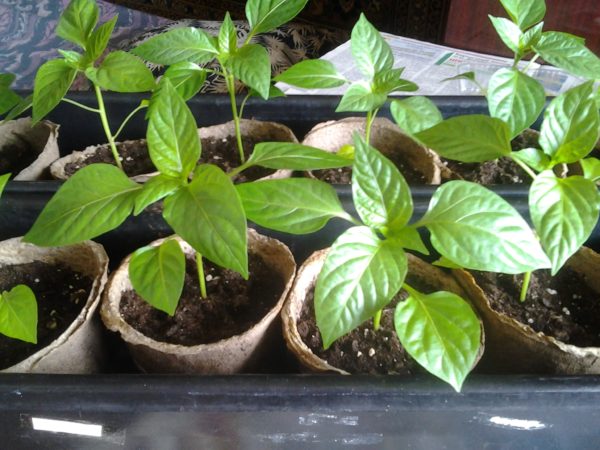
Transfer of seedlings to the ground and plant care
According to reviews of people who constantly grow Orange peppers, it is optimal to plant seedlings when it is about 50 days old. But it must be remembered that at a temperature of 13 degrees, all types of pepper stop growing, so the night temperature should not fall below 14 degrees. Otherwise, the seedlings may go into a dormant state or even die. But these temperatures are calculated for hardened shoots, therefore, 2 weeks before their transfer, it is necessary that the trays with plants are in the open air. You can start at 1 o'clock in the middle of the day, gradually increasing the time.
When the plants have taken root, they tie it up, and pinch the main stem. As you grow, you need to monitor the number of side branches on which the fruits are formed. According to the reviews of summer residents, the plant normally withstands no more than 5 branches, otherwise the number of peppers will decrease, and the fruits themselves will become smaller.
Sweet peppers “Orange” are a good choice for those who like sweets, but do not want to get extra calories. And due to the fact that it was specially developed for the central regions, the plant does not require special care, only a slight top dressing with manure diluted in water. Therefore, it is an ideal variety for beginner gardeners.
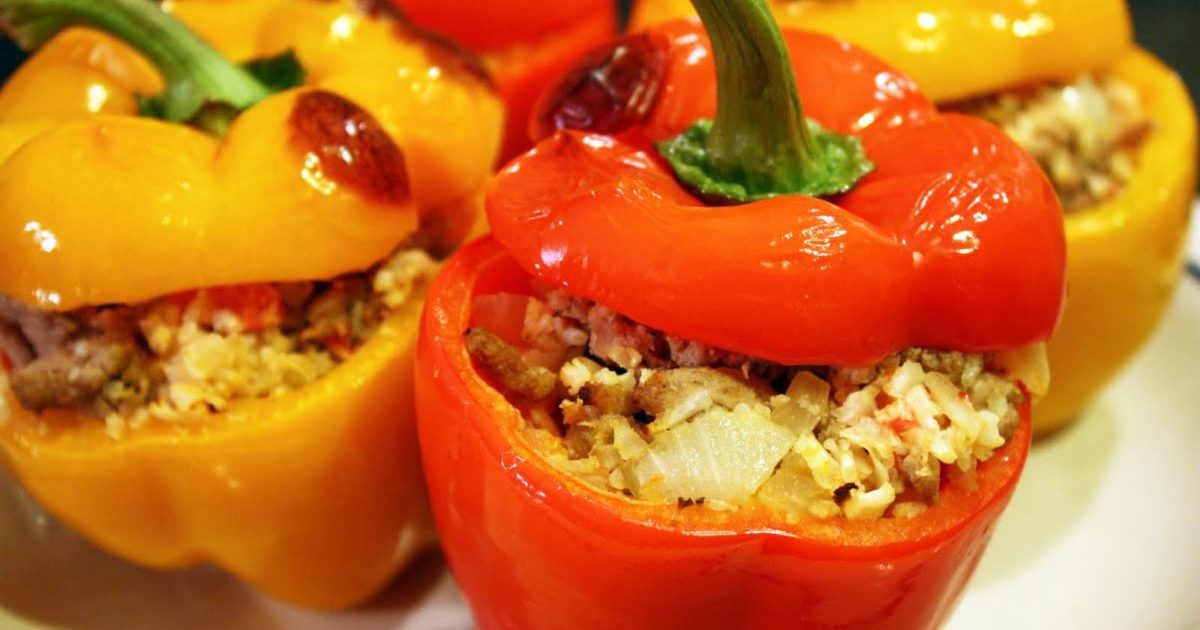 Calorie pepper stuffed with meat and rice - BZHU per 100 grams
 Gorky pepper - the best varieties for open ground
 Hot pepper seeds - the best varieties for open ground and reviews
 Capsicum tincture for hair - how to use and reviews