
 It is quite difficult to build a shed with a pitched roof with your own hands, especially if a person has never before encountered an independent erection of buildings. On the other hand, no matter what the plot, it is impossible to do without a barn in the country. Because, all the equipment in the house is simply nowhere to store. If a frame or other type of barn in the country is done with your own hands, this, of course, will reduce the cost of work. However, drawing, skill and knowledge of the matter are also important here, so that the design is solid. Options decorative crafts to decorate the site do it yourself.
Content
What material to choose
It doesn’t matter if a frame shed or another shed is being built at the cottage with a pitched roof, you first need to clearly understand what material will be used for work. If the house was built on its own and after that the materials remained, then they are also perfect for the construction of a neat and reliable barn.
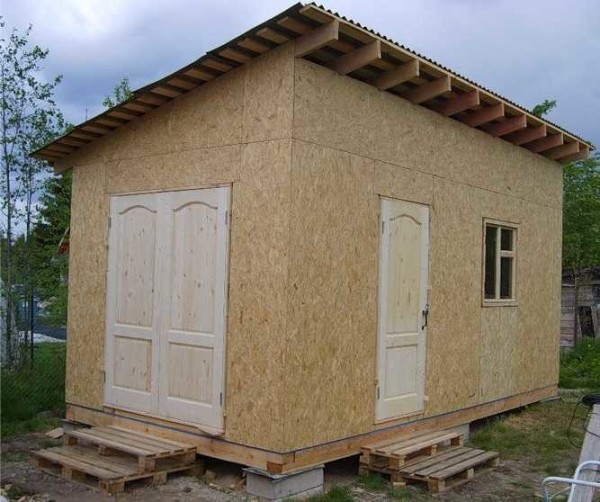
As for the appearance of sugar, it is also not necessary to spend savings on the purchase of expensive materials. For example, a common and inexpensive siding will help to get a neat barn, but at the same time save. Moreover, modern siding can be made under a beam or log, under a brick or even a stone of different textures. It is most practical to use inexpensive, but practical materials when building a barn with your own hands.
Fast and cheap way
DIY frame shed with a shed roof - this is the easiest, cheapest and fastest option to build such a structure. The drawing is clear and simple, and if you watch the video, even the most difficult moments will fall into place.
The frame for the barn can be made of wood or metal. Outside it will need to be sheathed additionally, then a roof is made and the room is already ready for use. If the barn is wooden, then it is built of boards and timber. As for the metal structure, for it profile pipes are needed, a square section is made, it is additionally cooked, docking will be easier and faster this way.
Advice! Alternatively, you can assemble an already finished metal frame. Its plus is that the design is already manufactured at the factory and with your own hands you only need to assemble everything. But, there is one caveat - if for a residential building such a purchase is considered cheap, then for a barn as an outbuilding it is, nevertheless, an expensive option. The assembly of the frame takes several days, the drawing goes with the instructions.
Which foundation to choose
Do-it-yourself frame shed with a pitched roof - easy to build, it is a lightweight construction in itself. Therefore, a lightweight foundation is chosen for him. Enough with a column or concrete blocks that are installed on screw piles. If the soil is complex, then it is possible to make a monolithic or prefabricated strip foundation (shallow laying).
Advice! The device of a reinforced strip foundation is relevant even if the shed will be made of blocks or bricks. Even on complex soil, the structure will turn out to be stable and reliable. The risk of cracking in this situation is minimal, even if the structure will move simultaneously with the foundation. How to do it yourself fold brick stove.

In principle, you can build a frame shed without an additional foundation.It will be necessary to process construction sites by impregnation from decay and moisture, then deepen by 60-80 centimeters and concrete. Attach the lower harness and rest on it the floor logs. This method is not suitable for a large barn, but you can build a small chamber for minimal storage of garden equipment.
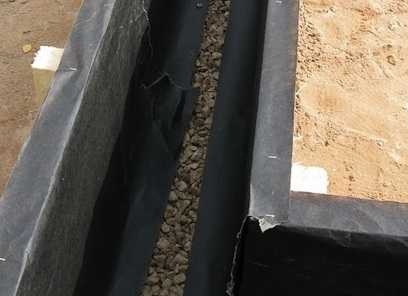
For soils where water does not stagnate and subsoil water is deep, a 50 cm shed option is suitable in each direction. To equip the foundation, you need to remove the soil and just make a bed of sand and gravel. Then lay the strapping beam on the rubble, attach the floor logs to them (it is necessary to additionally treat it with an antiseptic, because the wood will not withstand constant contact with the soil for a long time).
Note! But this option of building a do-it-yourself shed with a pitched roof is not the best option. Because, even if the groundwater is deep and the barn is well treated with an antiseptic, it will not stand idle for a long time, due to the constant exposure to moisture, the tree will quickly become worthless.
Do it yourself foundation
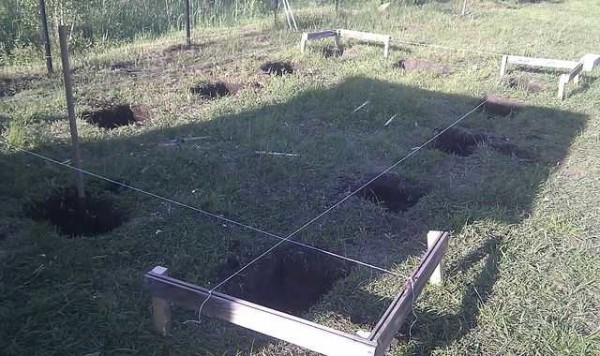
Regardless of whether there will be a pile or column foundation, the location of individual supports occurs strictly around the perimeter. This is done at the corners of the building, as well as in places of partitions (if the drawing shows that they are available). How often to install supports depends on the size of the structure. The larger the span, the larger the cross section of the logs selected.
When the blocks are ready, then you can make the foundation on them quickly and simply. It is necessary to dig pits under the blocks (make the size a little larger than the size of the blocks). Pour sand and gravel at the bottom, tamp everything. The thickness of the powder in a compacted form should be at least 20 cm and not more than 30 cm. Now install the blocks, and then mount the lower harness on them.
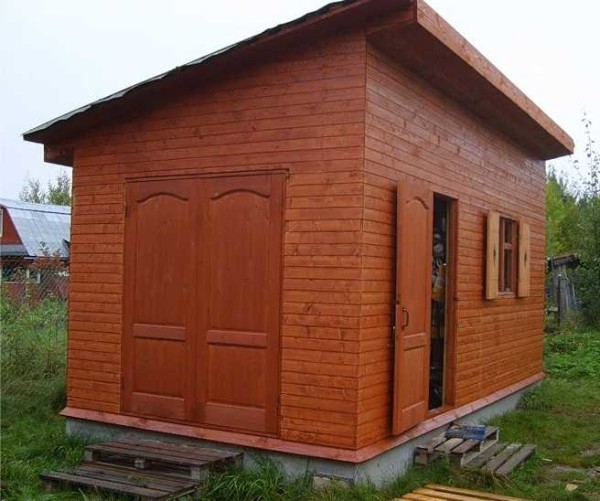
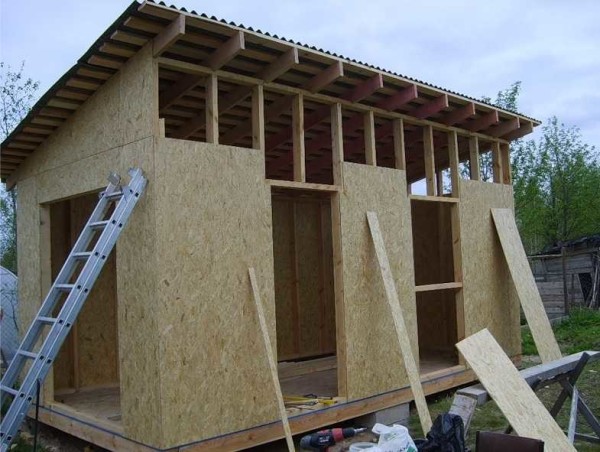
Do-it-yourself wooden frame shed with a gable roof, step-by-step construction description:
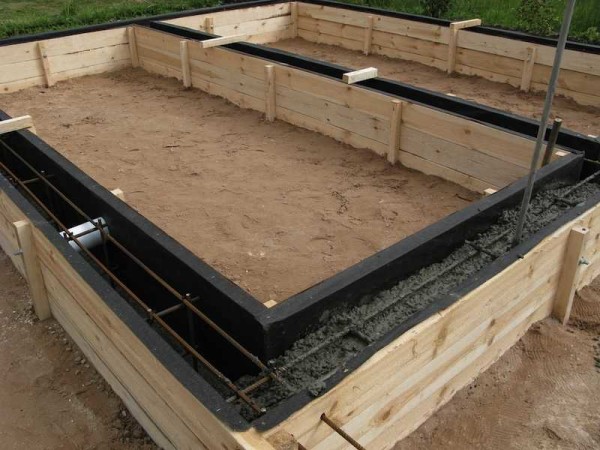
1. Shed measuring 6 * 3 meters. The roof is shed, covered with ondulin. The height of the front wall is three meters, and the rear wall is 2.4 meters. Snow does not accumulate on the roof.
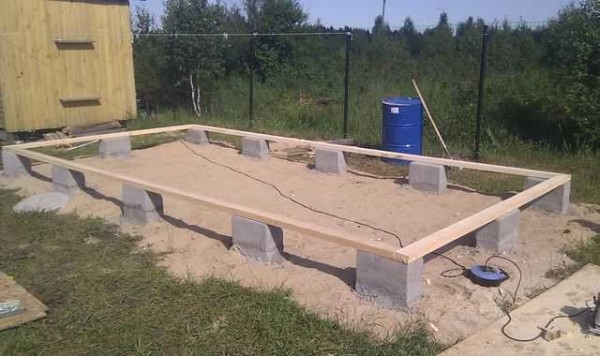
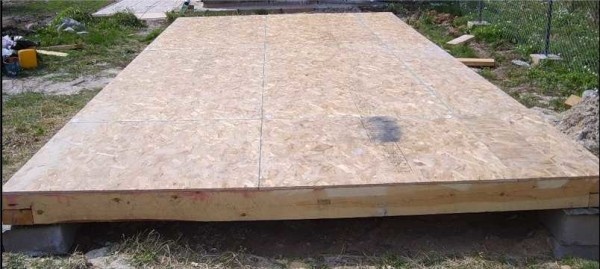
2. For the foundation, FBS 600 * 300 * 200 blocks were selected. They were laid on a sand and gravel bed 25 cm thick. Roofing material lay on top as a waterproofing, under it is bitumen mastic. Groundwater level is high, everything is done for reliability.
3. A timber of 150 * 150 mm was laid on the roofing material, be sure to pre-process the lumber. Fasten with nails, can be butt jointed.
4. The frame itself is not attached to the blocks, but if the winds in a particular region are strong, then this must be done with the help of studs.
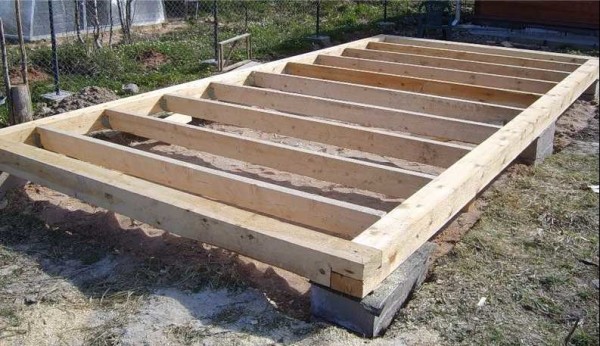
5. Next, attach the floor logs, installing the boards on the rib 150 * 60 mm. Attach using staples or nails. Everything should be as even as possible, so that it would be possible to lay the floor without any problems. If necessary, further level the floor with a planer.
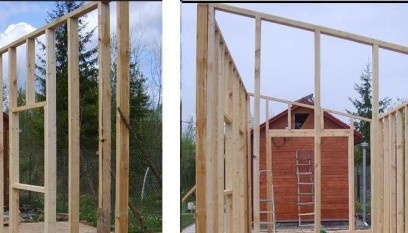
6. When the floor is bedded, walls can be mounted. You can immediately do the wall cladding, and then lift them up, set them upright and fasten.
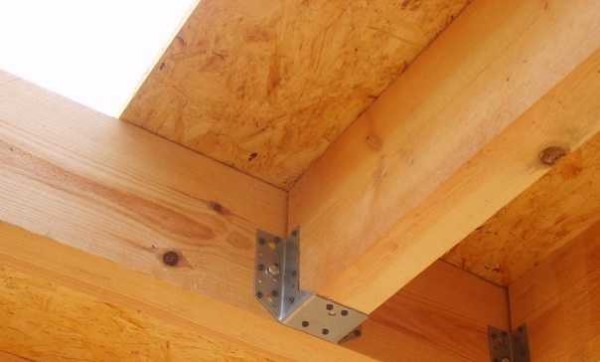
7. When the frame is completely knocked down, binding is required. Then install it exactly along the edge of the beam, strengthen it. Nail through the floor to the tacking bar with nails.
8. To strengthen the window and door openings, you need to nail two boards in a checkerboard pattern. The greater the load, the stronger it is necessary to strengthen these places.
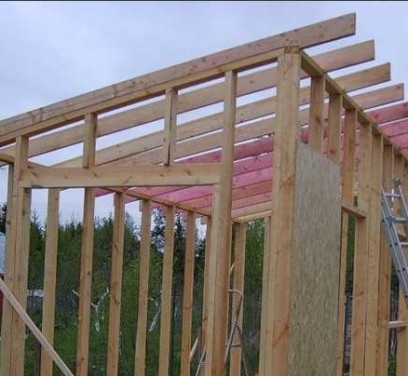
9. Since the roof is single-pitched, you just need to lay the boards on one edge, secure. Make a crate, cover with the selected material, fix it well. Read which choose a toilet for a summer residence.
If a shed is built not with a pitched roof, but with a different type of roof, then more work will be done. In any case, video and step-by-step photos, a description of the process, how to make such a structure with a shed roof, will simplify the construction process.
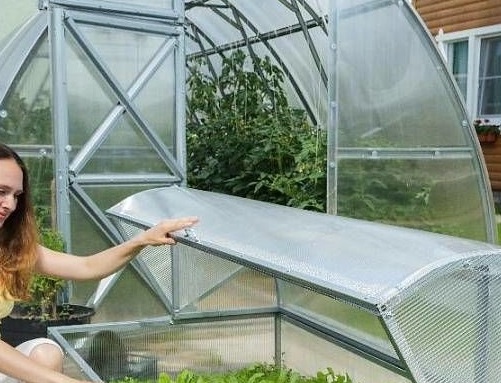
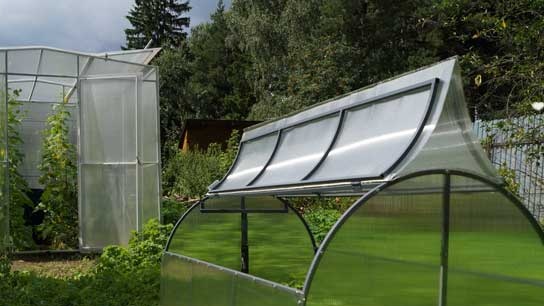 Why is a greenhouse open top?
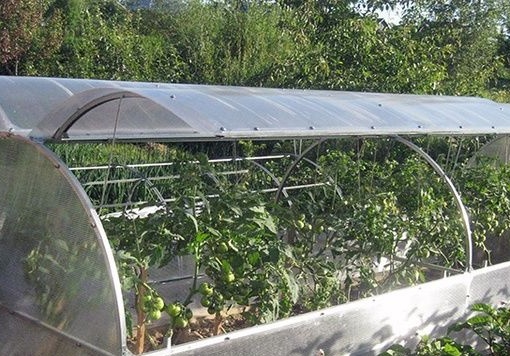 Greenhouse "Butterfly", is it worth it?
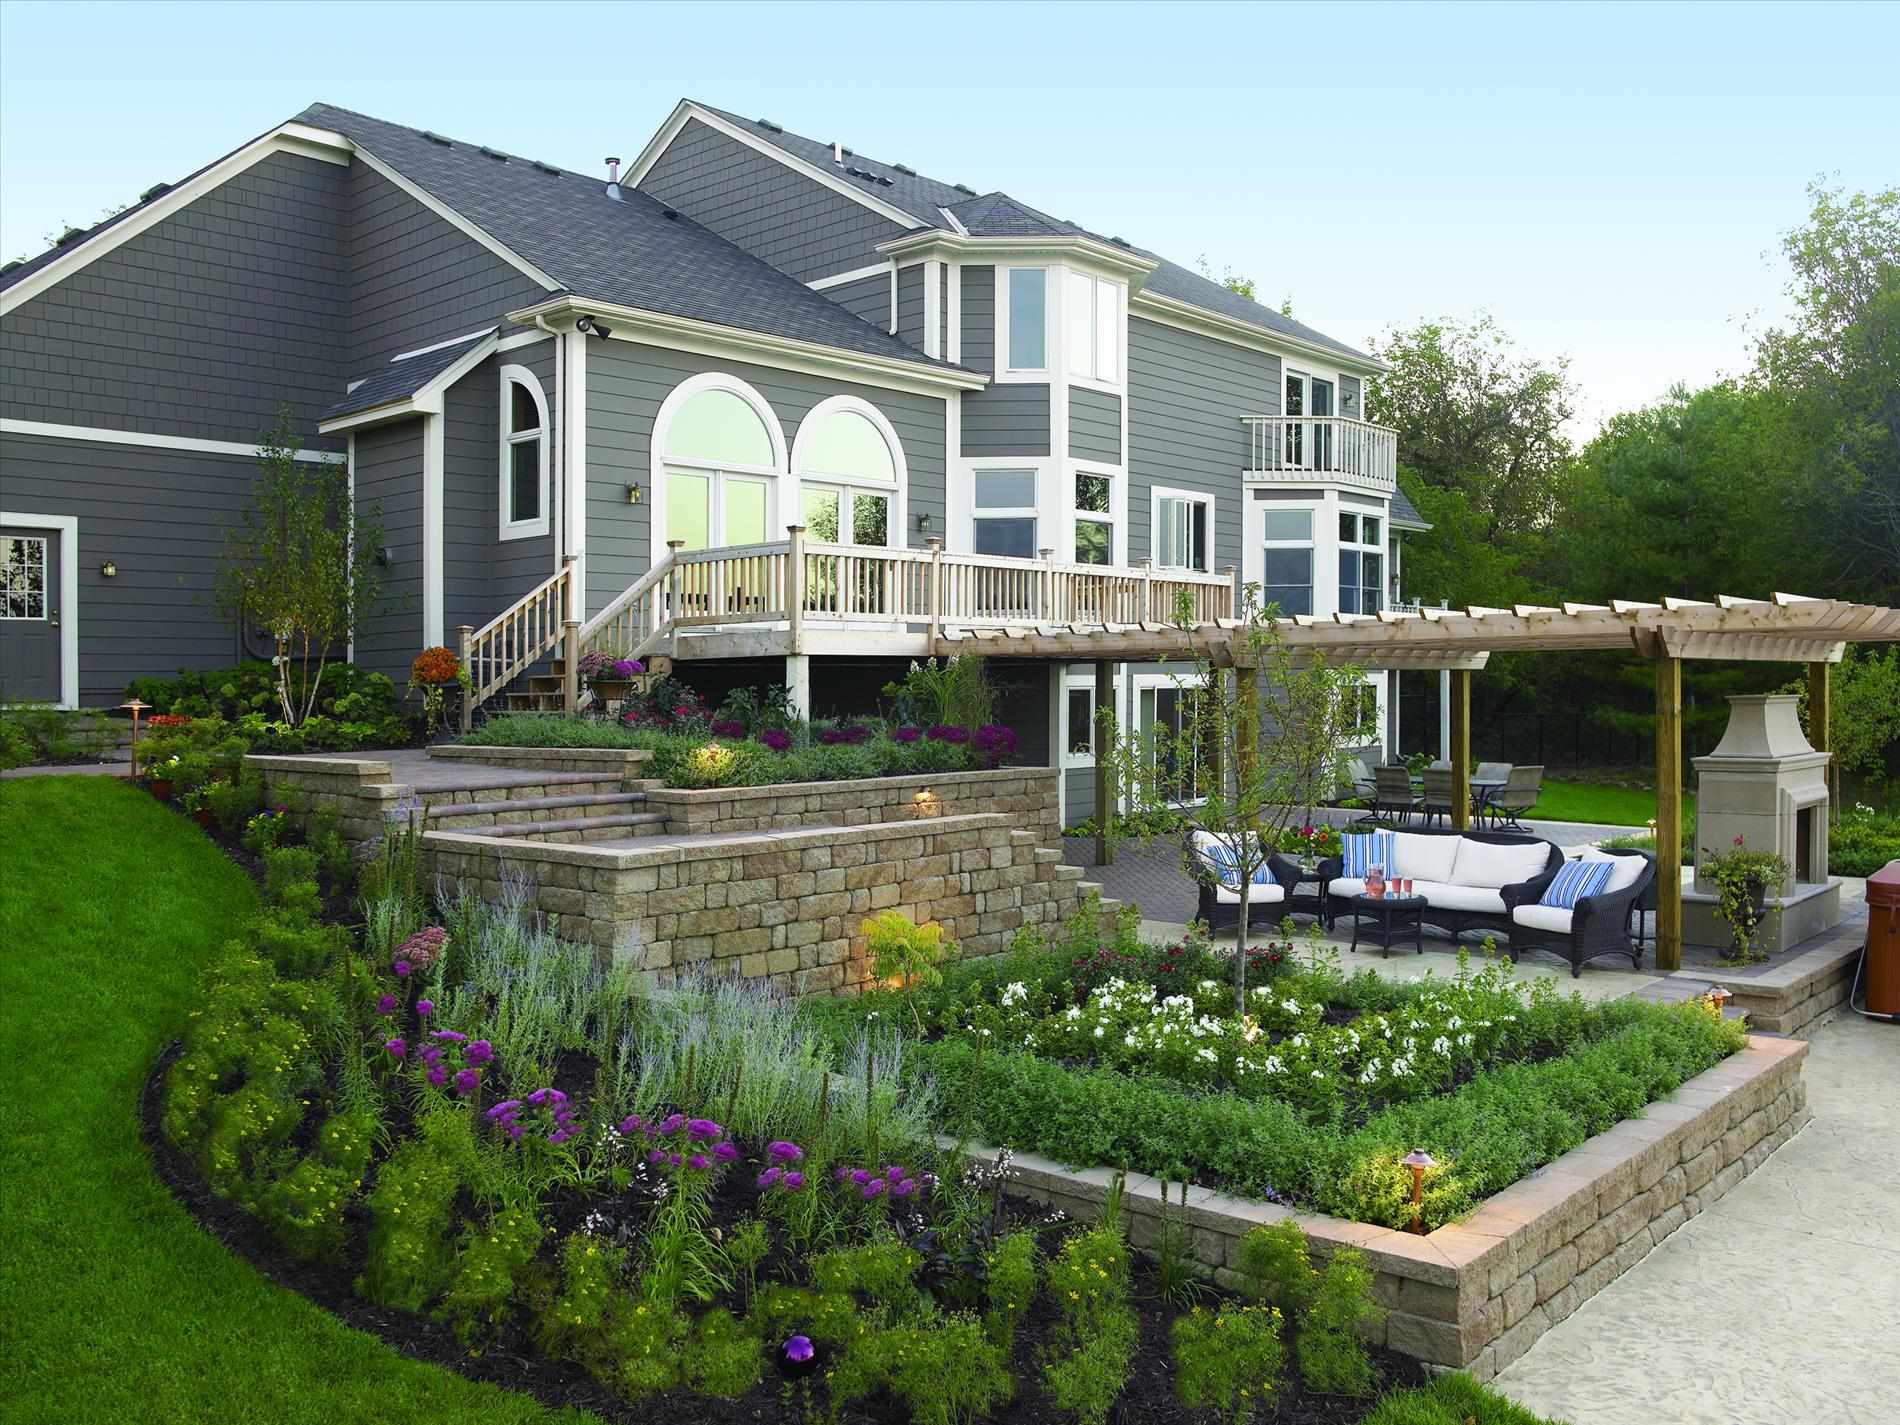 Do-it-yourself landscaping of an area of 8 acres: features of planning and zoning
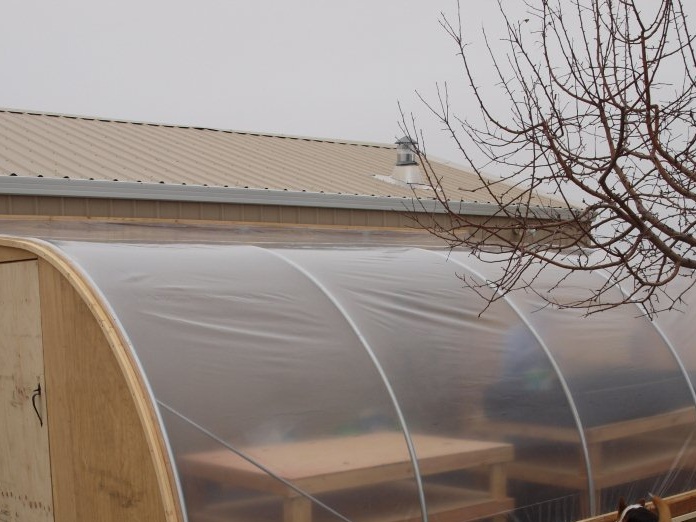 Shed greenhouse, pros and cons