
 Compost pit - a design that is familiar to many summer residents, especially those whose land is not fertile enough and needs constant fertilizer. Buying and transporting compost to the country is a pleasure that requires both time and money. Therefore, why waste too much when you can produce fertilizer on your land?
But, for compost, you need a pit or a special design. How to make a compost pit with your own hands, what are the manufacturing options (photos), what are the nuances in this business? We will deal with everything in order. Which can be distinguished the most fertile zodiac signs.
What are the ways to build a compost pit?
You can make a compost pit with your own hands using different manufacturing options (photo).
Simple pit
In this case, the concept of “pit” is taken literally in order to bring the project to life, you only need a dug pit. But, even here there are some nuances that will help to dig a hole for compost correctly:
- The place for the pit should be away from shrubs and trees.
- To make it easier to care for the pit, it should not be too deep.
- The first layer, fundamental, should be laid out dry branches and tree bark, hay.
- The second layer in the pit is food and vegetable waste.
- To maintain a high temperature in the pit, it should be covered with a film.
Tip: if the pit is located in a place where there is no shadow, then it should be watered occasionally.
The advantage of this method of arranging a compost pit with your own hands is that it does not take up much space, and it is very simple to make it. The disadvantages include difficult care, and low temperature inside the structure.
Tip: so that flies do not get divorced, throwing out household waste, they should immediately be covered with a layer of grass.
Plain heap
This option for making compost does not look very aesthetically pleasing, but it is even simpler than an ordinary pit. Manufacturer's recommendations:
- On the site, you should choose some least noticeable, unnecessary place.
- When the heap gains one meter in height, deepenings should be made in it and pour in special compost water, which will provoke the compost to ripen quickly.
- If you take care of the pile correctly (loosen the pile, water it), then fertilizer can be obtained in 3 months.
Important! At the bottom of the heap you cannot lay any linings made of film or other materials, otherwise moisture from the ground will not fall into the heap.


Tip: Once a month, it’s fashionable to specially lay worms in a hole so that they saturate the heap with oxygen and loosen it.
The pluses of the compost heap are minimal efforts to get at least some amount of compost. Of the minuses, of course, is the aesthetics of a summer cottage. What can be done for the site crafts from plastic bottles.
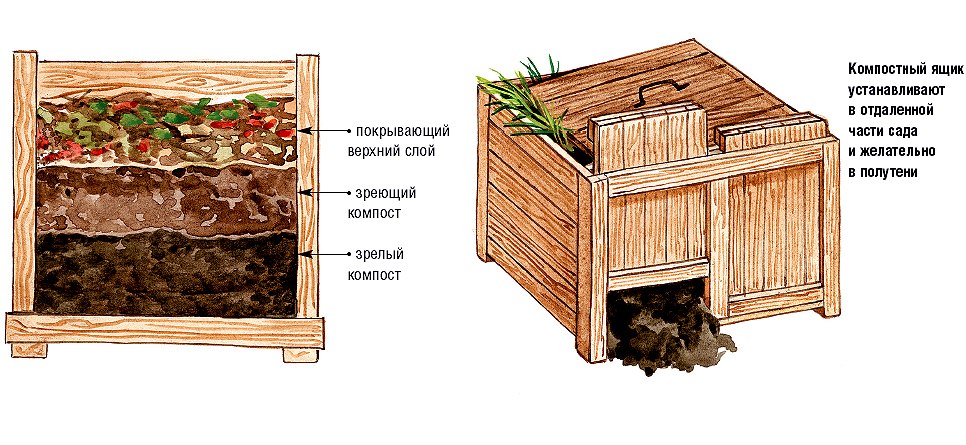
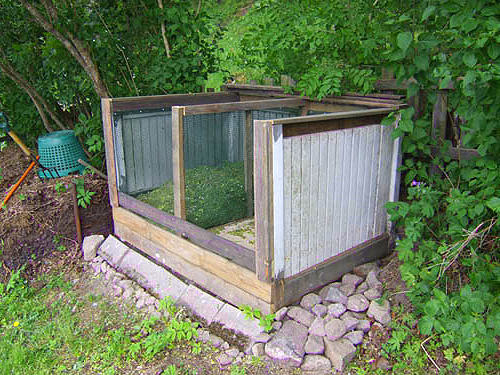
Pit made of wood and other material
Another option for making a compost pit with your own hands lies in the use of improvised materials from which you can make a special box for compost. In order to make a box, you can use slate, bars of trees, unnecessary pieces of metal.
How to make a compost pit from a tree:
- On that plot of land where the box will stand, you should remove the top layer of soil (about 40 centimeters).
- Along the perimeter of the selected place should drive in pegs.
- Build fencing around the pit using wood bars, slate or metal sheets.
- The fence should not be higher than 1 meter.
- On top of the box should be covered with film or plywood.
This way to make a compost pit with your own hands is optimal, as in this design the compost heats up well.
Tip: in hot weather, the pit needs watering, after which the pit should be covered with a film.
Concrete pit
A concrete pit for compost will be useful for those who count on a long service life of the structure. Having made a concrete pit for compost once, you can use it for decades. Manufacturer's recommendations:
- The site for the pit is approximately 2x3 meters.
- A soil layer is removed on the site (from 60 to 80 cm).
- Along the perimeter of the building, it is necessary to make formwork 10 cm thick.
- Knead concrete solution.
- Pour the formwork with a solution.
- When the concrete hardens, the formwork must be removed.
- Waste should be laid in layers in a concrete structure and covered with a film or wooden boards.
This option for making a compost pit with your own hands will require a lot of time and materials. But its indisputable advantage is longevity. How can make beds with your own hands.

Important! For a concrete structure, you should choose the land that is definitely not useful, since the structure will be impossible to transfer.
A compost pit is the optimal solution for those who want to produce fertilizers on their own. The compost ripening period is from 3 months to a year, depending on the chosen design, the volume of the heap of waste and whether it is correctly formed. Making a compost pit with your own hands is not so difficult, the main thing is to calculate the strength, ability and choose the most optimal option for making a compost pit.
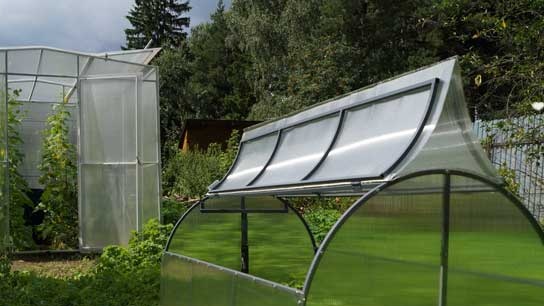 Why is a greenhouse open top?
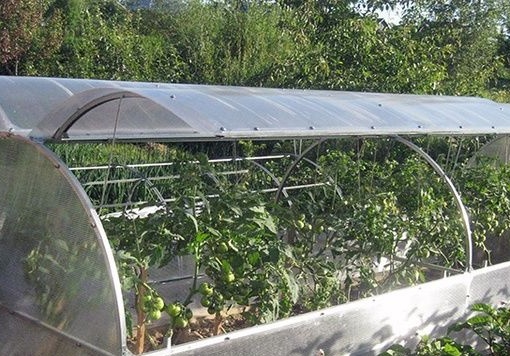 Greenhouse "Butterfly", is it worth it?
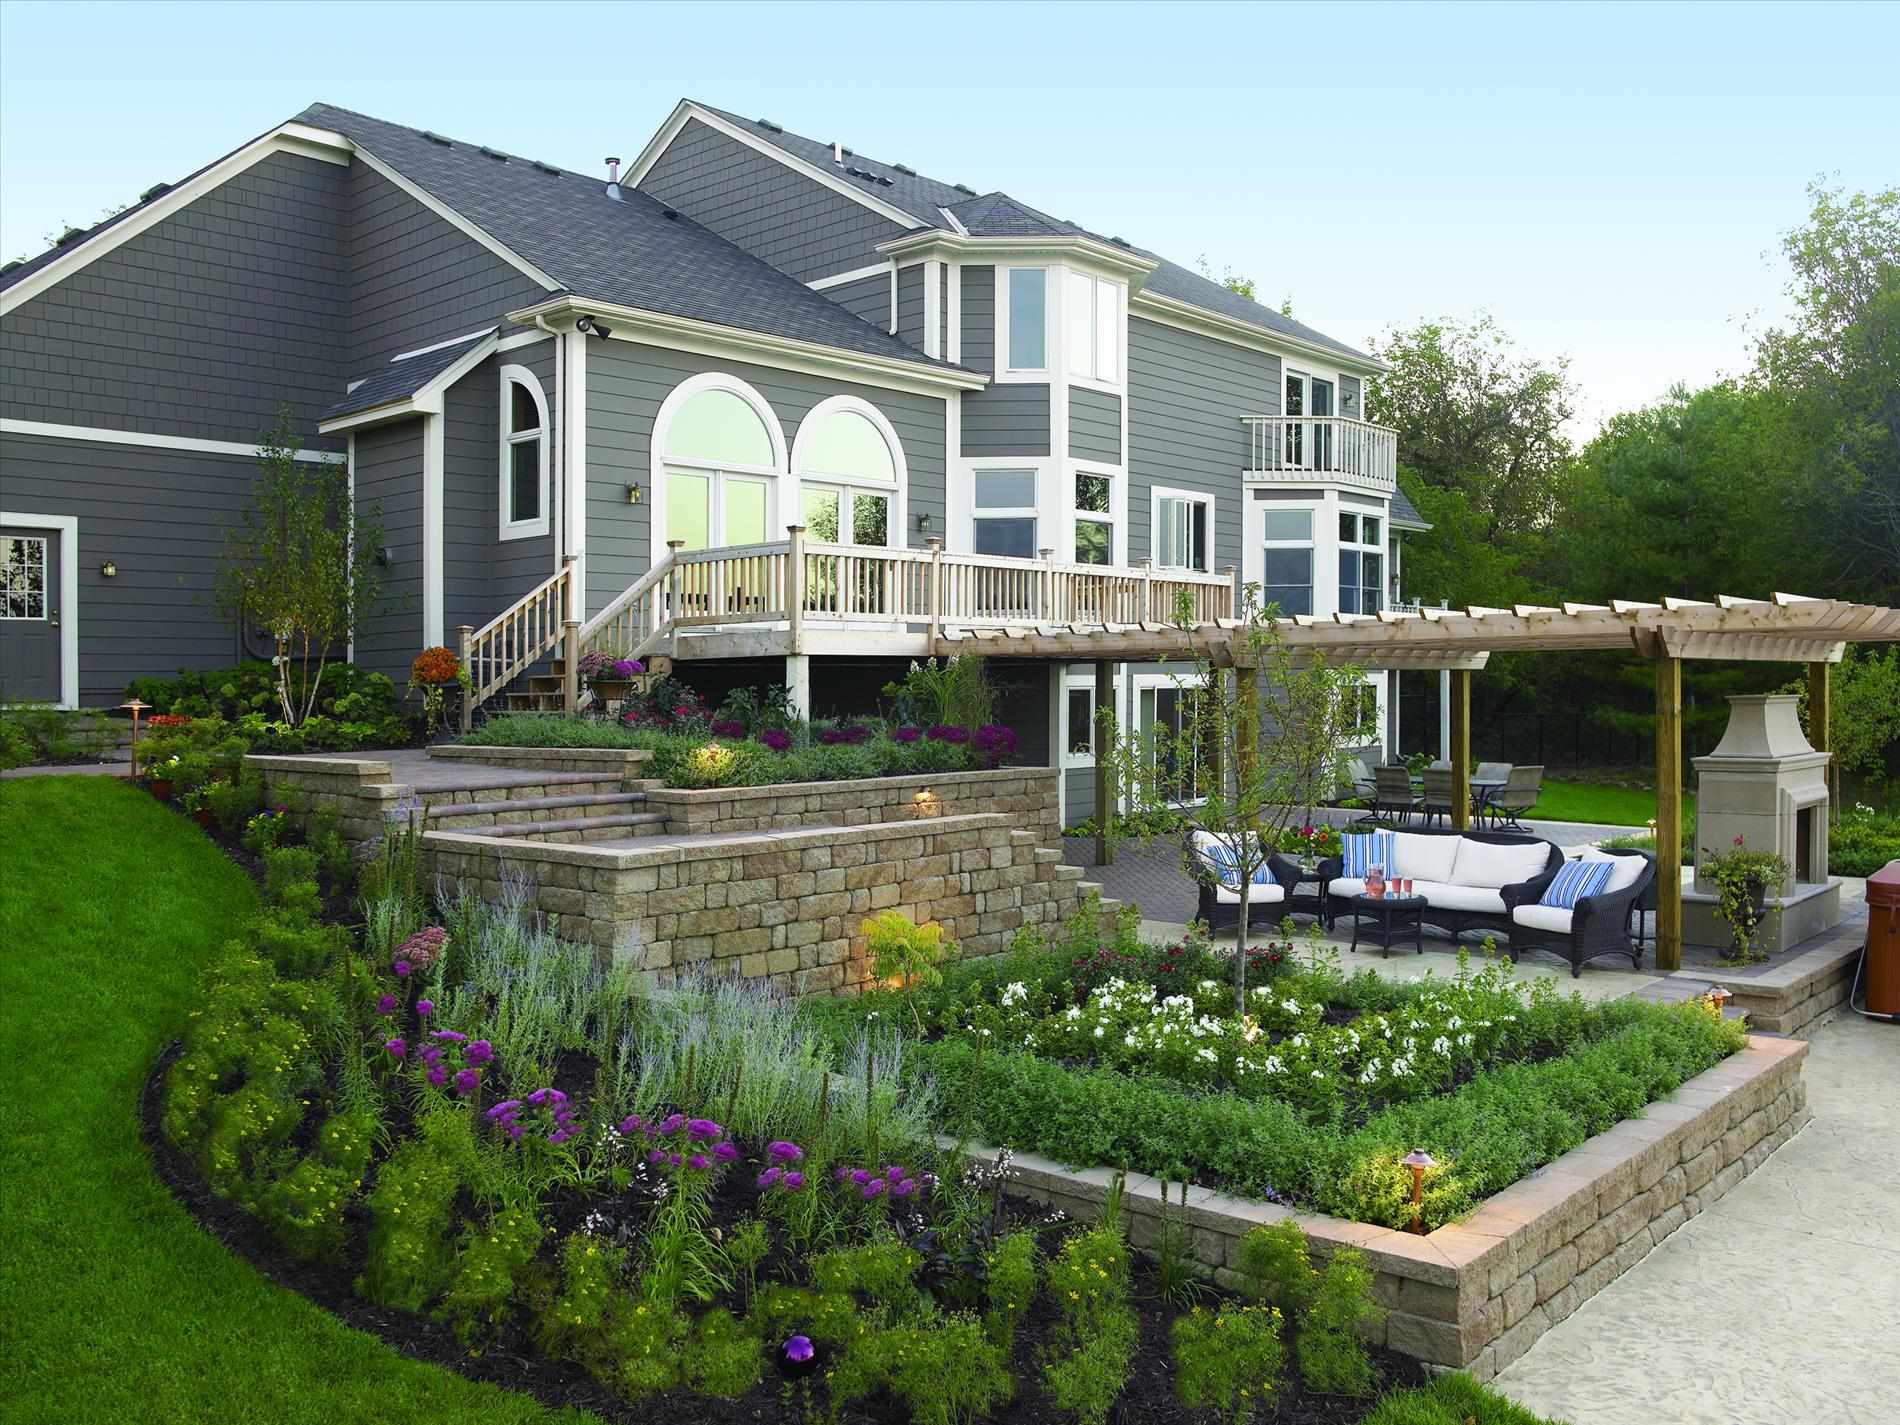 Do-it-yourself landscaping of an area of 8 acres: features of planning and zoning
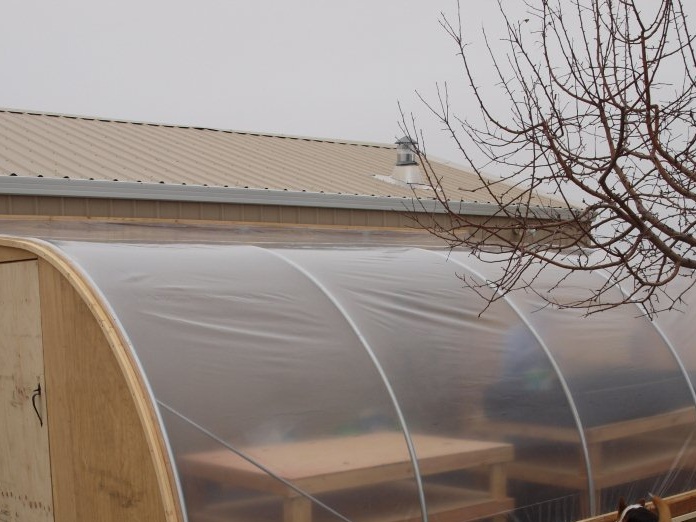 Shed greenhouse, pros and cons