
 If you decide to make a greenhouse on your own, and there is absolutely no experience in the construction of this type of building, then you should first study a lot of information. It may seem at first that this is a waste of time, but in fact, proper theoretical preparation will then greatly facilitate the construction process and reduce the time for its construction, and help to avoid additional financial costs. Take a look features of caring for tomatoes in a greenhouse.
Content
Do-it-yourself greenhouse construction in a summer house
At the initial stage of construction, you will have to study a lot of theory, photos and watch a video with your own hands. Then, proceeding to the practical part of the construction, it is necessary to understand exactly where the greenhouse will be located on the site. As for the sizes, each one determines them for himself independently, proceeding from a concrete situation. This article discusses the construction of a do-it-yourself greenhouse with a width of 3.6 meters, a length of 5 meters, and a height of about two and a half meters.
Advice! Your greenhouse may be shorter or longer, but the width is recommended in the area of 3.4-3.5 meters. This is a universal indicator of the width, which is extremely convenient for a variety of types of landings.
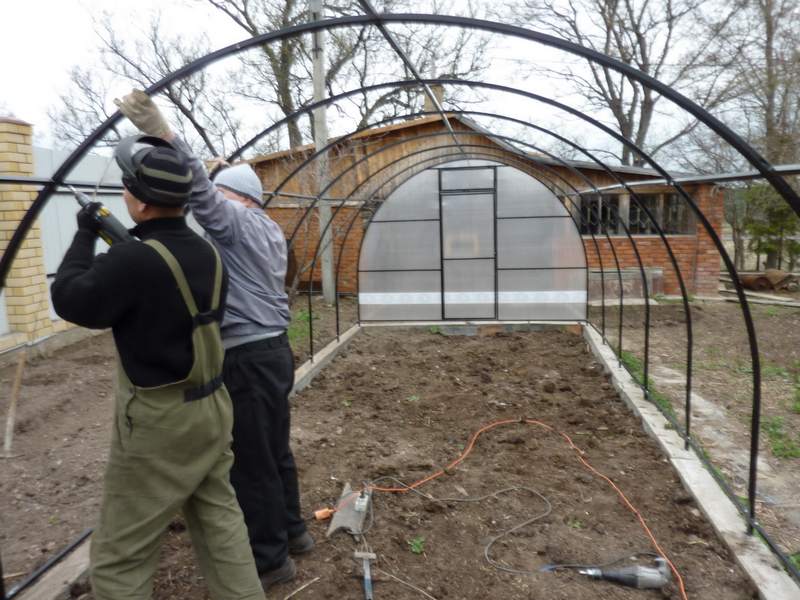
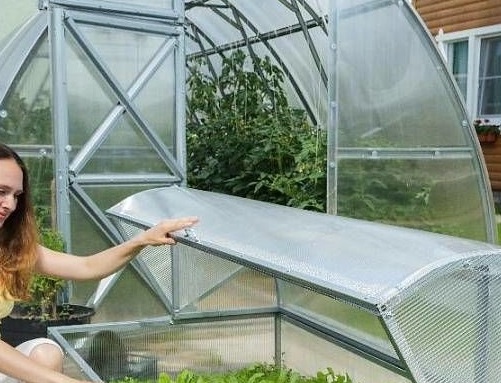
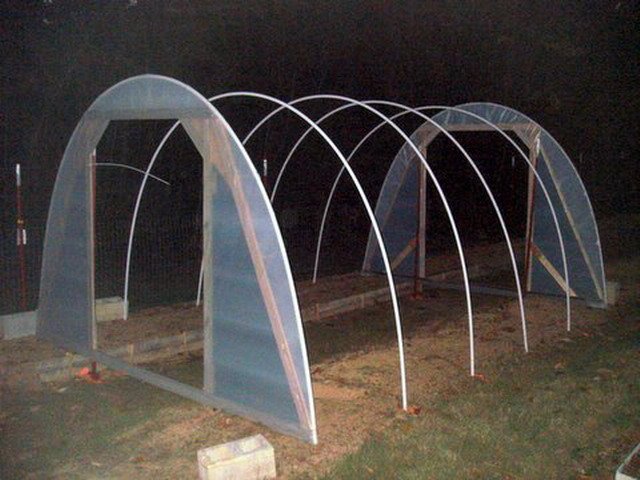
I also want to pay attention to the fact that the roof of wooden or metal greenhouses with their own hands should not be very flat, otherwise, the whole structure may fall apart. Therefore, we will consider in this article the option of creating an arched greenhouse. It will turn out to be strong and reliable, it is not afraid of snowfall or heavy rain. Although, of course, you will have to try hard during construction.
DIY construction steps for an arched greenhouse:
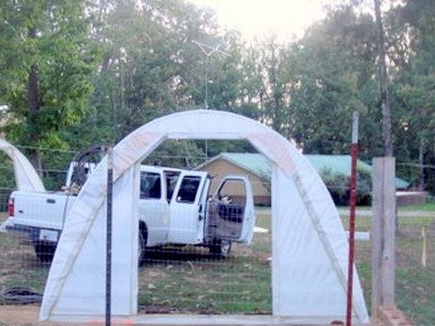
- First you need to erect the end walls. This is a prerequisite of the first stage of construction without which it will be impossible to build the main structure, the ends themselves can be done later, the bars are not necessary at this stage.
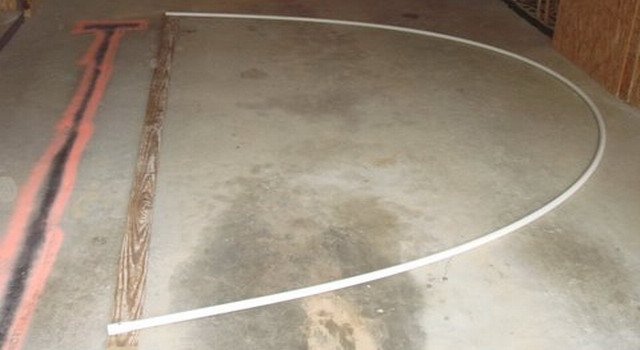
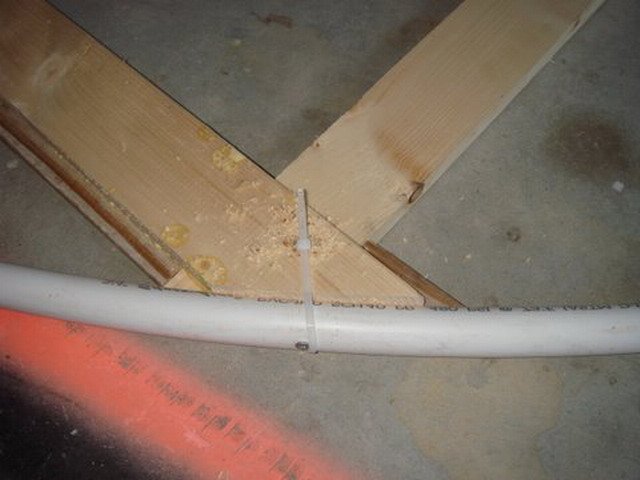
- The contour of the greenhouse is determined, temporarily attach a piece of PVC pipe and wooden planks to it.
- In advance, a hole should be drilled in the pipe so that it can be easily attached to a wooden element, use self-tapping screws for this.
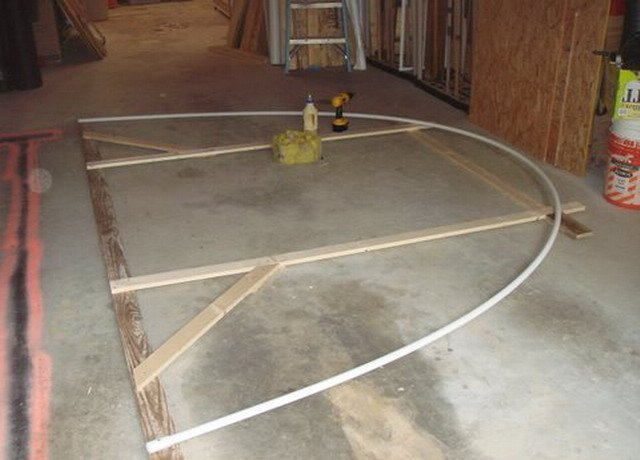
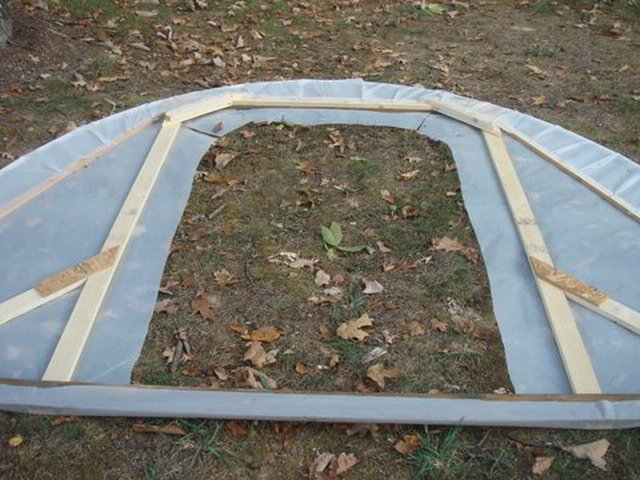
- Collect all the frame, not forgetting about the doorway. The width of the doorway should fit the size of the door. As a rule, the size is within a meter and a half. A lane is needed, but it can be done already at the stage of installation of the door itself.
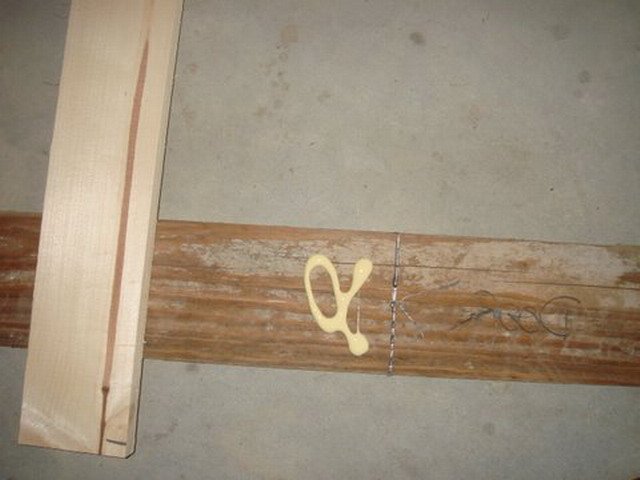
- If you want to further strengthen the frame with your own hands, this is especially true for wooden structures, it is recommended to use special glue for outdoor work.
- When the wood frame is assembled, you can mark on the planks the contour of the future structure.
- Now remove the pipe and saw off the excess pieces of the frame, which will already be visible depending on the applied contour. Attach the plastic pipe again, but from the outside to its permanent place. For this, self-tapping screws are used along with wire anchors.
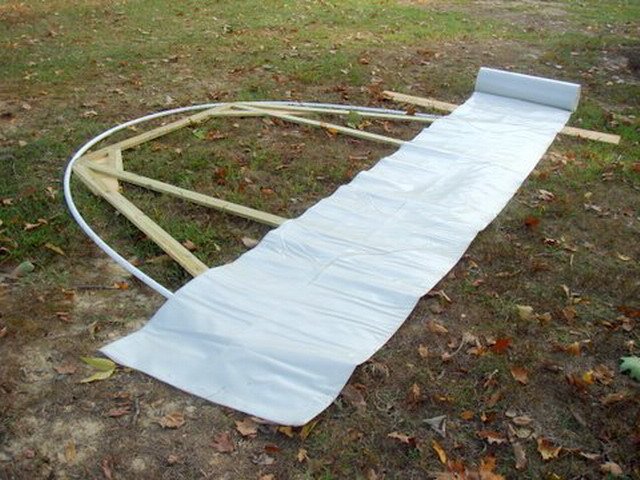
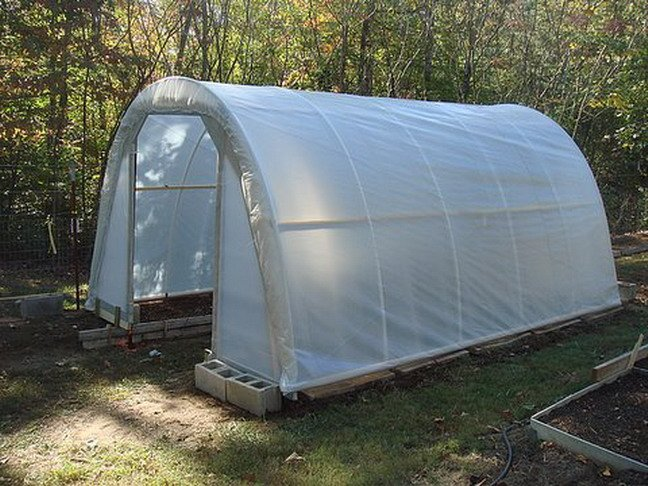
- It remains to make the rear and front end walls of the greenhouse.As the main coating material in this embodiment of the structure, a film is used. It can be attached to the structure at the very end of the construction. It is important to make sure that the frame consists of a sufficient number of wooden elements, otherwise, then there will be difficulties with fixing the film (it can sag, come off in a strong wind).
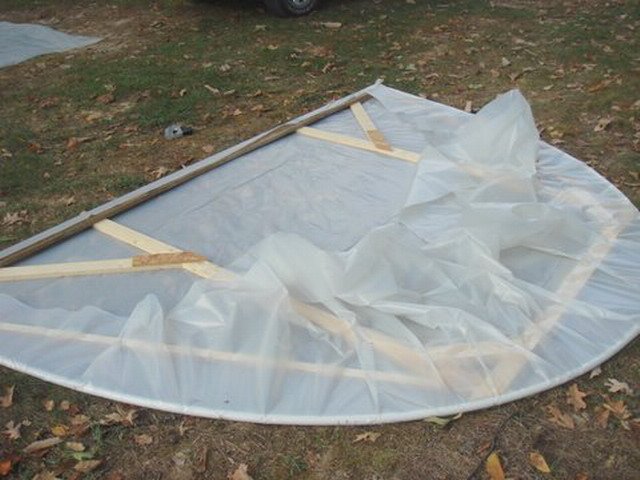
- To conveniently measure the desired piece of film, the roll can be rolled out on the frame itself. Then, with a knife, cut off a piece of the required size (put something solid under the place of cut for convenience). First mount the film on one side, then additionally mount it on the other side. It is extremely important to be careful, because, at this stage, the film should be fixed as securely as possible, the strength of the future design depends on this.
- Now, from the front side in the film, it will be necessary to cut a hole with your own hands, because there will still be a door installed. You can wrap the film, and then fix it on the frame itself. It is important to make cuts in the upper corners of the hole so that they are then used under the opening.
- Then you have to drive long pieces of reinforcement into the ground, you can also use steel fence posts. They are driven in at a distance that is equal to the width of the doorway. In relation to the plumb, the tables are mounted vertically.
- Further, in the process of constructing a greenhouse at home, you need to tie the frame of the arched greenhouse to these posts. For this, in addition to wire anchors, you can use ordinary wire or rope.
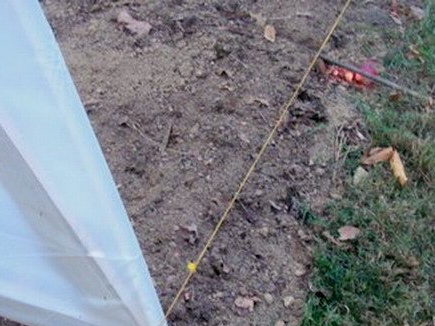
- When the end walls are ready, you need to stretch the cord over the length: it will show the builder a line for installing the side ribs of the structure. Focusing on this line, drive the pegs from the reinforcement at a distance of a meter from each other to fix the intermediate ribs.
- Attach PVC pipes on the pegs and immediately it will turn out to be proud of their work, because the greenhouse will have clear outlines. To make the design even more stable, it is recommended to take a thick pipe or then place the ribs not over a meter, but more often.
- If the greenhouse is being built in a region where it rains frequently and in winter there is a lot of snow, then an additional PVC pipe should be installed in the center of the arched greenhouse to increase the strength of the structure.
- A comb coming from a thick pipe is mounted at the very top of the frame. This will allow you to stretch the film as much as possible and it will definitely not sag. Attach the side ribs to this ridge and, for fidelity, additionally secure the structure with a rope.
- You should also make wire spacers in the form of the letter "X" from a durable double wire. They are fixed at the top and bottom using the washer.
- Now pull the film on the frame from all sides and securely fasten, you can use a special construction stapler. Additionally, fix the film with screws, then you need a drill.
Important! To completely cover the frame of the greenhouse with a film and neatly securely fasten everything, you will need to call for help of another person. Tomatoes in a greenhouse for Moscow region.
How to determine the size of the structure
In order for the future design to please, it is necessary to think through everything as initially as possible. Therefore, the determination of the size of the future greenhouse would like to pay special attention. Thinking begins with the fact that the gardener is pondering what the future structure will be used for - for growing seedlings, extending fruiting periods, for planting an early harvest or year-round fruit growing.
Plus, the final size is affected by the tracks, the location of the beds, the need to store inventory. Initially, the greenhouse inside should be carefully planned to rationally distribute the internal space, to calculate in advance the necessary amount of building materials, time and effort for the construction of the structure.
Advice! For a small greenhouse with your own hands, it is enough to use arches 1-1.5 meters high and cover them with a film.What kind cucumber varieties suitable for growing in a greenhouse.

Width
To service the plants was easy and simple, you will need to do inside the garden. They affect the final width of the greenhouse and this is a big plus. It’s great if the paths are somewhere around 60 cm with a total width of three meters. In this case, 1.2 meters of free space will be left on the beds on both sides.
If you want to make two tracks inside, then the total width will have to be expanded to six meters. Then there will be two beds at the wall of 1.2 meters, plus one more bed in the center of 2.4 meters wide. But gardeners note that a three meter wide greenhouse is more convenient to build and then maintain.
Length size
The length depends on the tasks that are set before the greenhouse, as well as on the size of the plot. The optimal ratio of length to width of three meters is 6-8 meters. So the space will be convenient to maintain, it will be possible to ventilate it and competently keep warm.
Height size
The first parameter that will help here will be the height of the plants that are planned to grow here. For example, tomatoes can be planted only precocious, plus everything is convenient to walk through the greenhouse if its height is at least two meters.
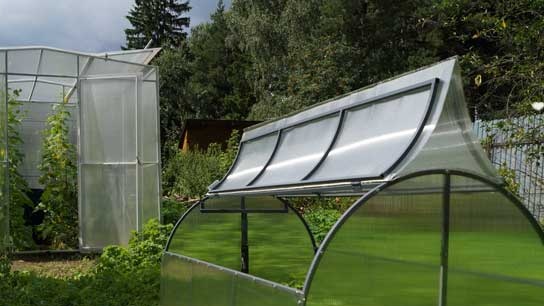
Advice! As for the form, then there is also a choice - you can build a single-pitched or double-pitched, more complex form. General recommendations come down to the fact that the height of the side walls should be at least a meter, and the angle of inclination should be 45 degrees, the height along the paths should be at least 2.2 meters. Read how to care for tomatoes in a greenhouse.
Alternatively, some gardeners use the southern walls of buildings on the site in order to build a pitched greenhouse with their own hands. Such a construction option can be considered if there is simply no free space for a full-fledged greenhouse on the site. However, it must be remembered that the wall will be saturated with moisture and covered with mold, plus additional heating of the wall will be required.
 Why is a greenhouse open top?
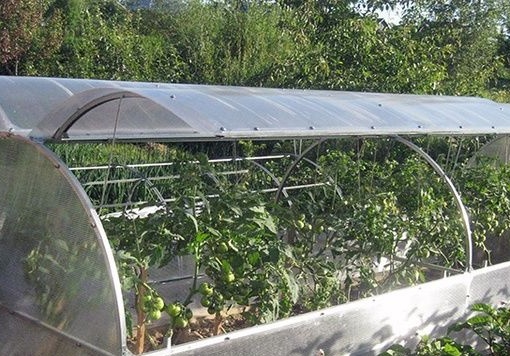 Greenhouse "Butterfly", is it worth it?
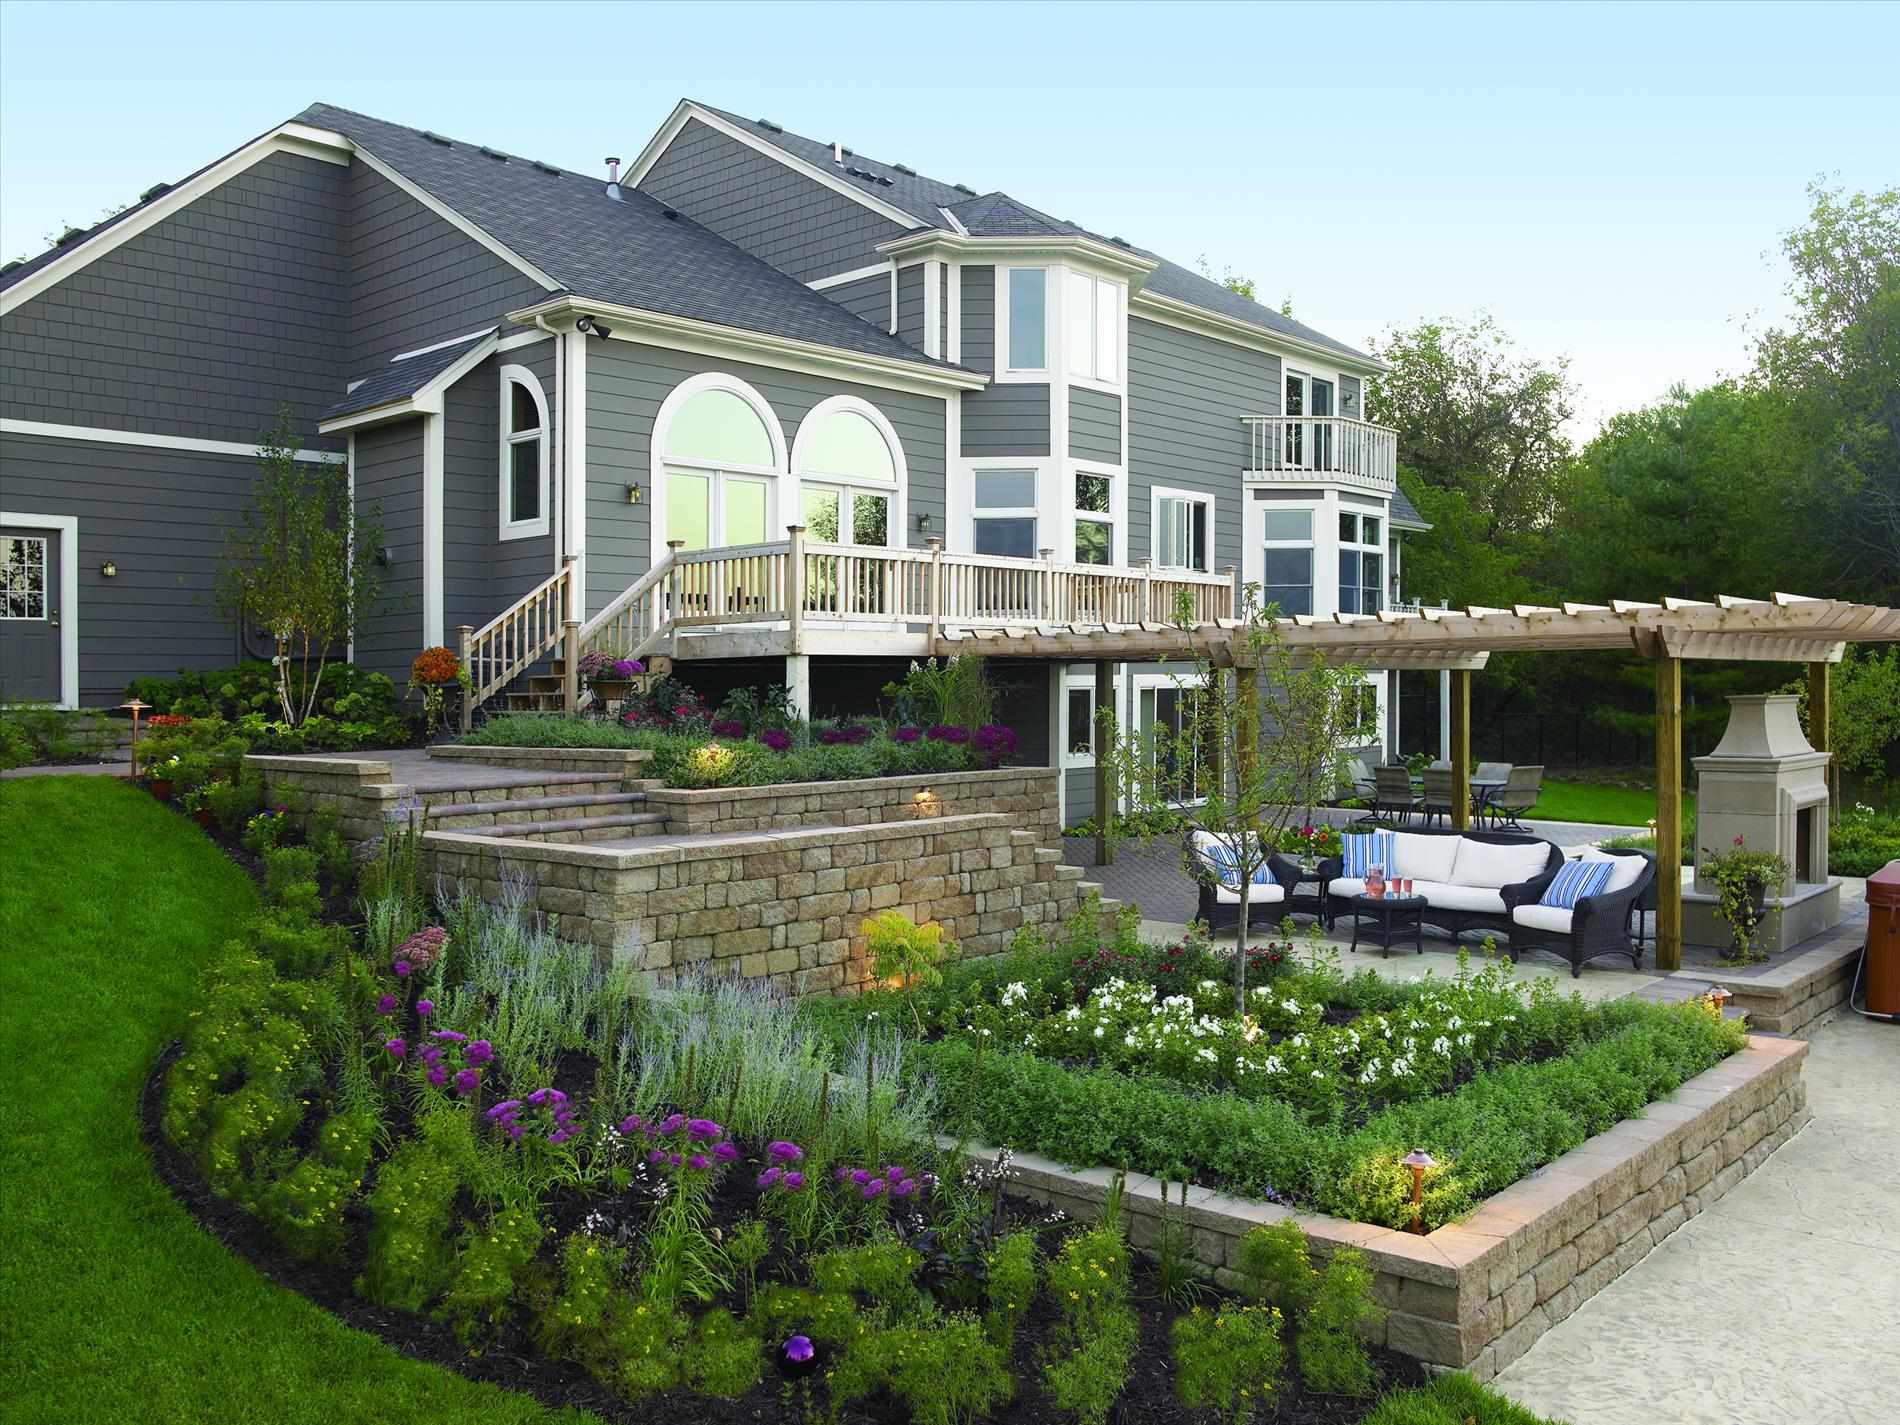 Do-it-yourself landscaping of an area of 8 acres: features of planning and zoning
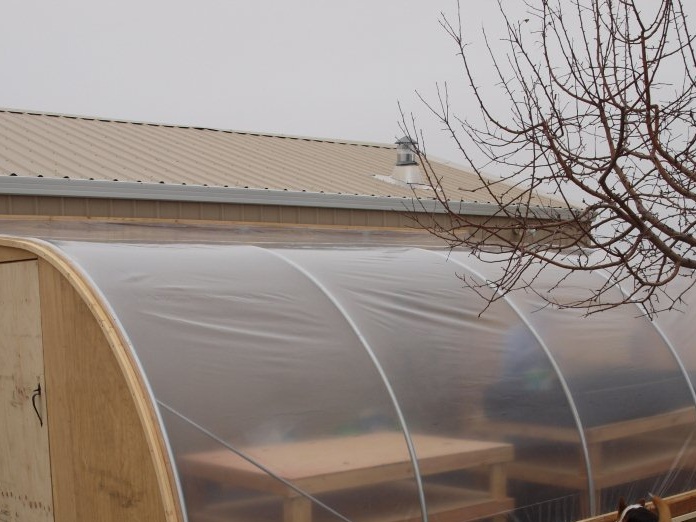 Shed greenhouse, pros and cons