
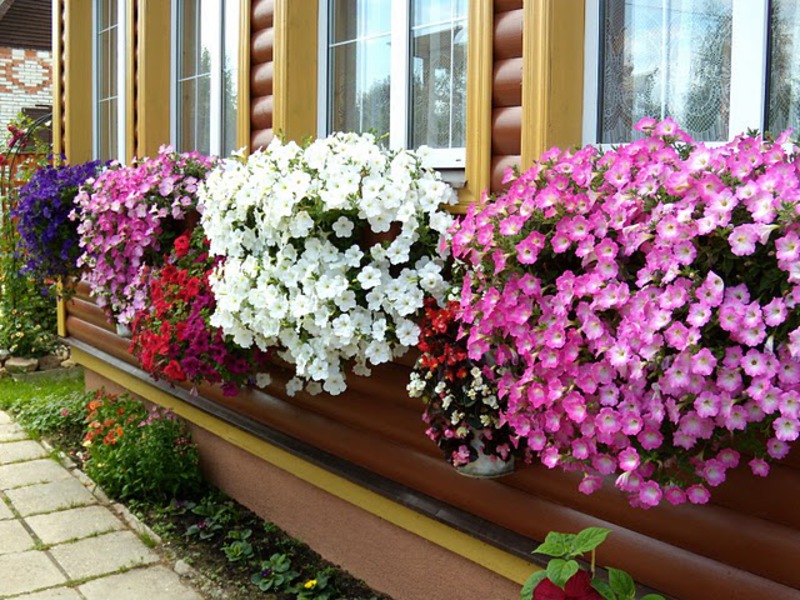
Begonia is a large genus of annual and perennial plants, numbering more than 1000 species. The plant stands out among other ornamental crops for its long flowering, varied color and unusual shape of leaf plates. The flower is able to propagate by leaf, cuttings, tubers by air layers, dividing the bush and seeds.
However, it is recommended to breed long-flowering species using seeds, this will save the purity of the variety and provide long-term flowering of future plants. Growing begonias from seeds is a rather laborious and lengthy process, but at home it is he who is the most productive and productive. Subject to the basic recommendations of agricultural technology, even an inexperienced, but attentive florist can grow a healthy plant.
Content
Preparing planting material for growing begonias
One of the main stages of growing begonia at home is the correct selection and preparation of seeds for planting.
Begonia variety selection
All plant varieties were combined by breeders into three large varietal groups, distinguish deciduous, bush and tuberous begonias. Separation by characteristics makes it easier for gardeners to choose and helps ensure proper plant care.
Deciduous varieties are not very suitable for growing with seeds due to the difficulty of obtaining planting material at home. However, if you want to grow leafy begonia from seeds, material for planting can be purchased at a specialized store.
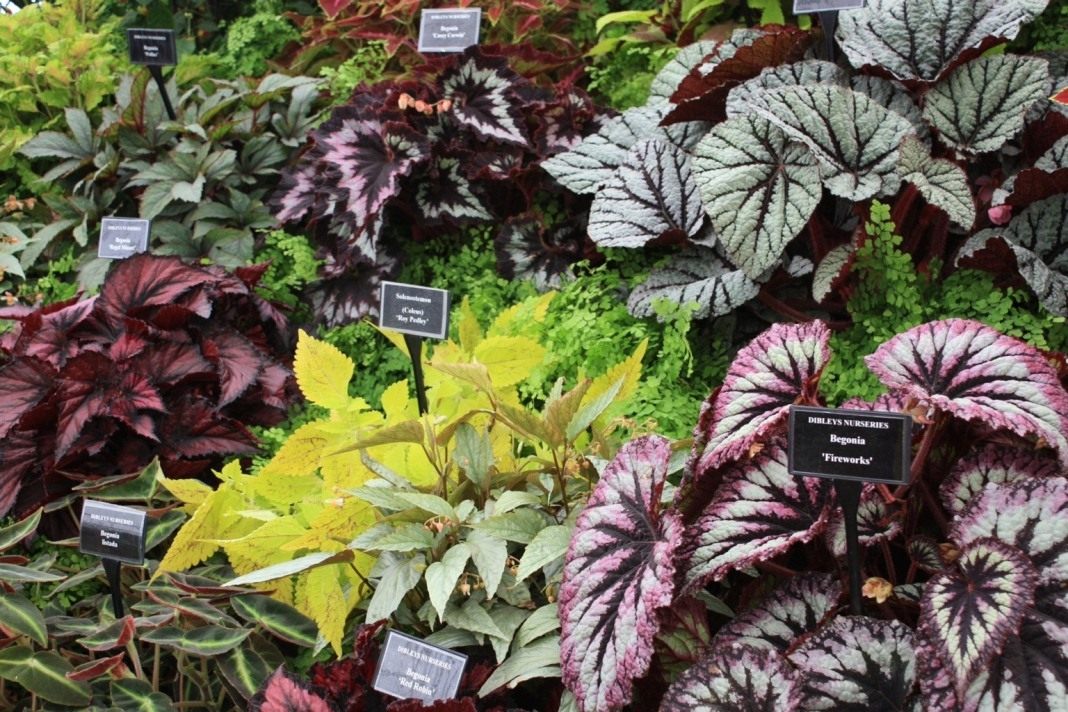
Representatives of tuberous varieties differ from their relatives in large flowers and long flowering, therefore, are excellent for seed cultivation. Despite this, most often tuberous begonia is propagated by dividing the tuber and grafting.
Among the representatives of bush begonias you can find ever-flowering specimens that are conveniently grown from seeds. Shrub begonias, unlike other varietal groups, are most often propagated by this method.
Rules and terms for collecting seeds
The time of collection of material for planting directly depends on the type of flower and its flowering period. For this reason, it is worthwhile to focus on the state of the seed bolls of the plant: yellowing and drying indicates that it is time to start collecting planting material. The main thing is to prevent over-ripening, otherwise they will begin to burst, and all of their contents will simply spill out.
For convenient collection of material, you need to remove the dried boxes and put them on paper. After one or two weeks, they will finally dry out and burst, and their contents will be on a paper sheet.
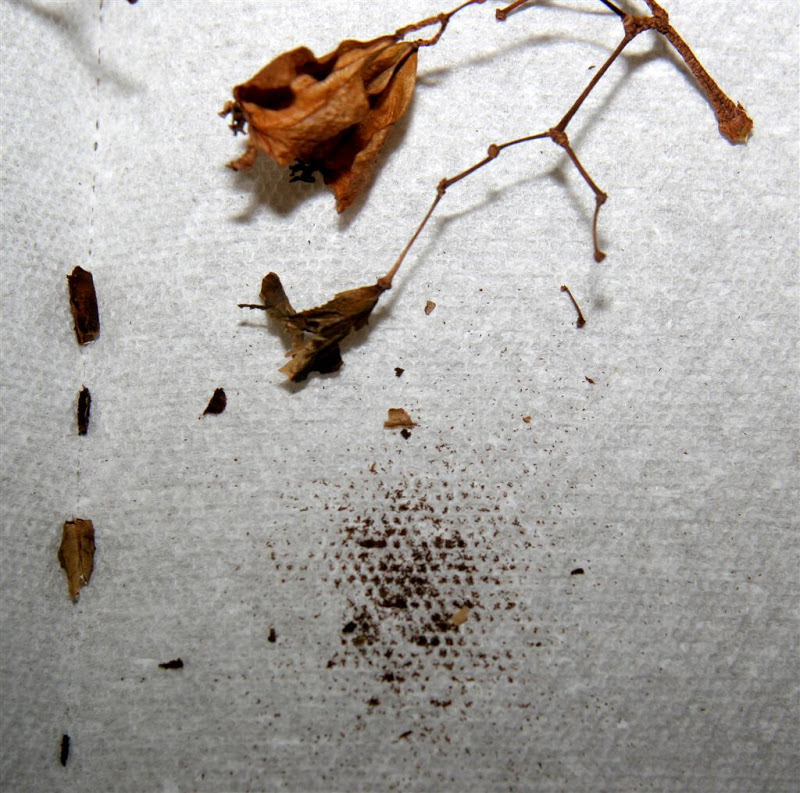
It is recommended to store the collected material in a paper bag, placed in a cool and dry place.
Buying Choice
When buying seeds, it is worth paying attention to the time of their collection, since fresh material for planting gives seedlings much earlier. With proper storage of planting material, its shelf life is 5 years.
On sale you can find ordinary and granular seeds, the latter are covered with a nutrient membrane, which acts as a protective layer and significantly increases their size.
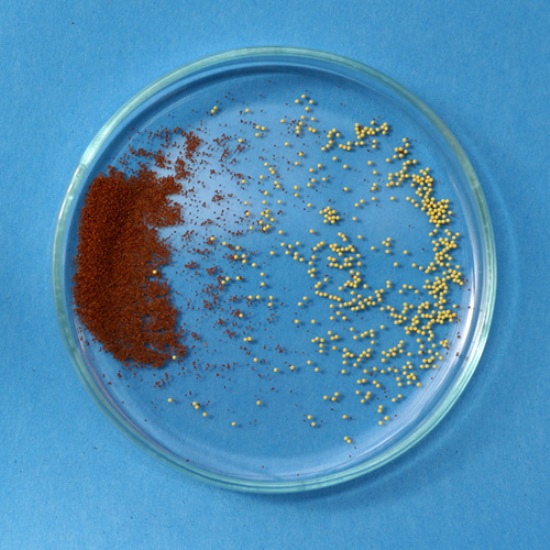
Florists recommend choosing granular seeds for several reasons:
- Planting such material is much easier due to its larger size.
- Flowers grown from such seeds are more resistant to various diseases and pests.
- Seeds in granules are planted in a peat pellet, due to which there is no need for their further dive.
- Begonias that sprouted from nutritious seeds bloom much better.
It is quite difficult to plant ordinary seeds, as their microscopic size will not allow to distribute the material evenly over the soil.
The necessary equipment for germination
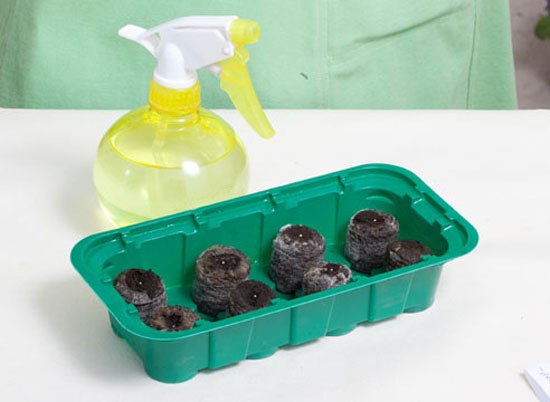
Preparation of the necessary equipment plays an important role in the process of growing begonias. To plant seeds in granules, you must prepare:
- water tray;
- peat tablets;
- atomizer with water;
- a jar of glass or plastic.
For uniform distribution of microscopic seeds across the soil, they are mixed with sand. When germinating raw material, the list of necessary equipment changes slightly. You will need:
- Capacity for seedlings.
- Glass for sheltering seedlings.
- Sprayer for watering.
 You may be interested in:
Substrate preparation
Begonia must be grown in loose nutrient soil with a slightly acidic or neutral reaction. It should be understood that the nutrition of the plant and its growth rate depend on the choice of substrate. Suitable soil for begonias can be purchased at a specialized store or prepared independently from sheet soil, peat and sand in a ratio of 2: 2: 1. Coconut fiber or vermiculite will help to add looseness to the prepared soil.
The finished mixture should be passed through a sieve to clean it of large particles. It should also be understood that when collecting leafy soil on the street, you can stumble upon land infected with various microorganisms that can harm the plant. In order to avoid negative consequences, such soil is recommended to be disinfected by dipping with boiling water. When sowing granular seeds, the soil mixture can be replaced with peat tablets with a retaining mesh.
Begonia seed propagation algorithm at home
Propagation of the flower with the help of seeds is a rather complicated and painstaking process, which requires compliance with many basic recommendations of agricultural technology. You can get acquainted with all the nuances of such reproduction with the help of a detailed algorithm of actions and step-by-step photos.
Sowing dates
The appearance of the future plant and the period of its flowering depends on the time of sowing. Florists recommend starting sowing in January to admire the lush flowering of the plant already in early summer.
In case of sowing in the last days of February or in the beginning of March it will be much easier to maintain optimal conditions. During this period, the activity of the sun increases significantly, and daylight hours are much longer. However, with such sowing dates, it is not worth expecting flowering before July.
 You may be interested in:
Sowing in peat tablets
It is quite difficult to carry out the process of planting flower seeds, especially if raw planting material has been selected. Conventional seeds are practically unsuitable for spot sowing, so they are not planted in tablets from peat. This is because the small size of the untreated seeds will not allow them to be placed on the surface of the tablet individually. When sowing seeds in tablets, there is no need for further diving seedlings.
Stages of sowing treated seeds in peat tablets:
- Put the tablets in water.
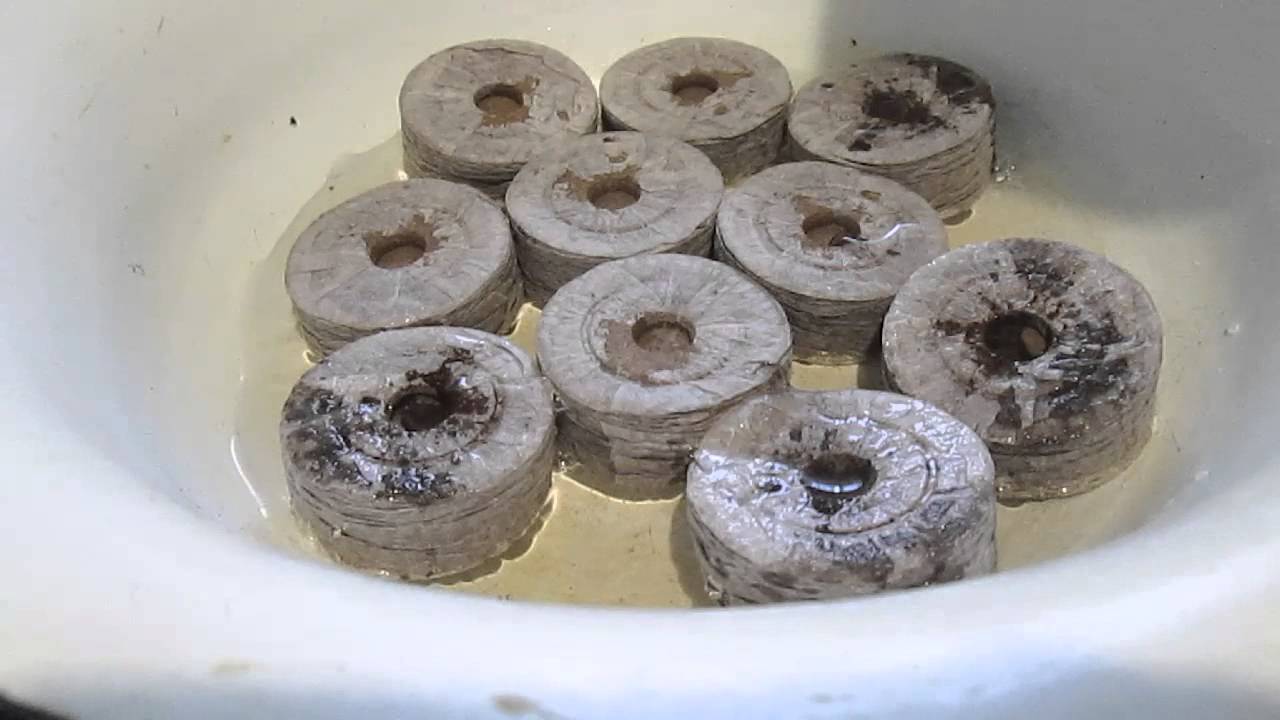
Peat tablets - Wait until the tablets are saturated with water.
- Put one seed on the surface of each tablet with a skewer or toothpick.
- When sowing material, it is very important not to allow it to be deeply immersed, since seeds need a large amount of light to actively root.
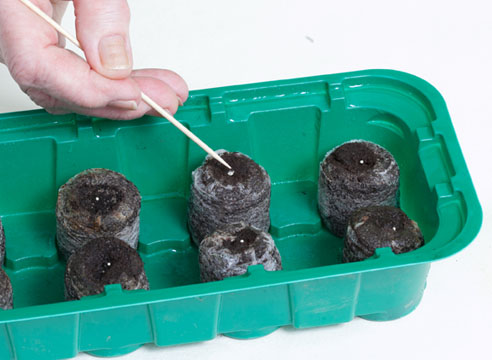
Sowing seeds - Lightly moisten the seeds with water.
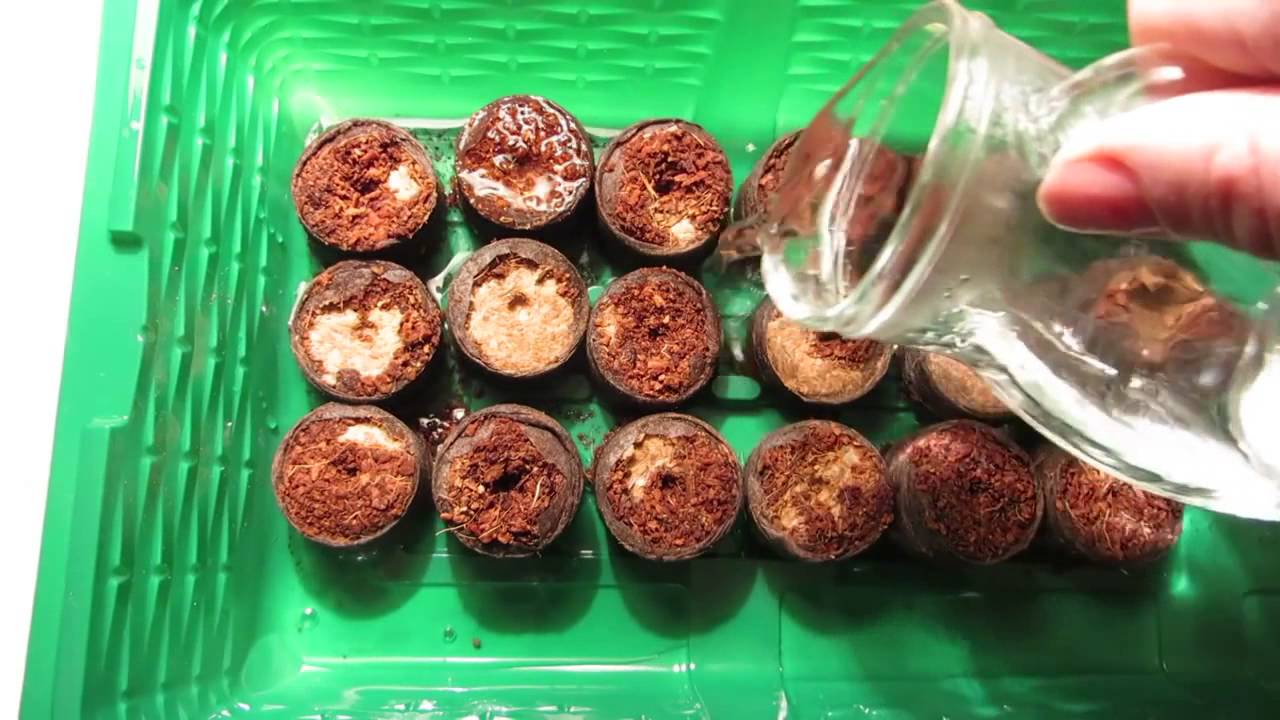
Moisturizing - Cover the seeds with a glass jar or plastic lid.

Pills in container - Place the container with seedlings in a warm place.
- It is better to water the seedlings through the pan, since this method of moisture intake will not allow the tablets to dry out.
It should be remembered that, due to the nutritious membrane, coated seeds sprout a little later than usual. If all recommendations are followed, the first shoots may appear after 14 days. After their appearance, the need to maintain plants in greenhouse conditions disappears.
Sowing in the ground
Sowing the usual type of seeds is best done directly into the ground, because their size makes them unsuitable for spot placement in peat pellets. However, before sowing such seeds, they must be mixed with sand, for a more even distribution on the surface of the earth. (Pellet seeds can also be sown directly in the ground.)
When planting seeds in the soil, it is recommended to adhere to the following sequence:
- Moisten previously prepared soil mixture.
- Spread the seeds on the surface of the soil without immersing them.
- Sprinkle the seedlings lightly with water.
- Cover the container with seedlings with plastic wrap or glass.
- Move the container to a warm place.
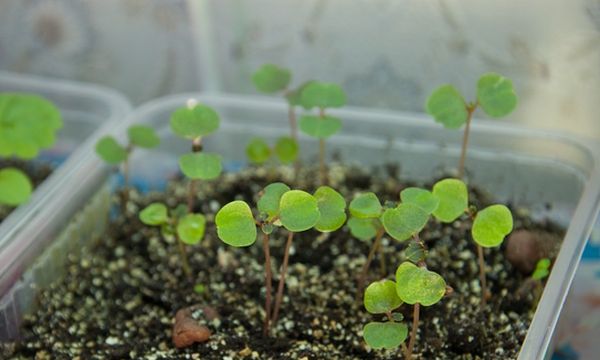
It is better to moisten the tender begonia seedlings with the help of a spray gun. Subject to all conditions of agricultural technology, the seeds will germinate after 10-12 days after sowing. After the first shoots appear, the glass is removed, and the container with seedlings is placed in a well-lit place. After several leaves appear on young shoots, they must be dived into separate pots.
Care for young plants and transplanting at home
Caring for young begonias is quite simple, it is enough to ensure regular watering and a comfortable temperature of maintenance:
- Full shoot care includes a hardening procedure. The process is a periodic ventilation of the germinated seeds: it is enough to remove polyethylene or glass from the container for 10-15 minutes from the moment of germination of the first sheet and up to the pick. With the help of hardening, the young plant gets used to the environment and gets rid of excess moisture.
- For the active growth of young begonias, it must be kept in good light, but without overheating under direct rays. The optimum temperature of the content of young begonia is 20-22 ° C.
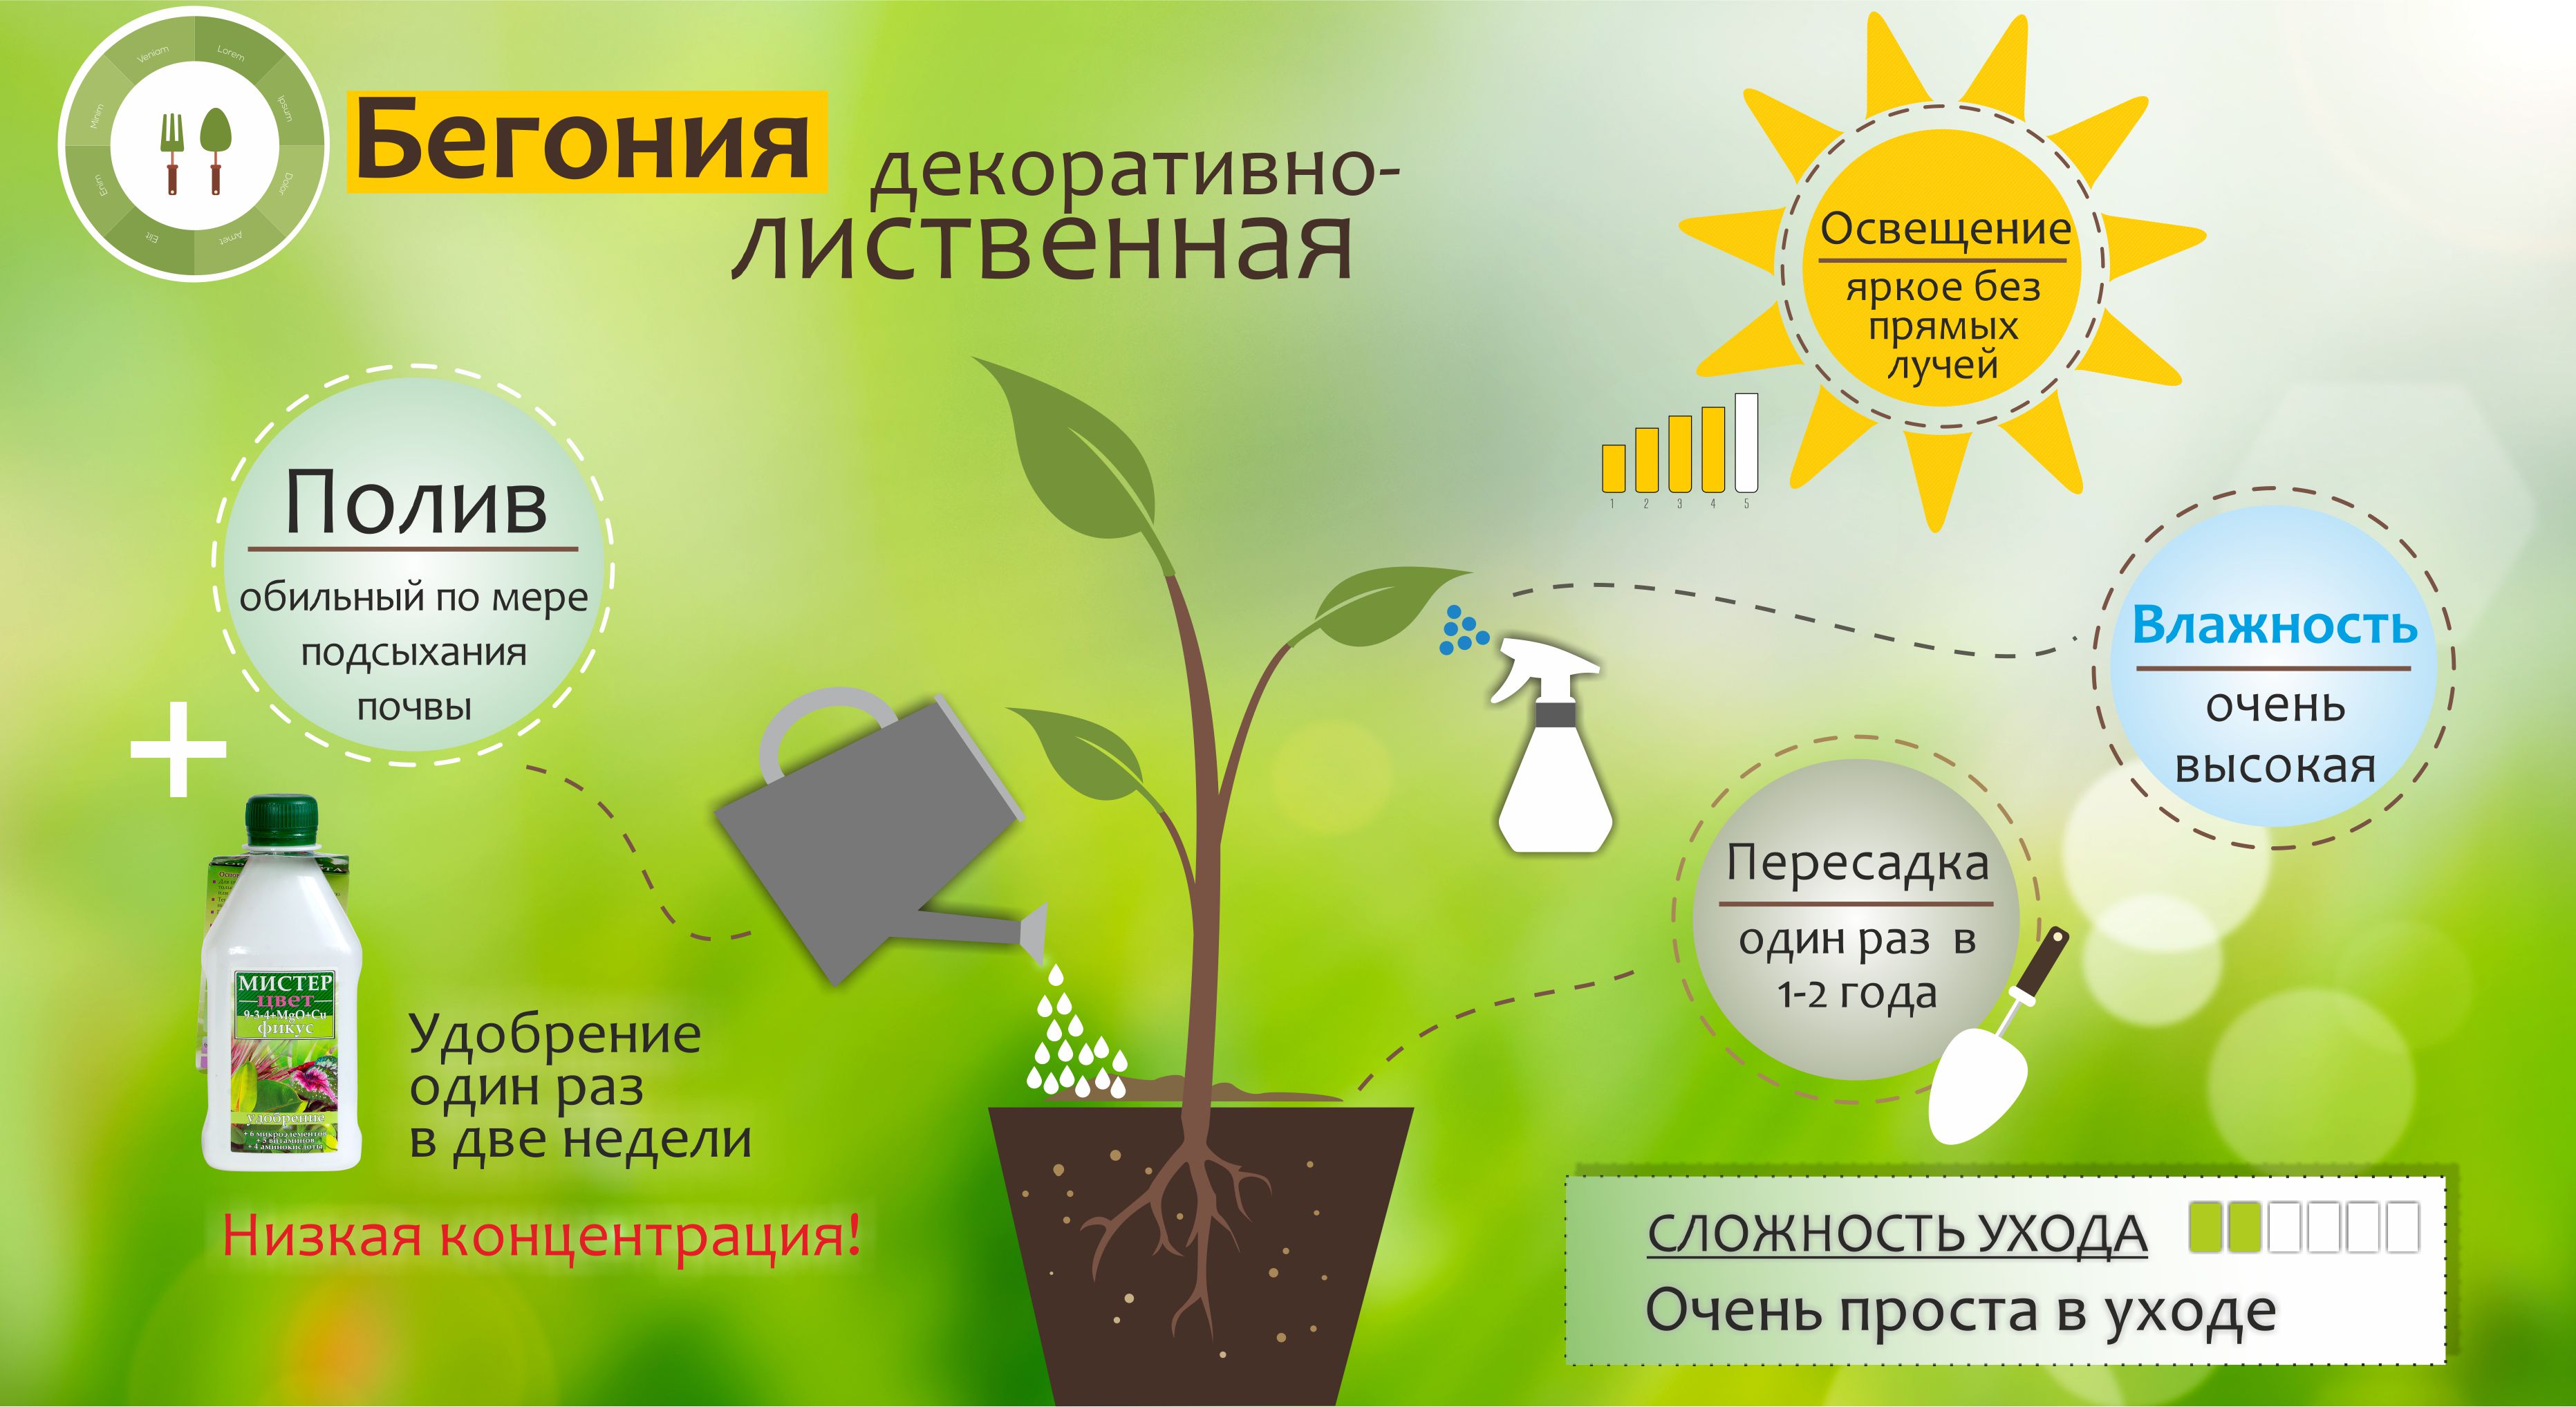
Begonia Care - Young shoots of begonias are very delicate, even water can damage them, therefore it is necessary to irrigate using a spray gun. For watering, it is recommended to use soft warm water.
A plant grown in the ground should be transplanted in 2 stages with an interval of 30 days. The root system of begonia is easy enough to damage, so its transplant should be performed with extreme caution.The first pick of the plant should occur only after the appearance of at least 2 leaves on the shoots. A week before the flower is planted in a constant capacity, it is recommended to introduce complex fertilizer with a low nitrogen content into its soil.
Stages of transplanting a plant into a constant capacity:
- Put a layer of drainage on the bottom of the pot.
- Pour the soil mixture from sheet soil, peat, sand and humus into a container with a diameter of 6-8 cm.
- Carefully place the plant in the ground and fill the voids of the container with earth.
- Moisten the earth.
In this soil, the flower will grow all next year, so do not forget to feed the young plant with complex fertilizers for decorative crops every 2 weeks.
 You may be interested in:
Possible growing difficulties and begonia diseases
Most of the difficulties in the process of growing begonias are due to improper care. Poor care reduces the protective functions of the flower and affects its decorative effect:
- Begonia, demanding on soil, responds to a lack of nutrients in the soil with a complete absence of flowering. To avoid such a problem, the plant must be fed with complex fertilizers every 14 days.
Lack of flowering in begonia - Many gardeners decorate window sills in the kitchen with begonia, not knowing that it does not respond well to gas combustion products. In response to being in the room where the gas stove is constantly working, the flower wilts and its leaves lose their elasticity.
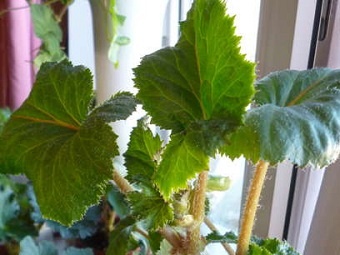
- The root system of begonia is often covered with rot - this is due to the sensitivity of the flower to waterlogged soil. Excessive watering can lead to decay of not only the roots, but also the stem.
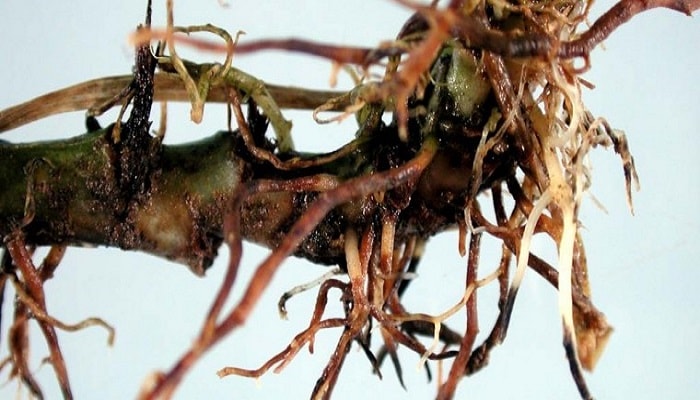
Root rot - Keeping the flower in a cold room can cause foliage to drop. Moving the flower to a warm place, devoid of drafts, will help restore its leaf mass.
Begonia is susceptible to various diseases, including:
- Bacterial wilt.
- Downy mildew.
- Botritis.
These diseases are manifested by the appearance of various kinds of spots on the leaf plates of the flower. You can cope with diseases by treating begonia with a systemic fungicide. The cause of all these plant diseases is, as a rule, excessive watering.
Common Growing Questions
Growing a flower from seeds is not an easy task, requiring certain knowledge and skills:
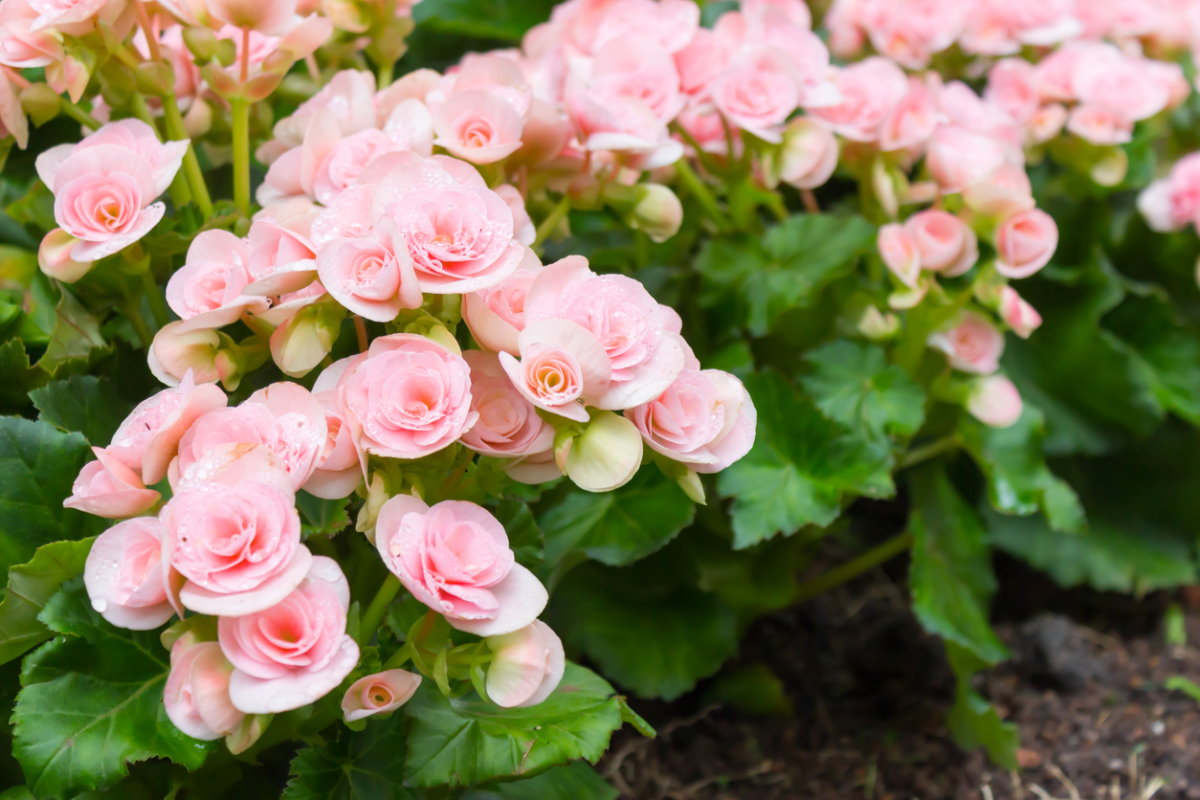
Growing begonias from seeds is more difficult than using cuttings or tubers. The main requirements are sowing in January-February, bright sunshine without burns, regular, but gentle spraying and hardening.The reward for work and patience will be the bright flowering of begonia, which can be compared with the flowering of the queen of flowers - roses.
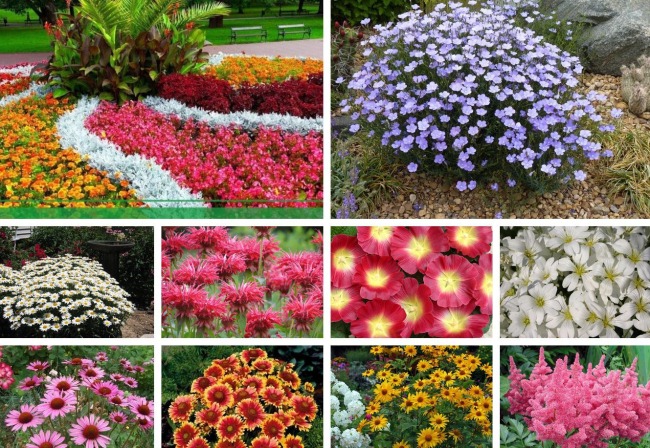
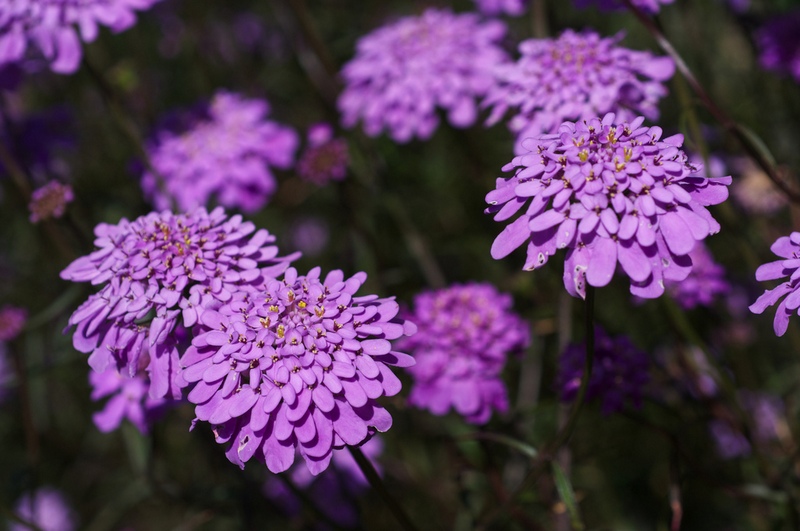 Sow in the ground, without seedlings: 10 beautiful and unpretentious flowers
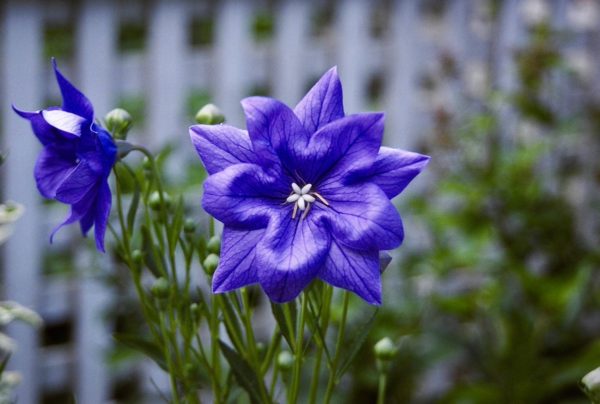 Platicodon planting and outdoor care
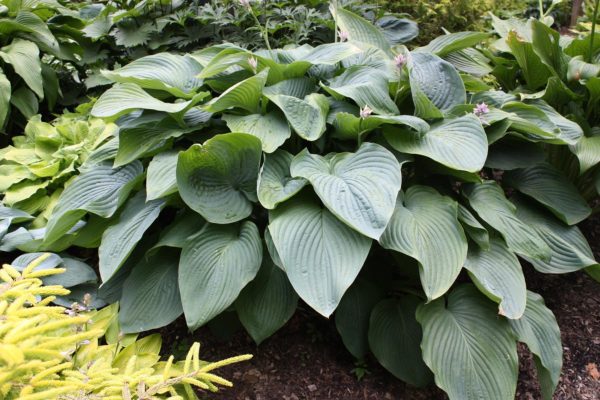 Hosta - planting and care in the open ground in the Urals
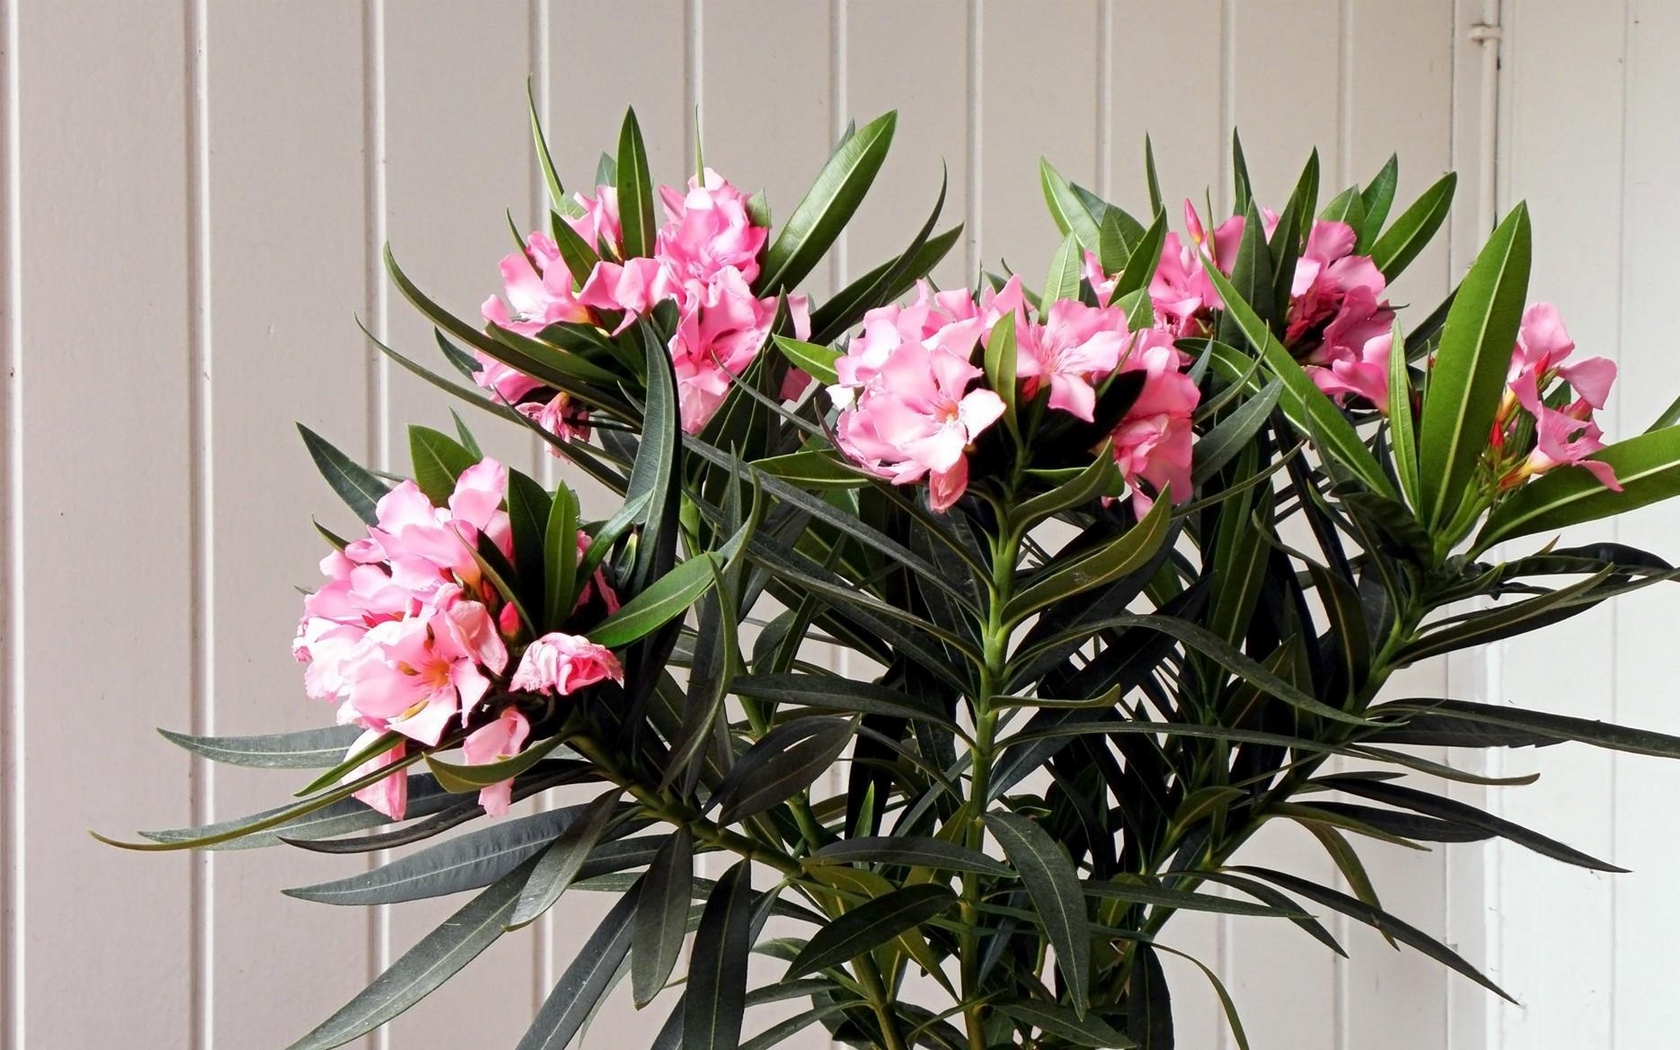 Oleander - care and growing at home